


Expand your sketching ability by understanding how to use lines expressively!
Learn this artful skill of line-weight that designers apply in all their drawings with my easy-to-follow guide.
Unlock your creativity now!
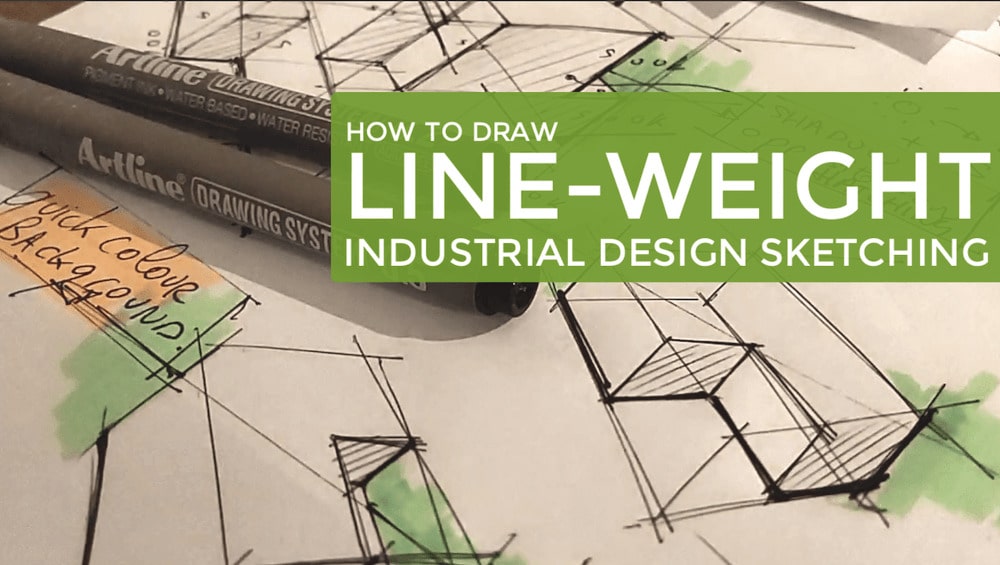
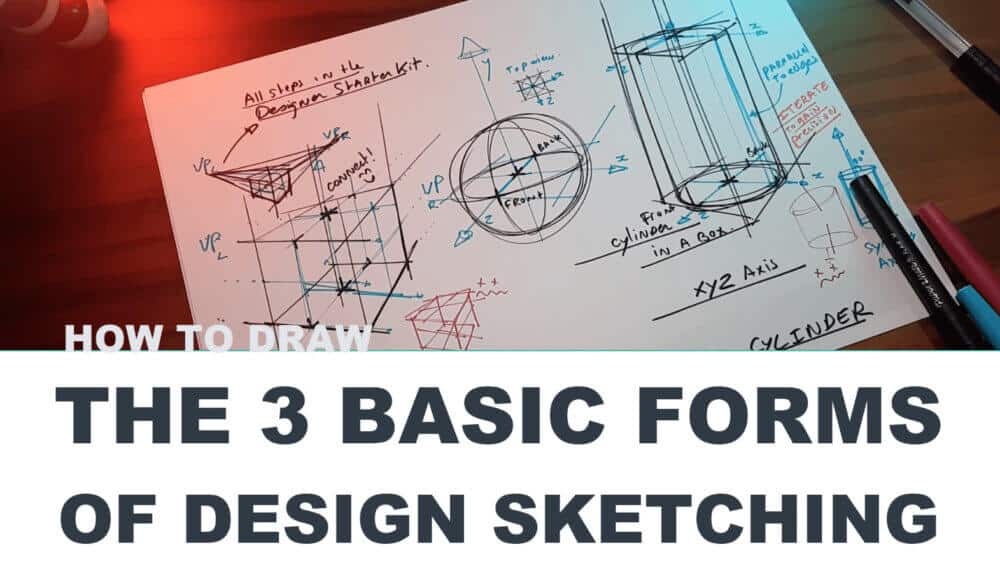
How to draw with line-weight
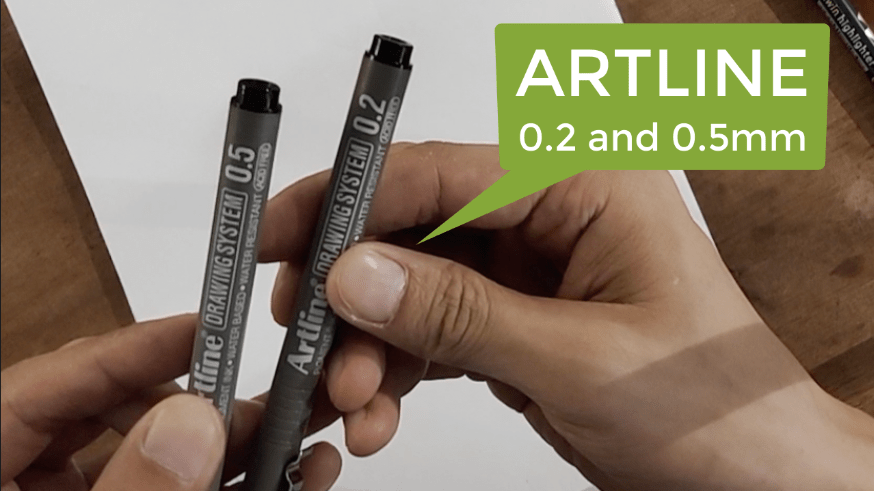
- Draw with 2 pens: 1 thin, 1thick
- Part 1 How to draw Line-weight
- Part 1.1 Bold the lines opposite the sun
- Part 1.2 Practice your pen pressure
- Part 1.3 Bold with dynamism
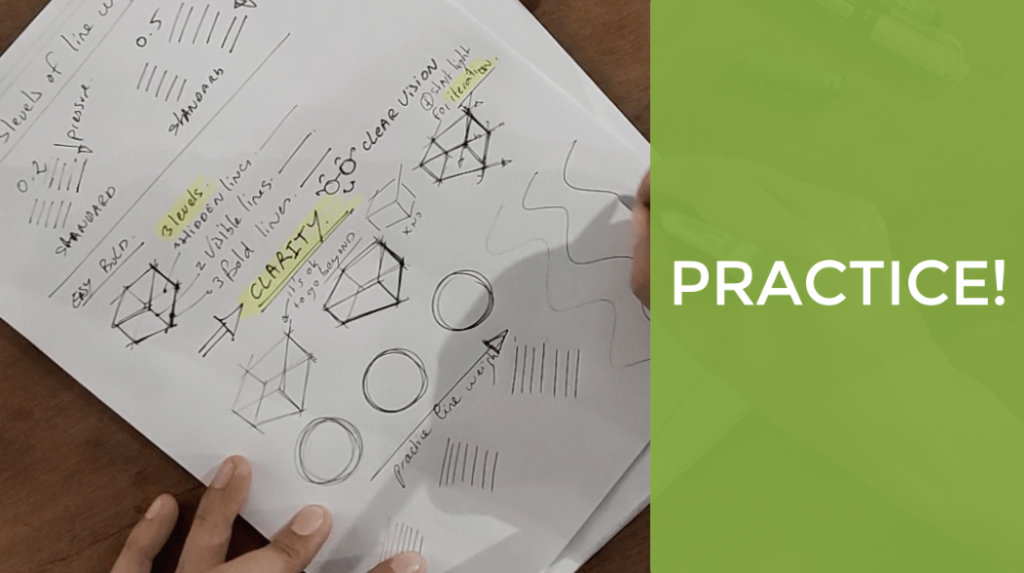
- Part 2 The 3 levels of line-weight
- Part 2.1 The 3 sizes
- Part 2.2 Practice daily the pen pressure
- Part 3 Advance volume practice
- Part 3.1 Sketching exercises
- Part 3.2 Add a quick background
Drawing in a cafe helps me to concentrate better for longer hours.
It avoids distraction. How about you?
It’s 10 am, I’m in a cafe called: Cafe Ngot in Saigon.
I sketch while drinking a Vietnamese called “Cafe sua da” (It’s an ice coffee with sugar milk).
It’s delicious!
The cafe plays some loud music, and people around me are laughing loudly, chatting, clapping…
but all these noises become like “meditation music”.
When I get deep concentration when I draw, nothing can disturb me.
Draw with 2 pens (1 thin + 1 thick)
Drawing with multiple pens is optional.
If you don’t have these, you can follow this tutorial with a simple ballpoint pen. It will be all fine. : )
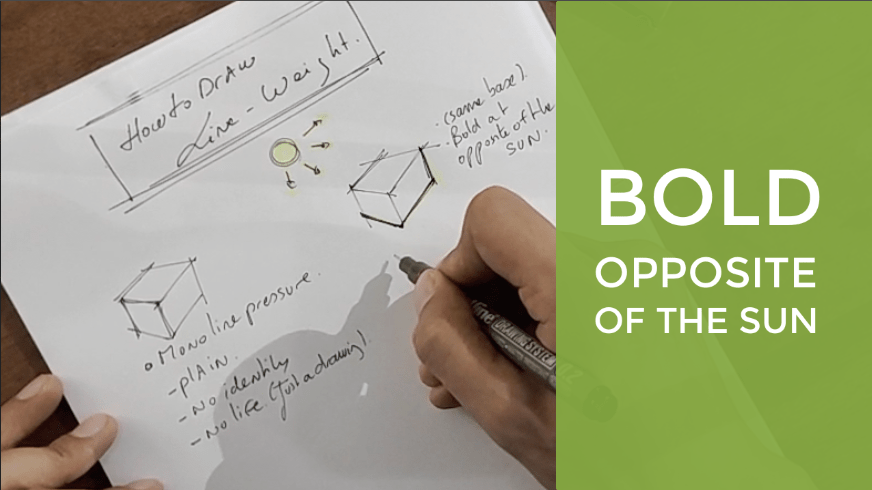
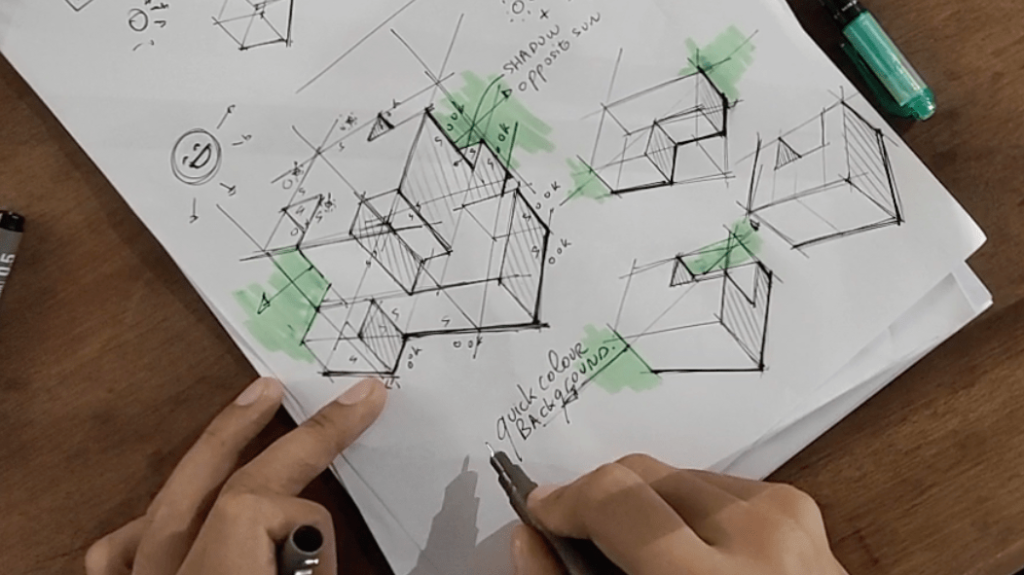
Part 1.1| Bold lines at the opposite of the sun (top-left position)
Drawing bold lines allows you to make your sketch eye-catching. It’s an essential skill for a product designer to convince his audience.
But we can’t add the bold lines randomly, or it may look messy.
There is a special technique to decide which lines to bold:
- Rule 1: Bold the lines/edges that are opposite of the sunlight (coming from the top-left).
Line-weight helps you:
- Have a sketch that pops from your paper!
- Gain charism, personality
- Bring life to your drawing!
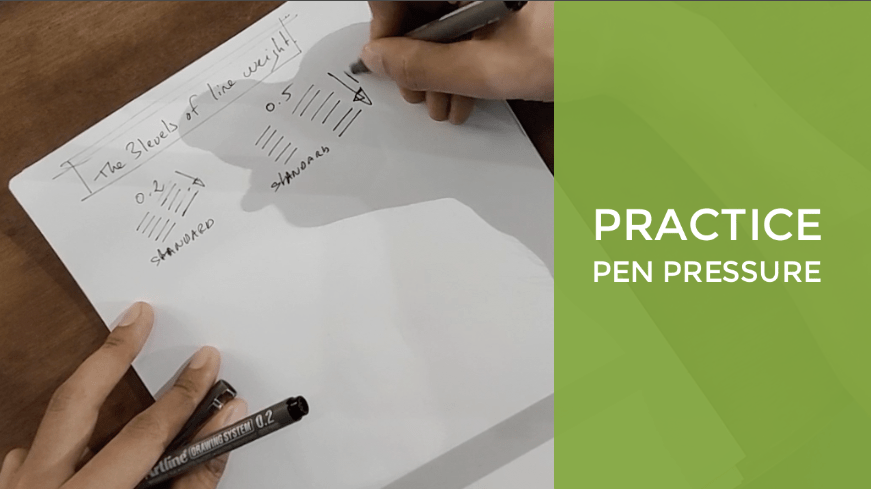
Part 1.2| Practice line-weight using your pen pressure
A beginner tends to draw with a monoline.
As a future designer, you need a palette variation of line weight.
- Draw a few hatching with various thicknesses and darkness to practice your pen pressure sensitivity. (The lighter, the thinner. Vice-versa)
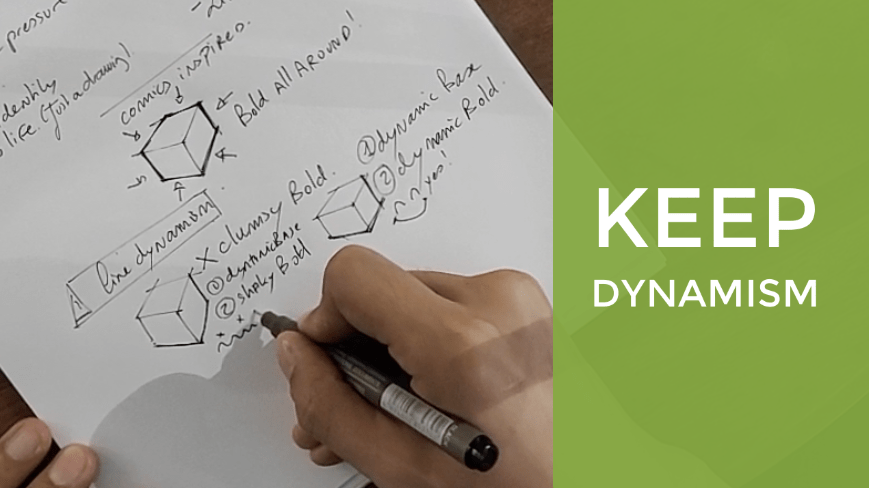
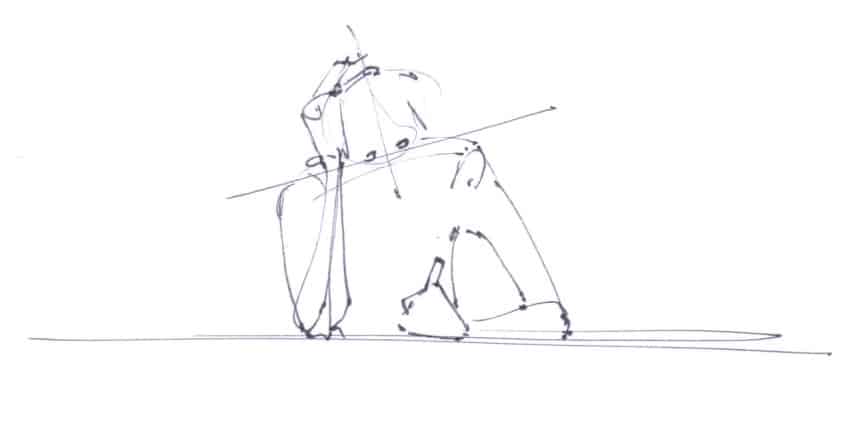
Part 1.3| Bold with dynamism
A common mistake is to bold too slowly on top of your drawing.
You try to get a perfect bold line, but it looks amateur.
- To give it a professional look, and draw with dynamism you need to use ghost drawing.
- MIND TRICK: Draw the bold line (on top of the light one) as if you draw it for the first time!

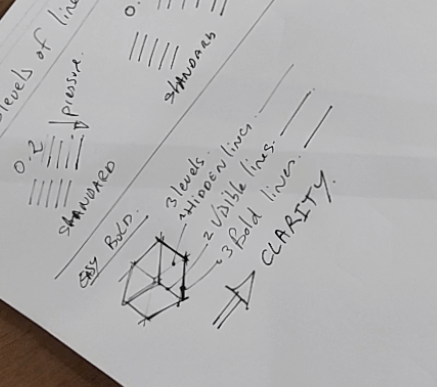
Part 2.1| The 3 sizes of lines
To master drawing any products designs with line-weight,
you need a minimum of 3 lines of thickness:
- The thin line: for hidden lines and construction lines.
- The medium line: for the visible lines
- The thick line: for the “pop lines”
Part 2.2| Practice your pen pressure daily
Draw some circles, hatching, and curves to practice your pen pressure. For now, try to find 3 well distinct levels of line-weight drawing:
- Circles
- Strokes
- Curves
- Remember the ghost drawing!

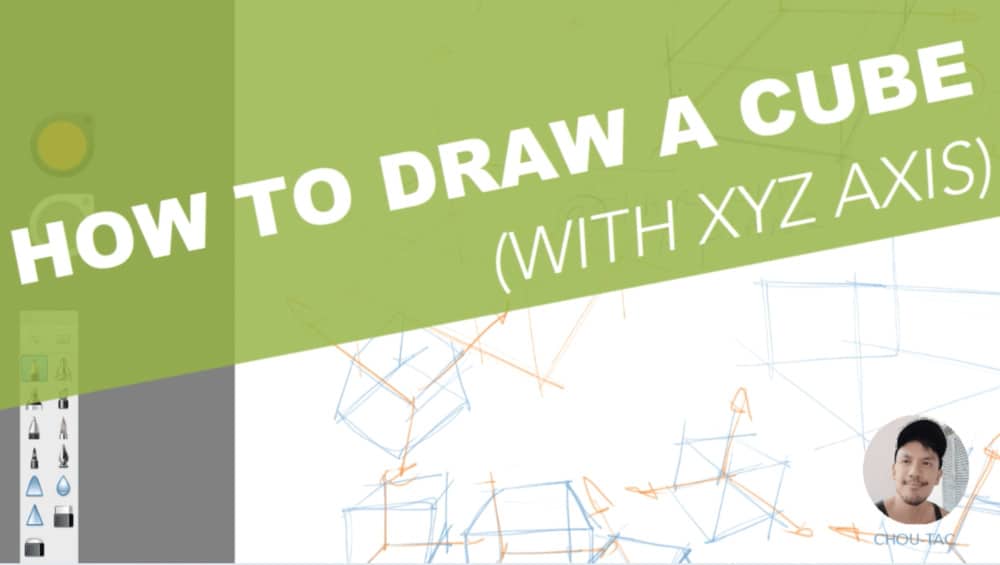
Start drawing a box, and extrude some parts. To train at this, you can refer to the Cube Mania Challenge. Here is the first video on how to draw hundreds of cubes in perspective easily.
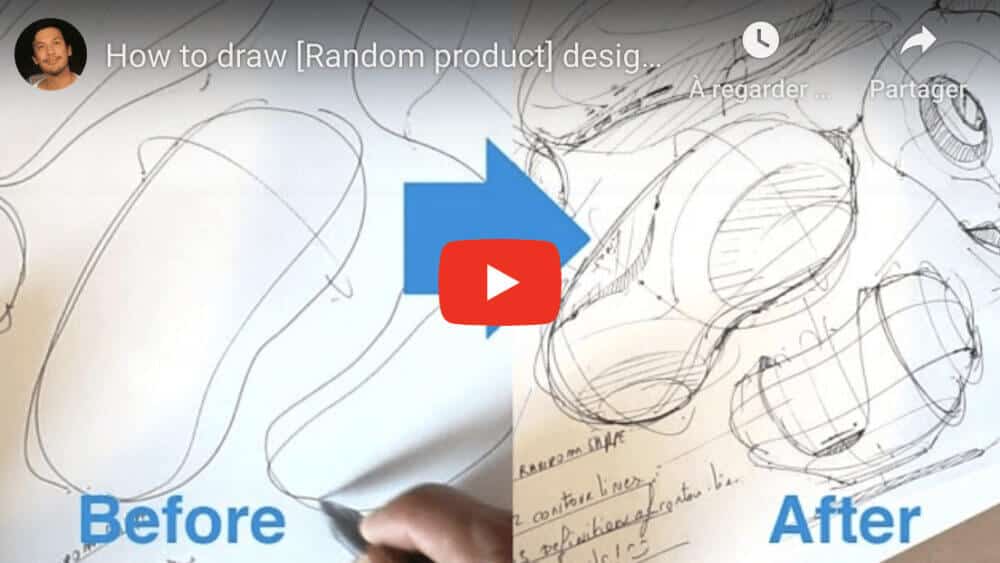
Part 3.1| Sketching exercise
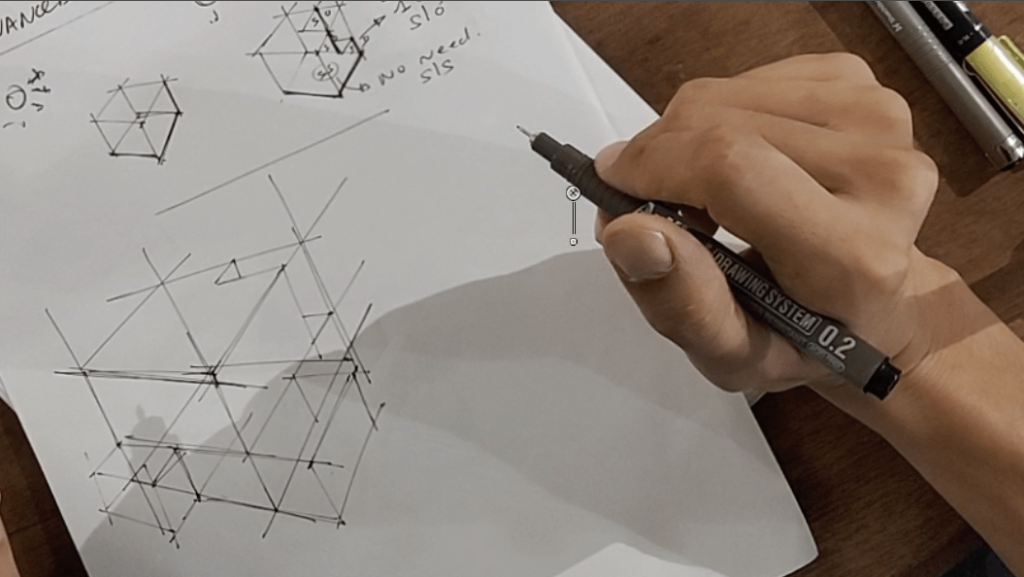
Analyze quickly the overall form, and draw the bold lines one by one. You need to practice often, to make it intuitive. Remember, that learning a technique is one thing. But another to practice. So take paper and a pen, and draw with me. : )
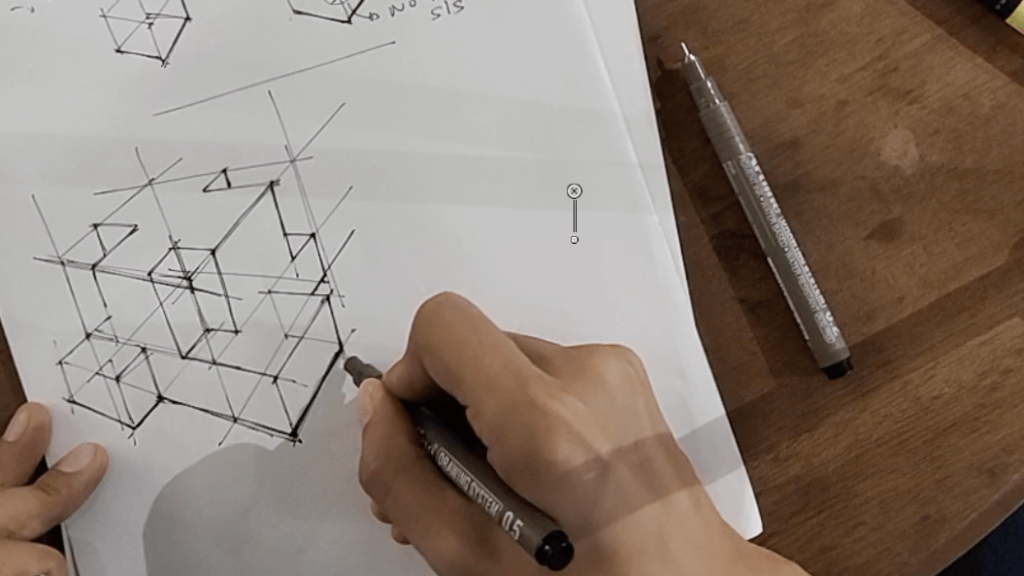
A qualified line to be bold needs to meet these 2 conditions:
Rules 1: Edge at the opposite of the sun.
Rule 2: The line has in contact with only 1 surface visible. The other side is empty.
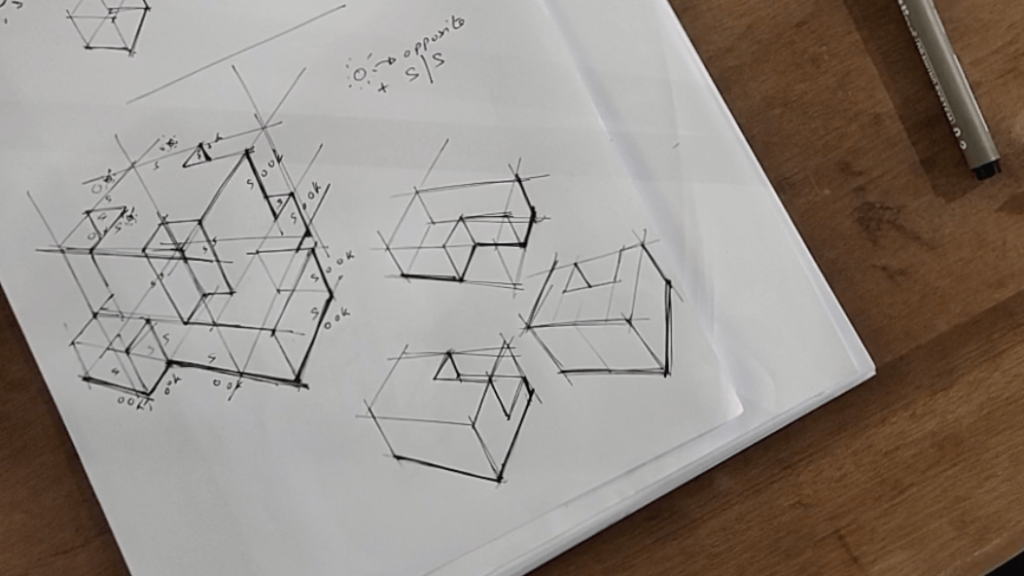
The “0” is an empty surface.
3.2 Add a quick background
An extra TIP is to use a color marker to add extra color behind the 3d form to make your sketch pop!
Great job!
That’s it for today!
I hope you enjoy today’s tutorial! It is the kind of exercise that will follow all your career. Go through it and you will acquire this sketching skill for life! 🙂
Tell me in the comments what pen,
which brand do you like to draw with.
Testimonial of the day from Niyati Chogle
Hello!!
Hope you are doing well.
- I have been following your tutorials and they have helped me a lot already.
- My lines are more precise and I am able to draw shapes decently.
- Thank you so much for your help and guidance.
With warm regards,
Niyati
3 comments