In a previous post, we saw how to draw a reflection on flat and transparent surfaces.
Now, we draw a transparent object: The cap of a Bic Cristal pen.
The degree of difficulty is a bit higher but still achievable by beginners.
Let’s study a transparent BIC ballpoint pen Cristal cap.
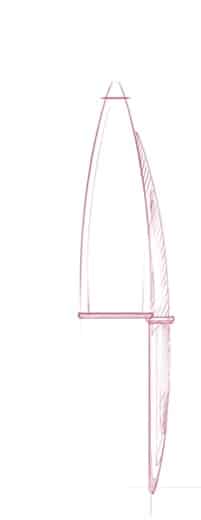
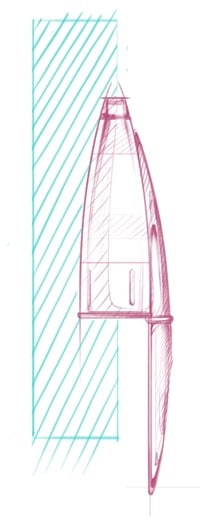
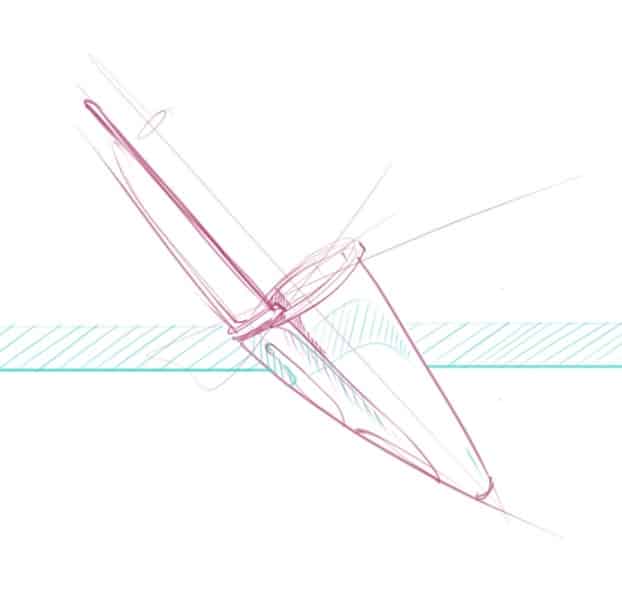
STEP 1| GET THE Right Proportion
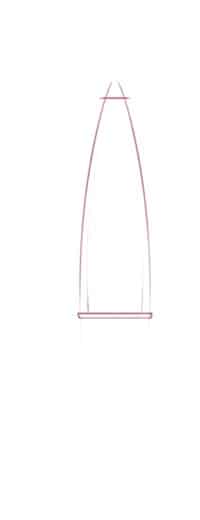
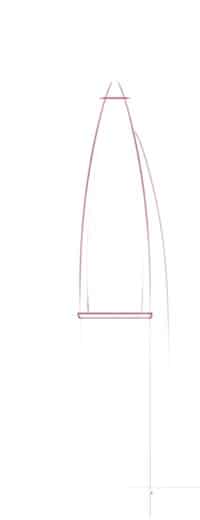
Take your time tracing these curves. Undo with Ctrl-Z when needed. Redo until you get a satisfying result. Remember to use the ghost drawing that we saw earlier in the Basics Essentials.
![]() Make sure the cap’s cone is symmetrical.
Make sure the cap’s cone is symmetrical.
Feel free to use the symmetry tool from Sketchbook Pro.
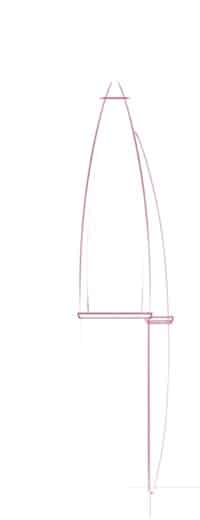
Draw the thickness of the cap as well. It’s the first indicator of transparency.
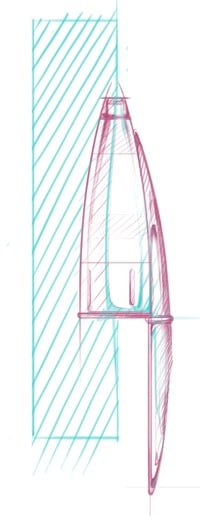
STEP 2| Define the inside lighting and shadow
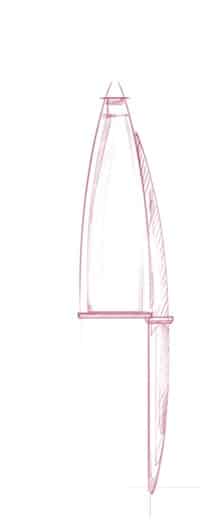
Observe inside the crystal cap or anything transparent such as a glass for example.
You will notice a clear surface, gradients of shadow, and some small dark areas. Emphasize the contrast of wide clear surface and small dark (almost black) areas to create an obvious reflection.
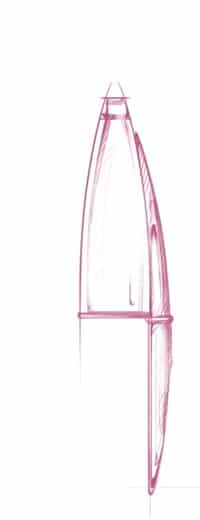
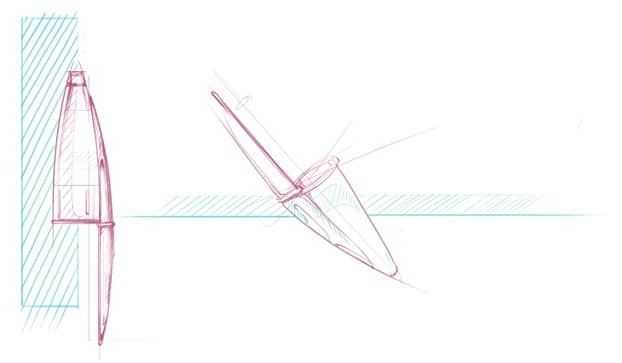
STEP 3| Draw the background
Now, we focus on what is happening at the exterior surface of the object.
Add some hatching to represent the main exterior shadow.
The trick is to cover partially or fully cover the inside one that we did in Step 2.
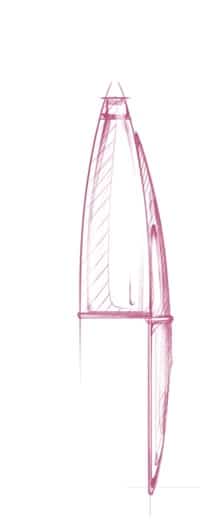
Recommended: you can add a color background. More details at the following bonus.
BONUS | Optical illusion
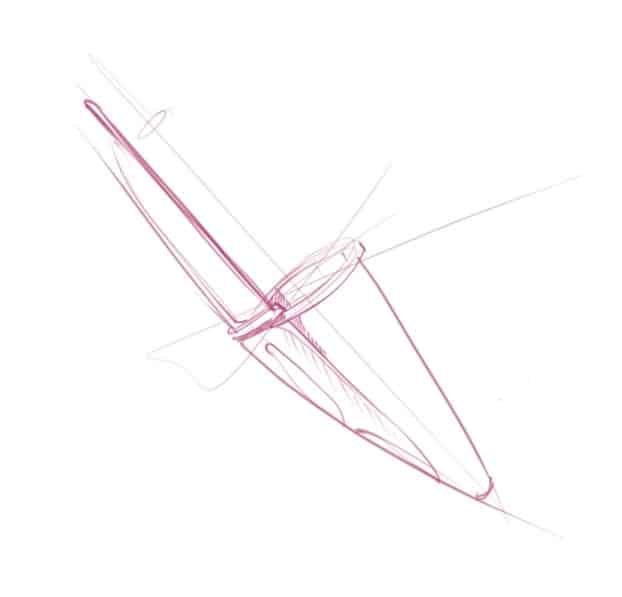
TIP How to make transparency and glass reflection obvious
To do that trick, there is nothing better to draw something behind the object.
We simply add an artificial background made of color hatching.
What is shown behind the cap will be bent.
This quick tutorial needs a bit of training.
Remember to keep it simple.
At the start, we have the tendency to overload the sketch of details.
Let me know your opinion in the box below.
Draw more products with reflection


I enjoy doodling, and I like to compare other artists’ techniques and styles.
South Africa
Yes, putting a background behind a transparent object will make it look transparent.
But you haven’t told us very much valuable information.
How do you know where to draw those curves for the distorted background? Why do they curve, what makes something look transparent, rather than just stating, “You want to make an obvious transparent object? Just put something behind it!” It doesn’t help me, nor will it help people who don’t understand how reflections, transparency, and distortion actually work. Explain why the background looks so different when it interacts with the object, instead of just showing the result without talking about how you got to that result.