- Gain speed in drawing by starting your sketch with a 3D plane
- How to Draw Nice 3D Planes to Set Up Your Perspective Easily
- The Importance of 3D Planes in Sketching
- Getting Started: The Horizontal Plane and Axes
- Common Mistakes to Avoid
- Foreshortening Explained
- The Simple Perspective Solution
- Practice Exercises
- Final Tips
Gain speed in drawing by starting your sketch with a 3D plane
Before starting, if you are making your first steps in perspective,
I invite you to download the Designer Starter Kit made for beginners.
Then, practice these two easy tutorials on Perspective below:
How to Draw Nice 3D Planes to Set Up Your Perspective Easily
Welcome to this quick sketching tutorial where you will learn how to effectively draw 3D planes to help you visualize objects and scenes in three dimensions with ease.
The Importance of 3D Planes in Sketching
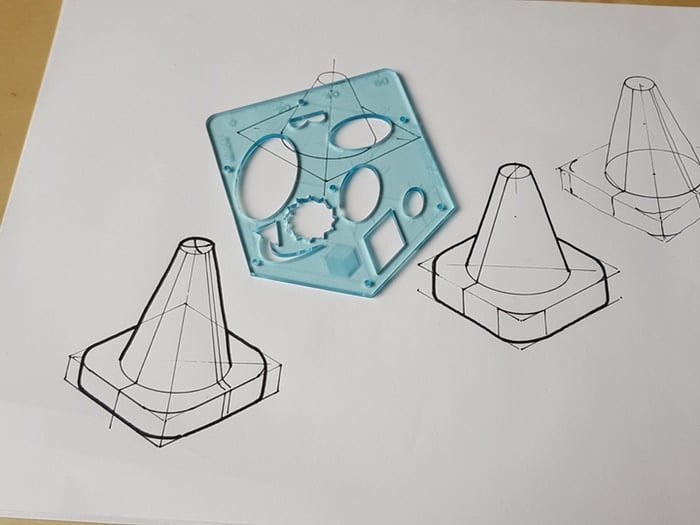
When drawing in 3D, it’s crucial to set up a plane that represents the surface or the ground where your object will rest. This foundational step helps your brain visualize the spatial relationship and orientation of your design. Think of the 3D plane as a table or the flat surface supporting your object.
Getting Started: The Horizontal Plane and Axes
Start by drawing a flat horizontal plane. To add depth, introduce a vertical axis that represents the third dimension—giving you the XYZ coordinate system. This system allows you to navigate all directions in your drawing, matching how our human brain perceives objects in space.
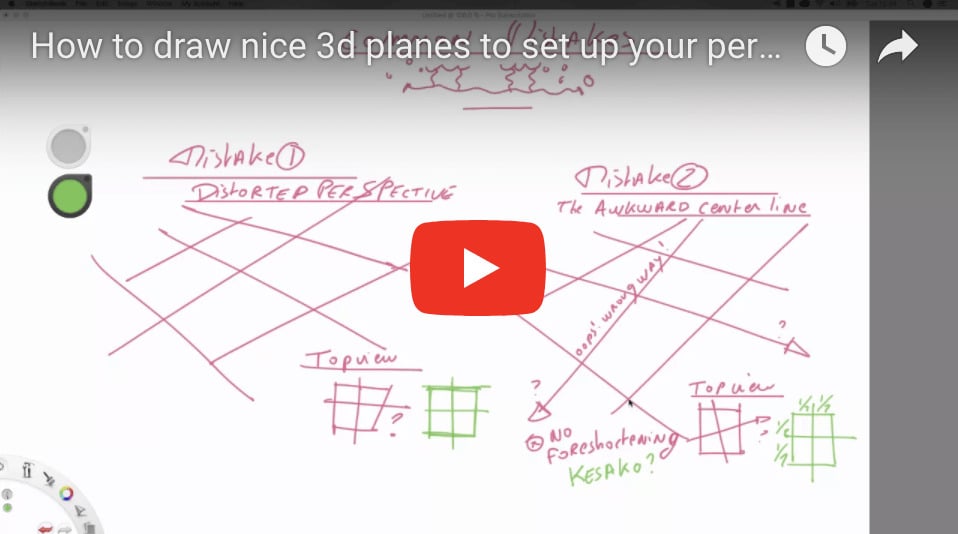
Common Mistakes to Avoid
- Ignoring correct perspective: Sometimes a 3D plane looks okay at first glance but is distorted when viewed from above. The plane should always form a symmetrical square or rectangle, not a warped shape.
- Incorrect center lines: Center lines must be accurately placed, typically by dividing geometry symmetrically (e.g., halves or quarters). Imagine the top view of your object to double-check your lines.
Foreshortening Explained
Foreshortening is a visual phenomenon where parts of an object closer to the viewer appear larger, and those farther away appear compressed or shorter. Mastering foreshortening is essential for realistic 3D drawing.
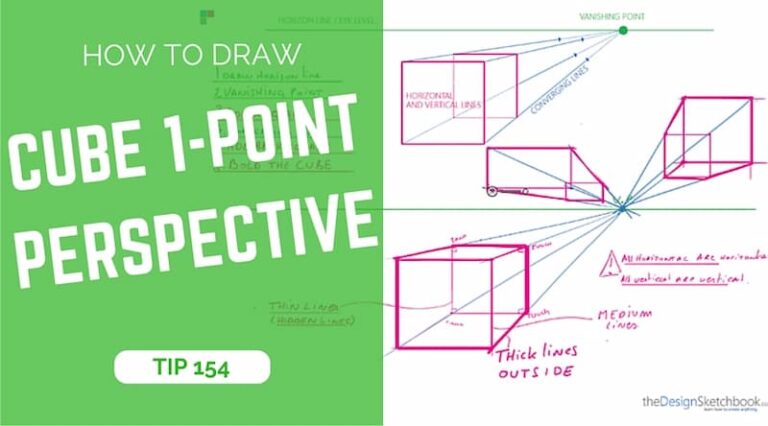
The Simple Perspective Solution
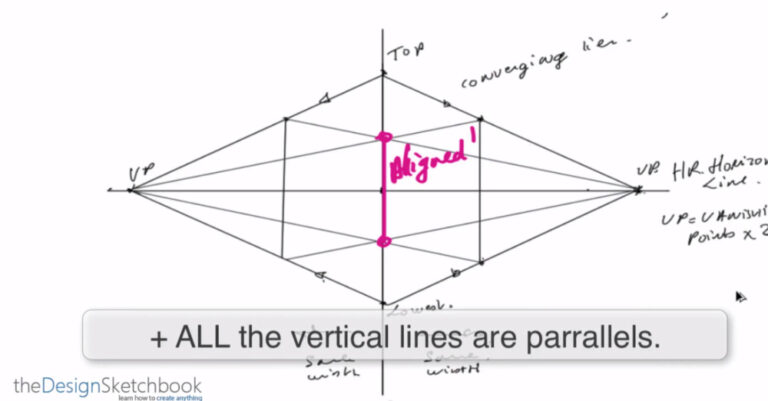
To fix perspective issues, start with a horizontal line and set two vanishing points—one to the left and one to the right. These vanishing points help you draw parallel lines converging in perspective, establishing the 3D space realistically.
- Draw lines from your vanishing points to create a box or plane in perspective.
- Use diagonals and vanishing points to find the true center of each face of your box.
- This geometry-based method ensures your shapes are proportionate and symmetrical in 3D.
Practice Exercises
Practice drawing many doors or rectangular shapes quickly and in small size. The more you practice, the more your brain will internalize perspective and foreshortening, allowing you to draw accurately without overthinking.
Final Tips
- Feel foreshortening as a spatial sensation rather than a calculation.
- Start with simple planes and build your perspective step-by-step.
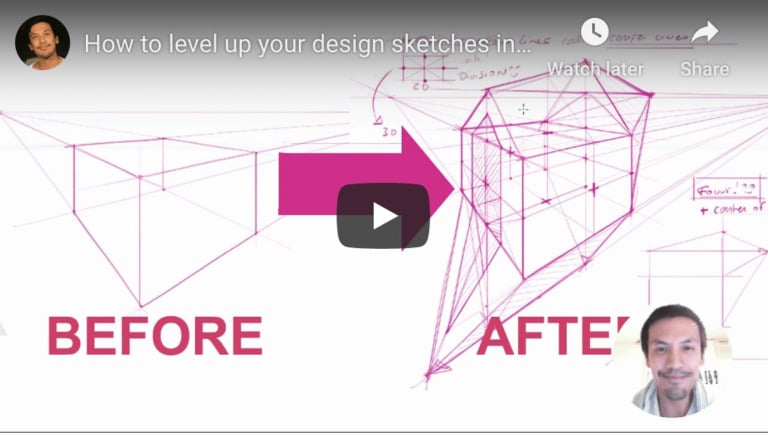
- Eventually, you will develop enough skill to skip the construction lines and draw freely with confidence.
- Whenever you feel lost, return to the fundamentals of 3D planes and perspective setup.
Try these methods in your next sketches and watch your 3D drawing skills improve significantly. Remember, perspective is the key to freedom in creative sketching!
For more helpful tools, feel free to download the Designer Starter Kit available on this site to practice straight lines, circles, and squares in perspective.
Happy sketching!
Related Articles


1 comment