Hi sketching lovers!
Do you start design sketching?
Today I want to answer a question that I got from Omar on Instagram,
who wants to know how to get started in design sketching.
This is a very common question that I get a lot, and I’m happy to share some tips and insights with you.
Plus, I’ll reveal the one big mistake that many beginners make that slows down their progress as product designers.
So, Omar is interested in learning design sketching at a professional level, and he has been practicing for a couple of months. He sent me some of his sketches, and I can see that he has a lot of passion and enthusiasm for sketching.
That’s awesome because that’s the most important thing when you’re starting out.
No matter your skills, you need to love what you do and have fun with it.
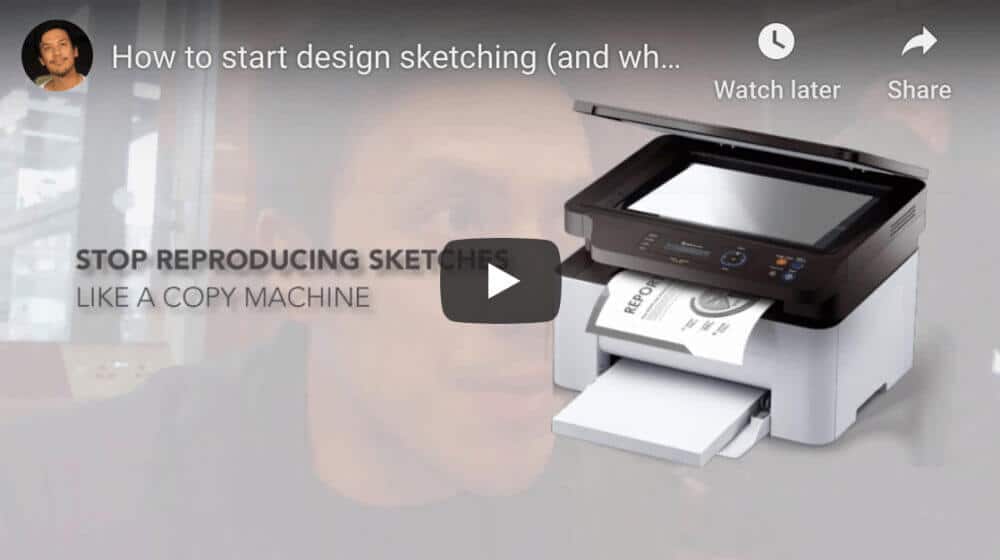
TIP 1 The Biggest beginner mistake
But here’s the thing:
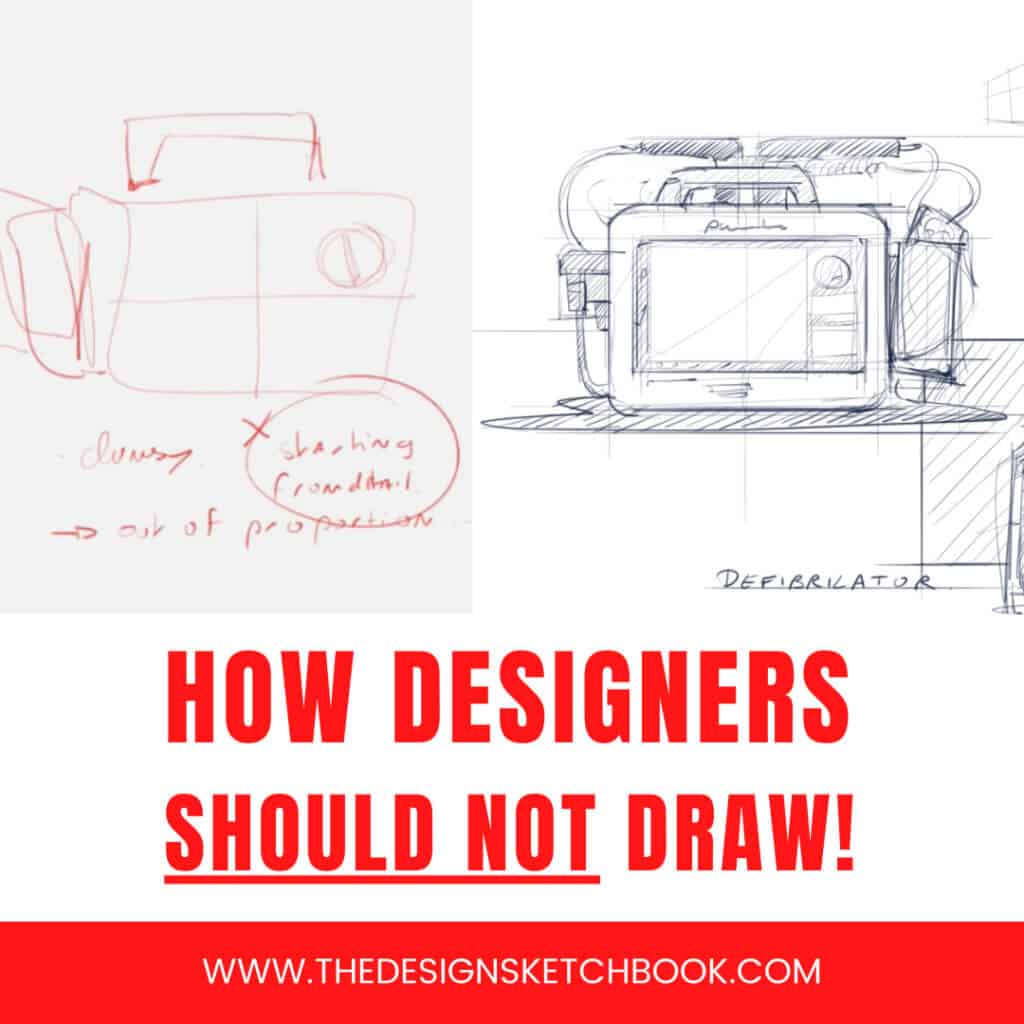
Omar is making the same mistake that many beginners make, which is copying existing sketches or photos without understanding the underlying principles of design.
He’s using the grid technique, where you overlay a grid on your reference image and try to replicate it exactly.
This might seem like a good way to learn, but it’s actually not very helpful for developing your design skills.
TIP 2 Design sketching = Create from imagination
Because design sketching is not about copying what you see, but about creating what you imagine.
It’s about:
- expressing your ideas,
- your vision,
- your creativity.
- It’s about solving problems,
- communicating concepts,
- and exploring possibilities.
Copying sketches or photos might make you feel like you’re improving, but it’s actually limiting your potential as a designer.
TIP 3 How to Start Design Sketching?
Well, I have a step-by-step plan for you that will help you master design sketching in no time.
It’s called the ‘Sketch Like The Pros’ online course, and it will teach you everything you need to know to sketch like a professional designer.
You’ll learn how to use basic shapes, perspective, shading, line quality, and more to create stunning sketches that showcase your ideas.
You’ll also learn how to sketch different types of products, and you’ll get feedback and guidance from me along the way if you choose the 1-to-1 VIP membership.
If you’re interested in joining the ‘Sketch Like The Pros’ online course,
click the link to join the waiting list.
TIP 4 Draw like a Designer, not like an Illustrator
These techniques are designed for product designers, not illustrators, so they will give you an edge in your field.
The key is to sketch in 3D, not 2D.
This means that you don’t just draw what you see, but what you imagine.
You can take any object, like a coffee cup, a pen or my phone, and visualize it in your mind from different perspectives. Then you can sketch it from any angle you want.
This is the magic of 3D sketching.
If you sketch in 2D, like using a grid, you will be limited by the reference image.
You won’t be able to rotate it or sketch it from a different viewpoint.
You will be stuck with the same” boring perspective”.
For example, if I want to sketch this phone, I would start with a rectangle in perspective.
Then I would add the details and the features.
For this paper cup, I would start with a cylinder in perspective.
Then I would add the curves and the details.
You need to start with simple shapes,
and then you can build up the complexity later.
TIP 5 Do I need to learn the basics of sketching to succeed?
Omar asked me another question about How to start design sketching:
How do you reach the top level?
Do you need to learn the basics first?
The answer is yes, absolutely.
Learning the basics is essential if you want to improve your skills and progress faster.
Without the basics, you will have a very slow and frustrating learning curve.
You might enjoy sketching, but you will also get stuck and discouraged.
But when you have the basics, you will be able to sketch your ideas in just 30 seconds, instead of spending half an hour copying something.
You will be able to express your creativity and your vision more effectively.
I hope you enjoyed this blog post and learned something new.
Stay tuned for more tips and tricks from Omar and me.
And remember, have fun sketching with the fundamentals and the basics of design sketching.
Cheers,
Chou-Tac
Transcript: How to start Design Sketching
Welcome to theDesignSketchbook.com.
I’m with my friend Anthony in London.
We are going to take our train in about 1 hour.
And I thought we could share a story with you guys.
I just received a message from Omao on Instagram who asked me a question:
– How to get started in Sketching?
I asked Omar:
– Is it for Hobby or do you aim for a “super nice level”?
He wishes a professional level, and he just started 2 or 3 months ago.
And he has sent me some pictures of his level right here.
And the first so the first thing is that what I could see his level is pretty beginner,
you can feel that he loves sketching.
And that’s what counts the most when you start when you’re a beginner because this is what is going to help you to give the motivation to carry on.
Even though he has not started to sketch for very long, is that the biggest advice I could give to him is to:
Stop just reproducing sketches like a copy machine.
Do not copy pictures you see as it is.
Like the tutorials you could see on Internet about the grid technique, having the grid on top of your reference pictures, trying to reproduce exactly what you see.
This is not why it’s going to make you progress the most in sketching especially as as a designer.
As a designer, it is more about creativity and not just copying something existing.
It’s a great skill I would say, that is helpful, but that is not the important thing.
Drawing by copying gives you the illusion of knowing how to sketch as a designer.
Omar asked me if I had a step-by-step plan of how to sketch.
So I was sharing with him that I do have the training, which is the ‘Sketch Like The Pros’ online course.
All the techniques I share inside are techniques for designers and not for illustrators.,
Which is making the biggest difference.
The idea is that instead of drawing in 2D like the grid techniques.
Instead, you have to think in 3D volume.
You could take for example this coffee cup, a pen or my phone…
You can see these objects from one specific viewpoint in your mind,
and you will be able to turn them in your mind in 3 dimensions.
Then you can draw them from different angles.
And that’s the magic of it.
If you draw with the grid, you will be able just to see it like the picture only.
You will not be able to turn it or redraw it from a different angle from your imagination.
If I would start with that phone to draw,
I would draw a rectangle in perspective,..
For this paper cup, I would draw a cylinder in perspective.
You need to start with simple shapes, and then you will be able to carry on with much further later.
Omar asked me another question.
Which was about drawing in general:
To get to the top level in Design Sketching,
Do you need to go through the basics?
Yes, it’s compulsory to go through the basics
because this is what is going to make a huge skyrocket progress in at your level.
Without this, you’re going to have a very, very, very slow progression.
Even if you have fun drawing, you may get stagnating,
And then Omar was saying,
Whenever he started to sketch, his sketch was getting bad very fast and it took so long to sketch.
So long to draw something by copying stuff.
And this is when you have the basics. You will be able to just your ideas in just 30 seconds – while you could take half an hour to draw if you just want to copy.
Keep in touch with Omar and see you guys I hope these small videos are helpful and encourage you to draw through the fundamentals and the basics.
Feel free to download theDesignerStarterKit on the blog,
where you are going to start to draw cubes in perspective from different angles.
You will see, it is much more simple than it seems.
So see you guys in the next video!
Feel free to comment, like, and share
with whom it might help, and enjoy the video :).
See you, take care.
Cheers,
Chou-Tac





Add comment