- Are you afraid of drawing?
- Do your sketches look amateur for months or even years? :
- Do you feel your sketches look flat, boring, and have no personality? : /
You might need to level up your quality of lines.
Surprisingly, what I teach my students of Sketch Like The Pros,
is ultimately not looking for the perfect lines.
Why?
Because perfect lines tend to be cold, and emotionless.
While I want you to sketch with dynamism and surprise!
With these 15 sketching tips,
your sketches will gain in personality, charism, and Wow!
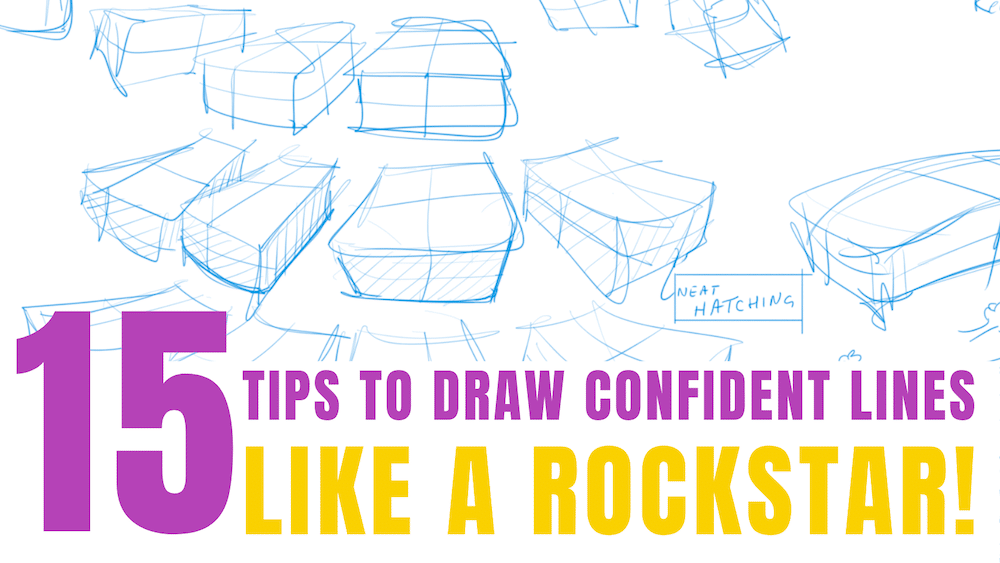
15 TIPS | Draw Confident Lines like a “Designer Rockstar”!
- Tip 1 Skip Perfection
- Tip 2 Draw beyond
- Tip 3 Vary your line style
- Tip 4 Draw confident like a RockStar!
- Tip 5 Express emotions
- Tip 6 Study your sketching basics first
- Tip 7 Set your strategy
- Tip 8 Neat hatching
- Tip 9 Explore more
- Tip 10 Distort your forms
- Tip 11 Draw multiple angles
- TIP 12 Aerodynamic style
- Tip 13 The "Pizza dough" technique
- Tip 14 The "Spring technique"
- Tip 15 "Magnetic Paper"
- Domains of application
- Wrap-Up
Today, we see 15 TIPS to Draw with Rockstar Designer lines!

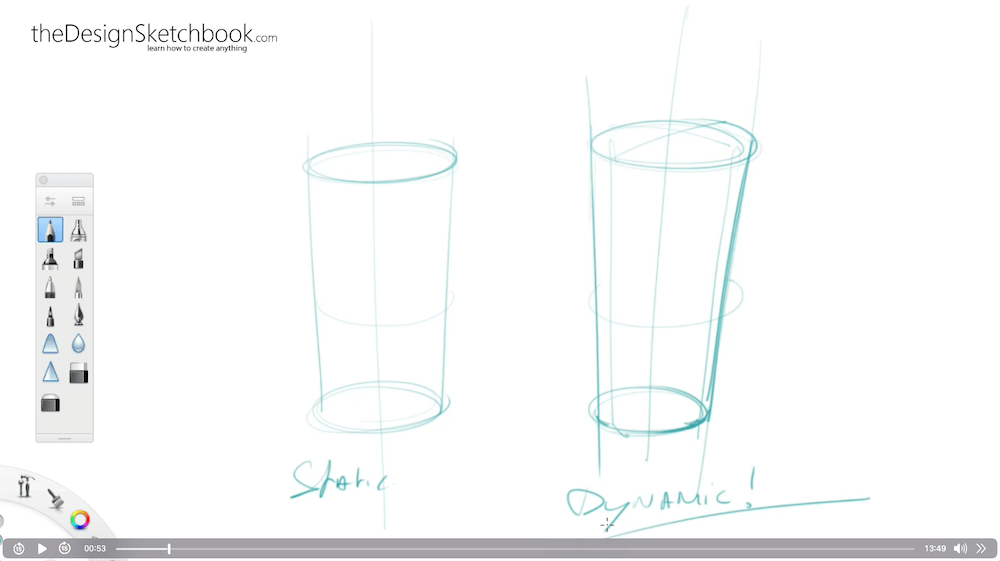
Tip 1 Skip Perfection
For this first cylinder (left),
I try to make things right.
I try to make things good.
That is pretty static.
Nothing wrong with it.
What if I tell you we can do better?
- For cylinder one on the right,
- I try to extend my lines.
- I try to extend the contour lines and exaggerate them.
- I add line weights
- and I don’t hesitate also to curve, to bend some lines as well to give more dynamics
- and I’ve even tilted a bit the perspective as well.
Can you see the difference between the left and the right?
Which one looks more attractive?
The one on the right is definitely more dynamic
and this is how you can bend your style.

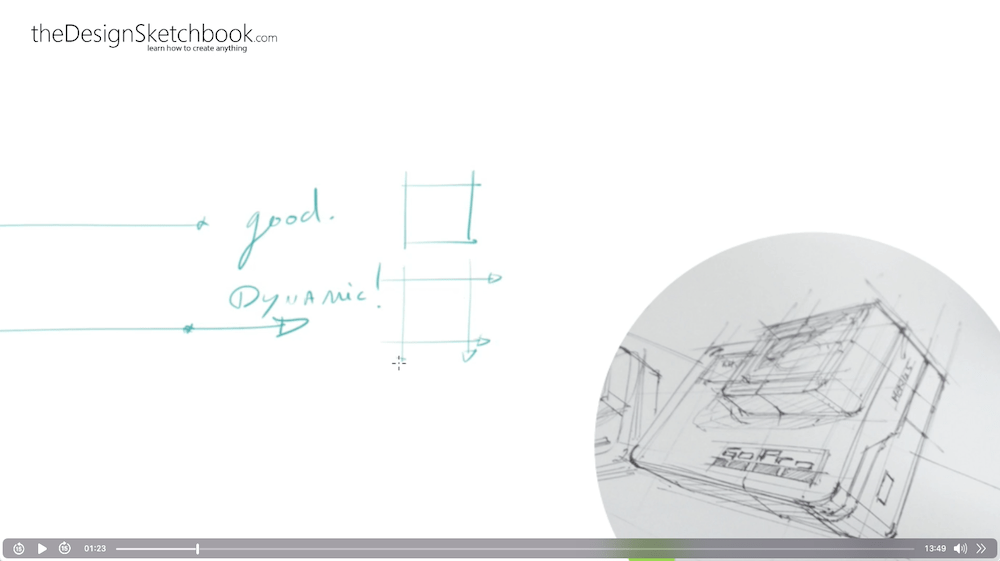
Tip 2 Draw beyond
When you connect the dot from a to z, it looks good.
But what if you can draw more than z?
So your second dot goes beyond and you get a more dynamic style.
For example for this GoPro is a sporty product
that is not supposed to be in motion.
I draw it in motion and exaggerate going beyond the lines!
It’s perfect for the construction lines
and then readjusting the lines of the product.

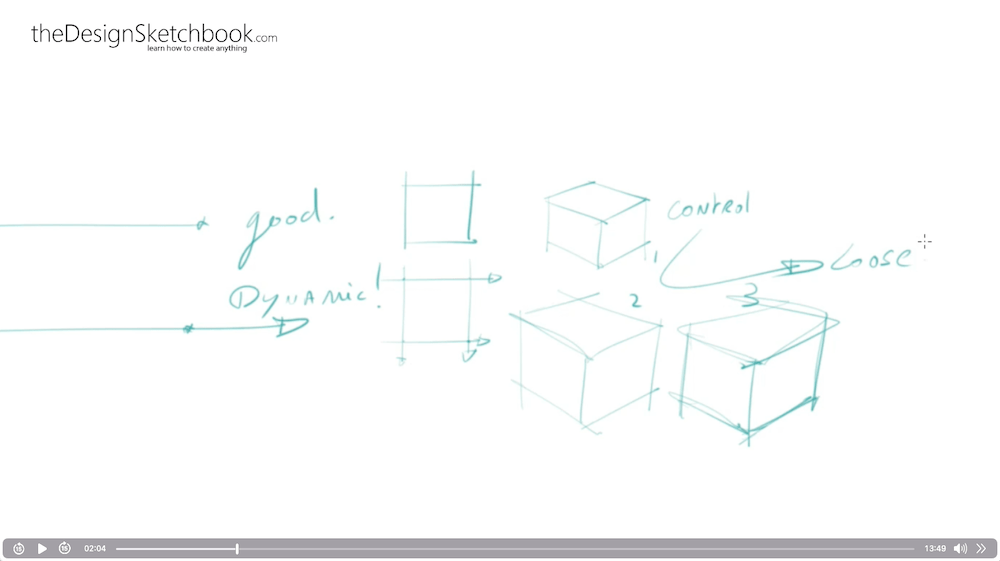
Tip 3 Vary your line style
You are going to get a “Palette of line style”.
From very static to something that will be more expressive.
This is from this line palette you can pick from
whenever you need them
– depending on what type of project you have, and in which phase you are.
So you can see here the third one is going to be wilder I would say
So the first one is more controlled
and for the third one
is when you’re going to look for expression.
Your lines will get a lot looser.

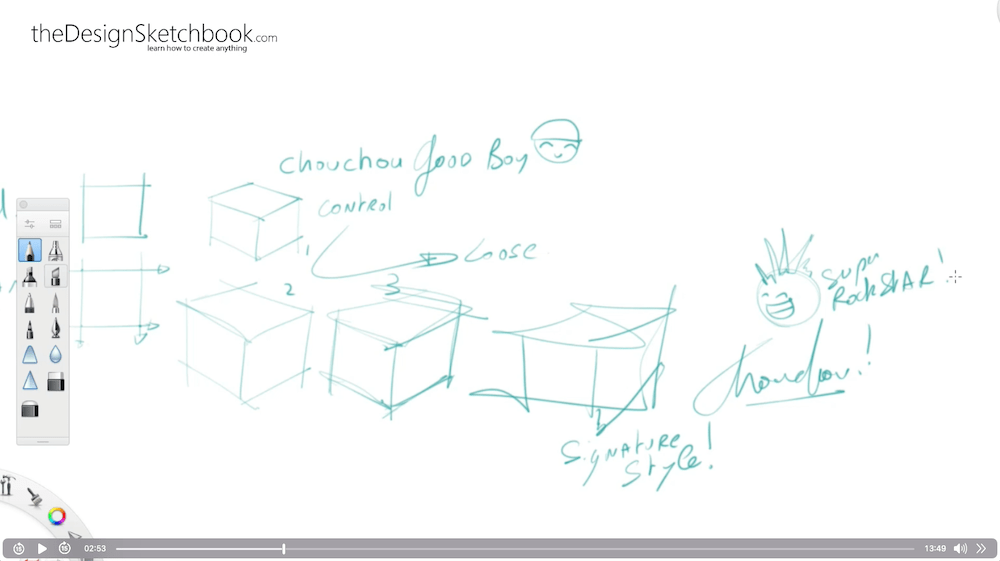
Tip 4 Draw confident like a RockStar!
After the third dynamic line style,
you have even a fourth style that is wilder
It gives you a style like a signature.
Imagine that you are signing.
I do recommend you try some of your signatures before practicing this cube.
Can you see here “CHOUCHOU”? (Near the rockstar drawing)
I’m signing.
Can you see the “CHOUCHOU” at number 1?
It is more controlled.
It’s like when I study at school, like middle school.
I try to be a “Good boy” to try to learn the alphabet,
and the expressions in my lines are absent.
Like a Rockstar, imagine you sign autographs!
After mastering how to write when you were young,
you learn how to bring emotion to your music and your signature!


Tip 5 Express emotions
Steps number three and four are about expressing your ideas with emotion.
As well as sketching, or talking, or singing
emotion is important whenever you’re communicating visually.
NOTE:
The number three is actually my best proposal, my best style on the palette to communicate my ideas.

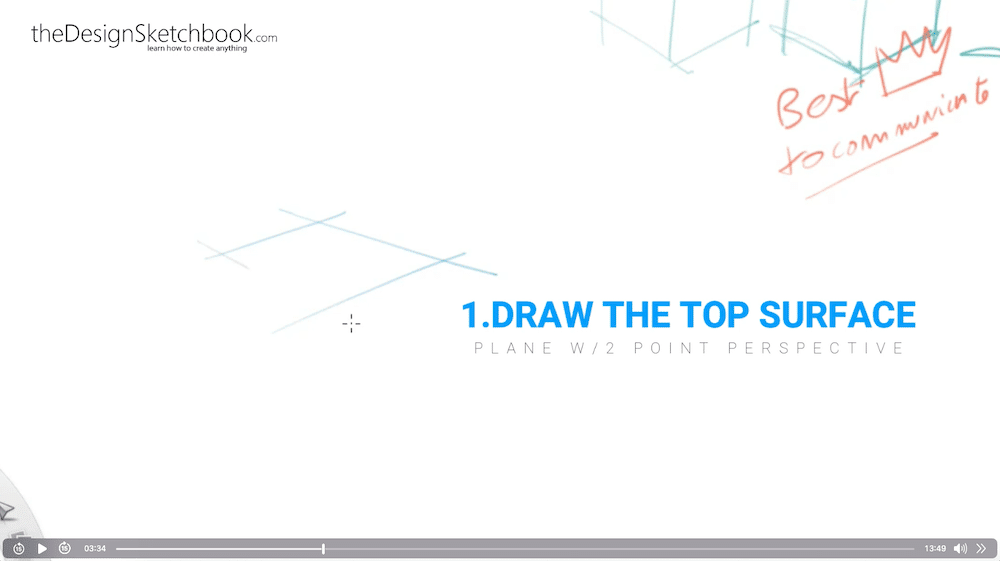
Tip 6 Study your sketching basics first
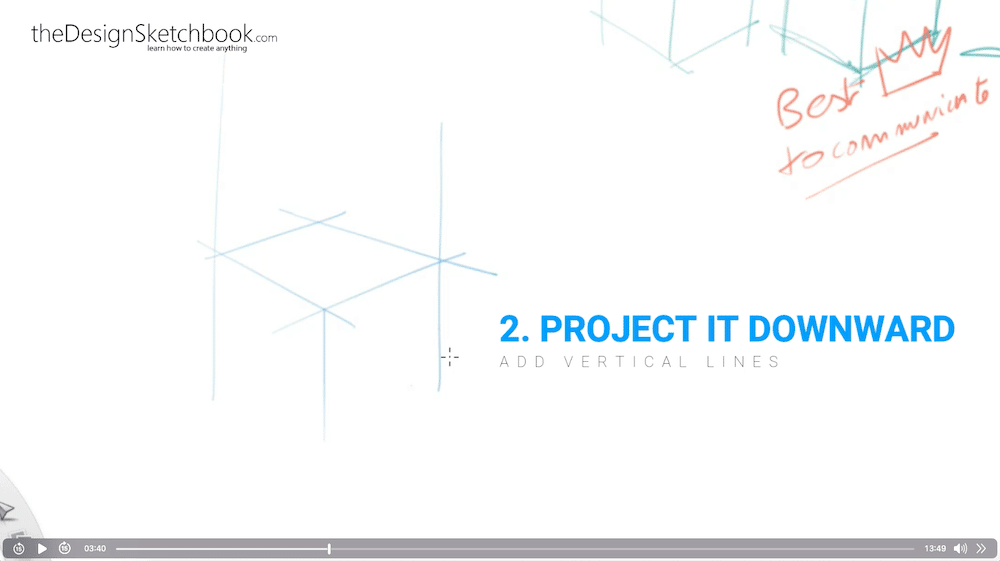
- Draw the top surface by projecting downwards
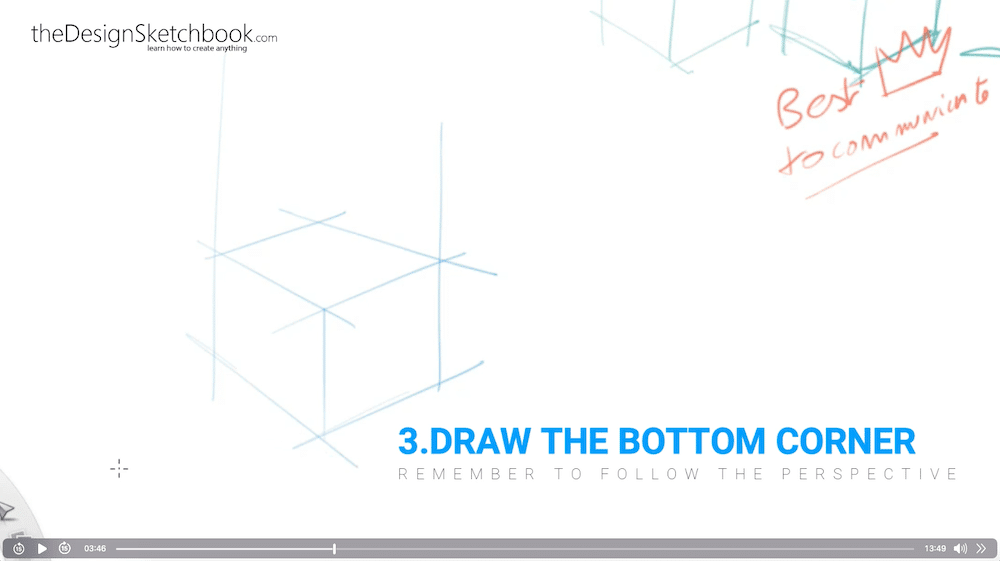
- Complete it by drawing the bottom corner
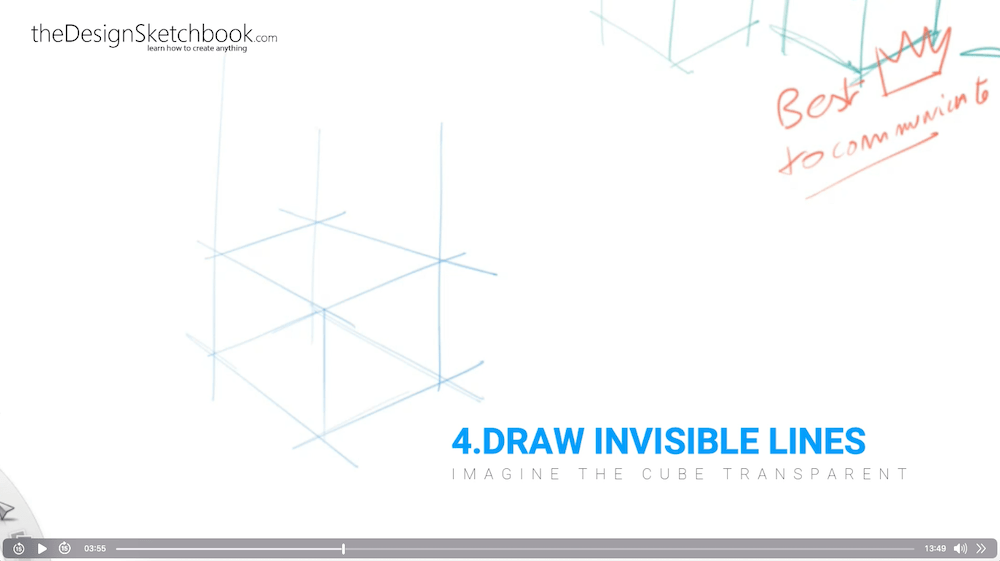
- Draw the invisible lines (imagine that the cube is transparent)
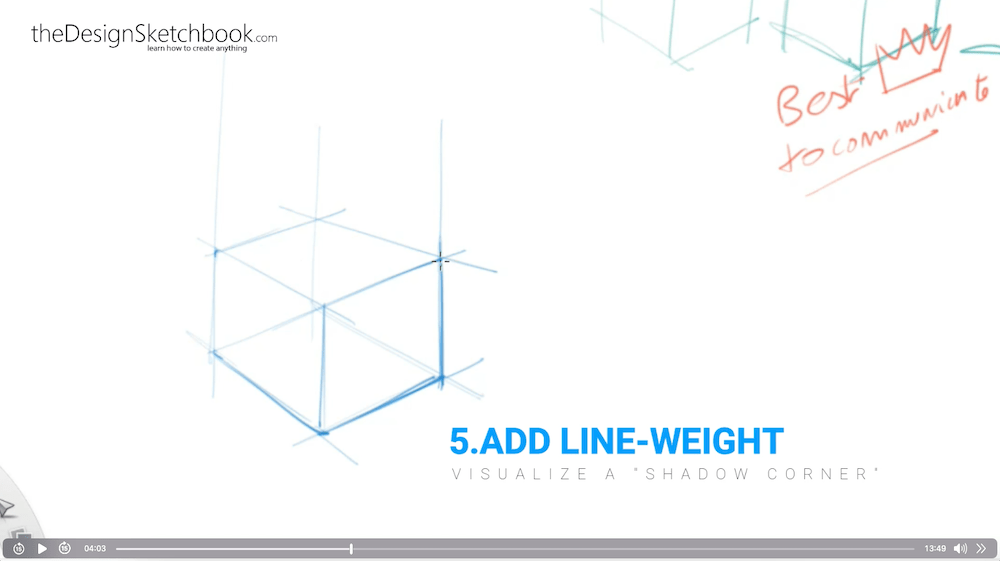
- Add some line weight. Visualize a “shadow corner”.
This side of the cube is opposite the light source.
Can you see how it pops up more?
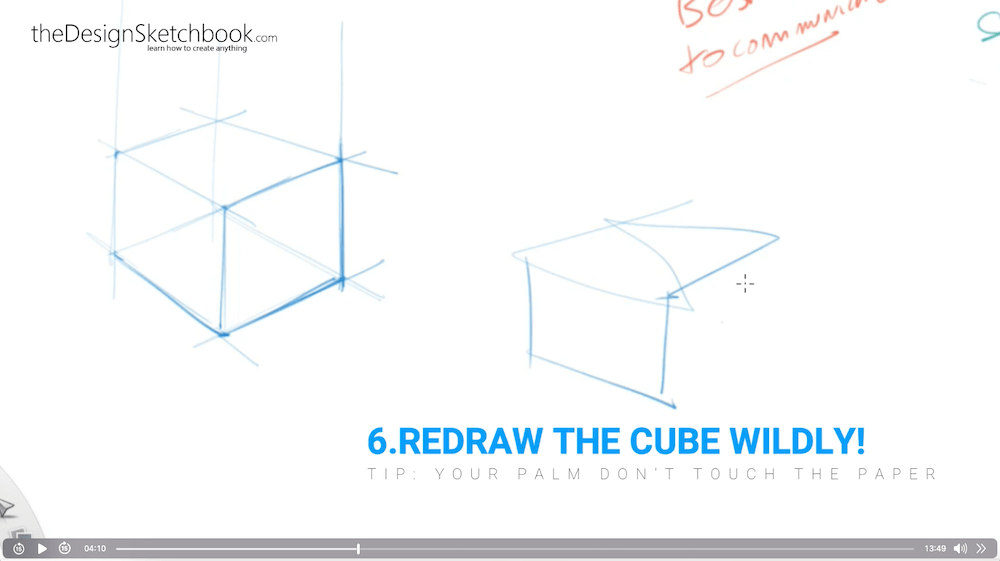
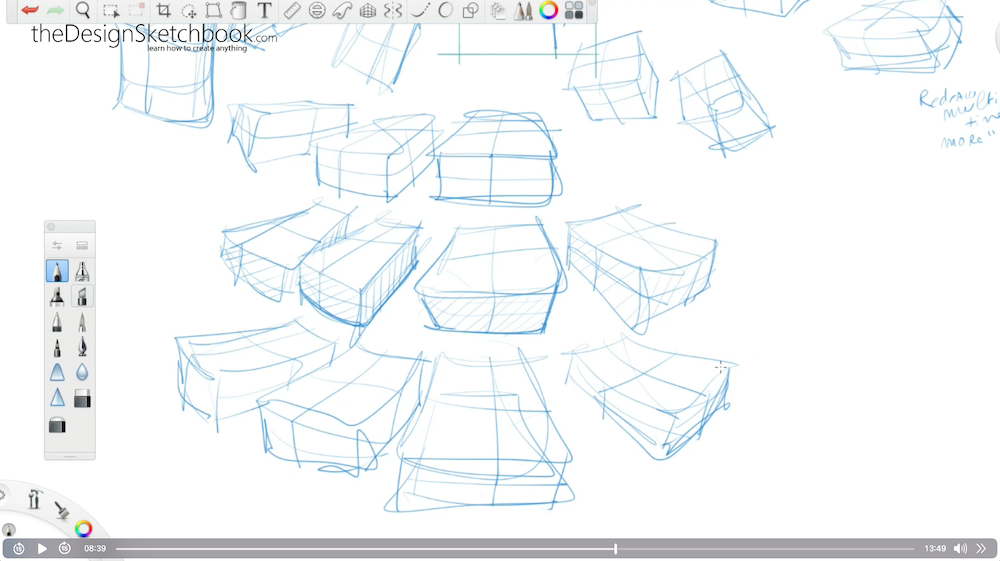
- Redraw the cube widely.
- TIP: Your palm doesn’t touch the paper or your table.
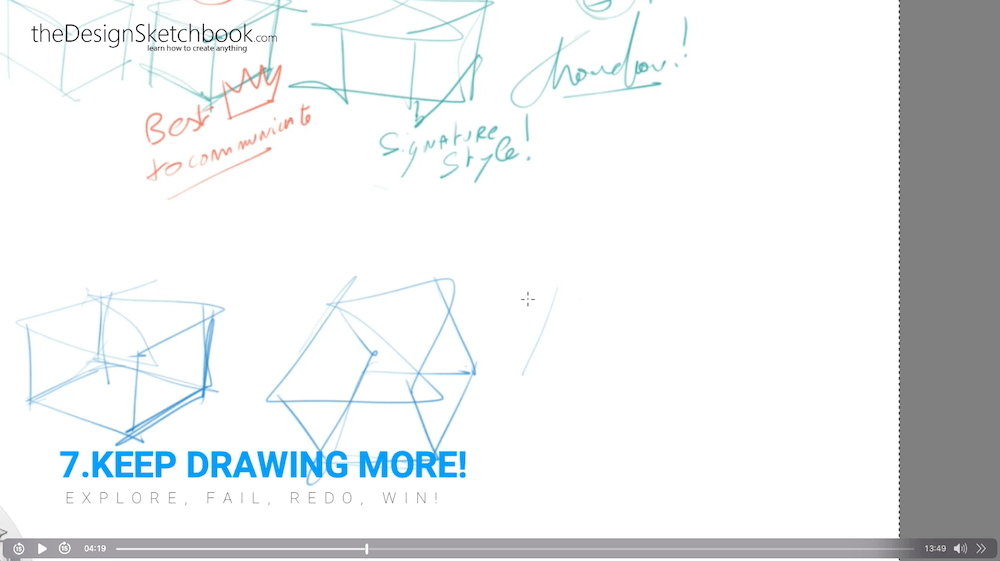
Try to draw very freely and keep drawing more - Explore!
- “Fail, Redo and Win”
Draw as many as you can. - Try different angles.
It will train your 3D vision much faster. - The signature style helps you to
make more study attempts in the shortest time.

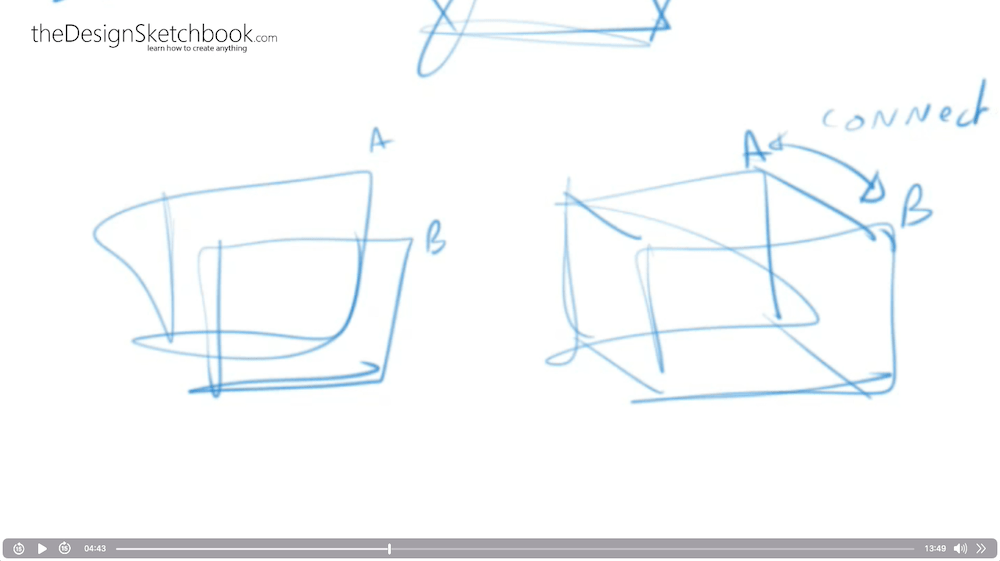
Tip 7 Set your strategy
Try to identify different ways to draw the cubes.
- Here are the top surface “A”, and bottom surface “B”.
- I connect them.
- That’s one of the ways we can draw a cube.
- There are many more ways to draw.
To discover them, you need to try them!

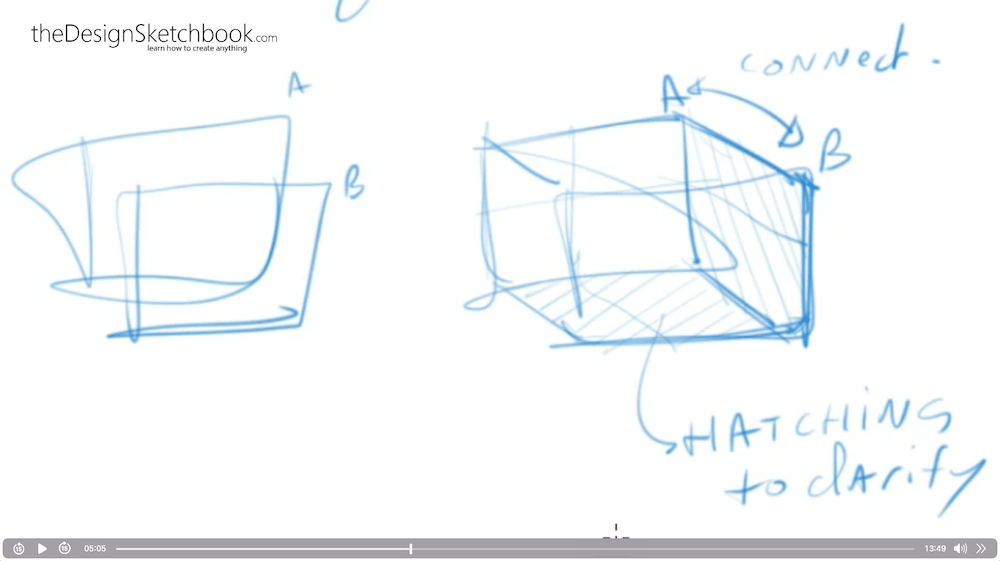
Tip 8 Neat hatching
Even if it’s a signature style,
I want to have neat hatching.
It gives something more solid for the overalls and you can better clarify your ideas.

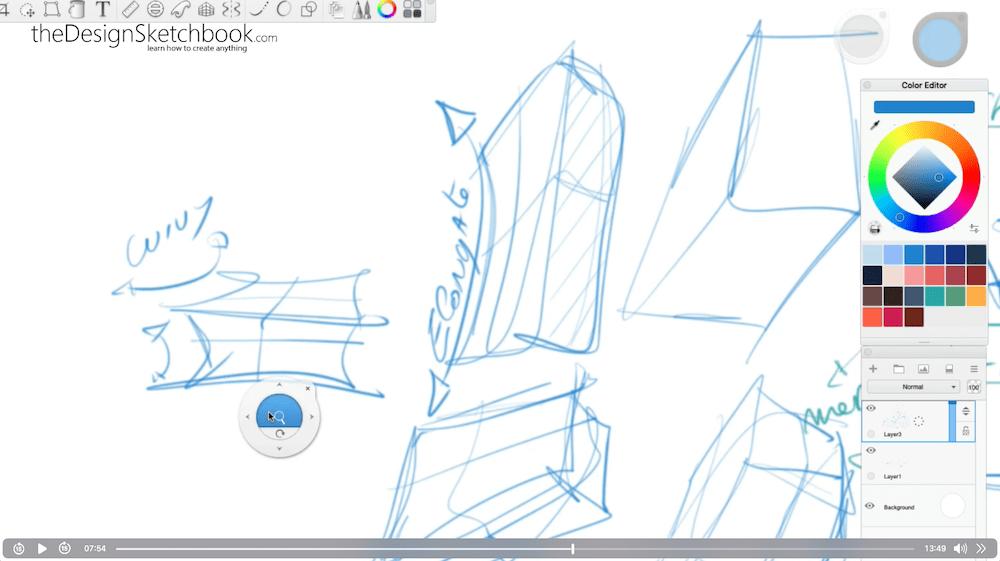
Tip 9 Explore more
You will never be tired
to explore more and more with these techniques.
It goes super fast to try a lot of proposals.
Try different formats, different lengths, different thicknesses, and different ways to add your contour lines.
Go super wild,
and you can redraw multiple times.
If you fail, redo again.
Try to be wilder and wilder.
Remember,
You have to study the cube BEFORE.
Then you can activate the sensation of drawing fast.
It will kind of become intuitive
It’s really fun to draw
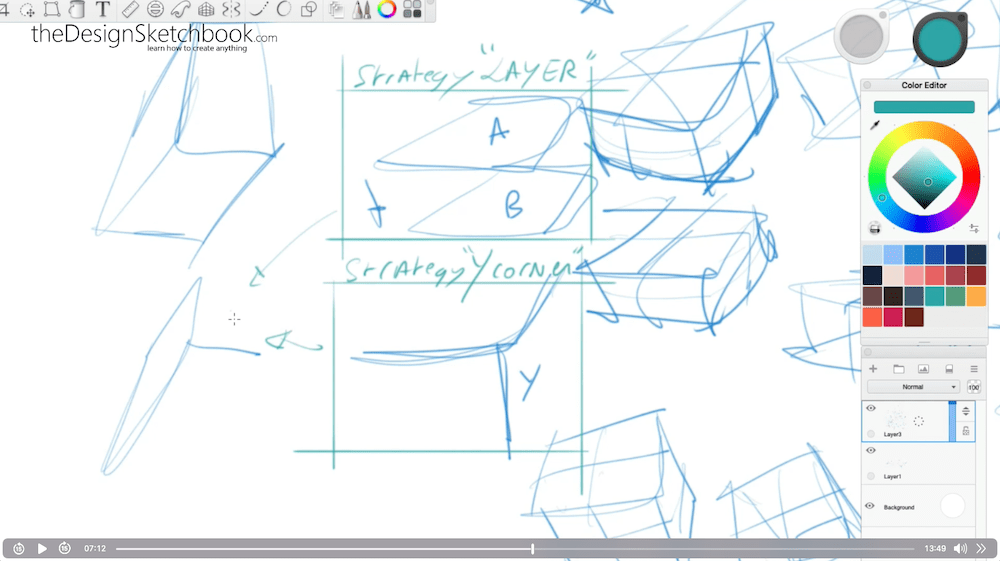
surface A, then surface B and I simply connect them.
Here I try with a corner to start with the corner as it looks like a Y.
Can you see that sketching is not looking for perfection?
So a strategy of the layers and strategy with the Y corner.
Practice both solutions is pretty cool

Tip 10 Distort your forms
- Don’t hesitate to maltreat your lines.
- Start distorting the reality.
- You can elongate some of the lines
- You can curve them as well.

Tip 11 Draw multiple angles
Can you see the line style here?
It’s super fast.
When you train with simple cubes first in perspective,
you will better see things.
We cover that in the Designer Starter Kit
you can download on the blog.
Learning the basics of perspective,
soon you will be able to draw all that freehand, and with confidence.
Pretty cool right?
This is why it’s super nice to be able to draw in three dimensions.
Because you can visualize things in your head
and draw them on paper.

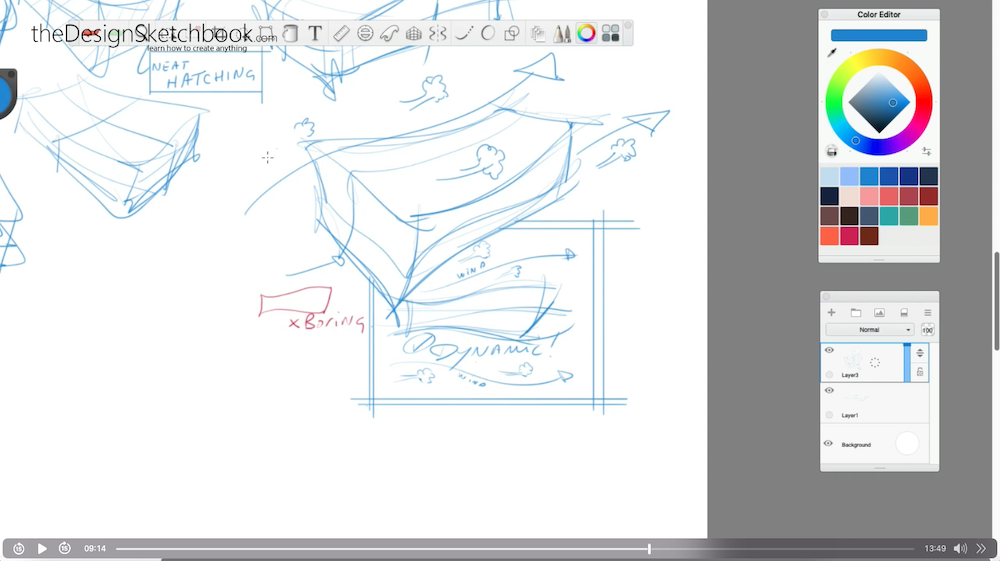
TIP 12 Aerodynamic style
Imagine a lot of wind!
The left sketch is boring. But you want it to be dynamic!
Imagine a high flow of energy, of the pressure of the wind.
Let it go!

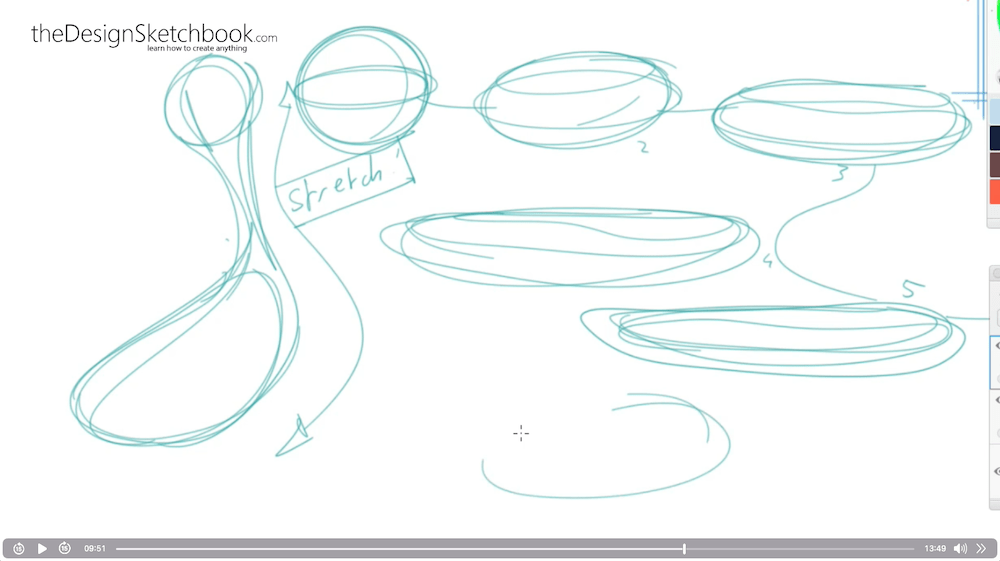
Tip 13 The “Pizza dough” technique
See the ball of pizza dough?
I’m trying to slowly extend it till it becomes elongated.
That product feels soft.
It is something we could mold.
- I start drawing two forms,
- Then I connect them.
- Do you see in between?
It is like stretching.
That feeling of stretching is something that you can use in your designs.

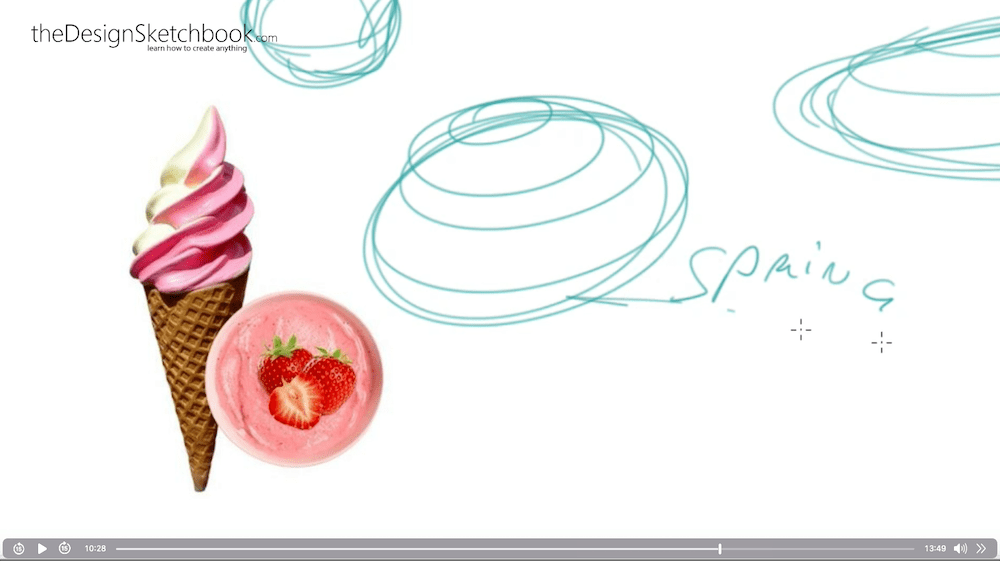
Tip 14 The “Spring technique”
Can you see here the spring?
It’s like ice cream.
Like Italian ice cream.
Try this Spring technique. It is very fun to use!
I’m adding more definition to it.
Can you see the volume that is formed?
What is cool is you can draw it from multiple angles.
It’s like a pigtail!
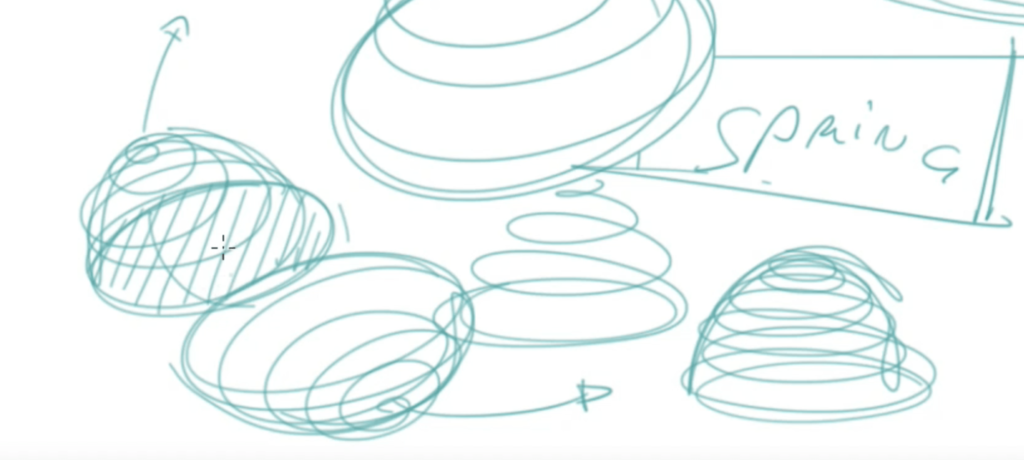
I’m drawing in different directions.
- One is going backward
- One is going toward us as a viewer
- I add some arrows
- and also some hatching inside that helps
to better comprehend the product, the form.
I share also on the blog a variation of this technique using cylindrical forms.
Let’s practice something cool below.
I draw a sphere and I add a lot of spring all around.
Try it!
It’s one of the favorite techniques of my students (of Sketch Like The Pros)

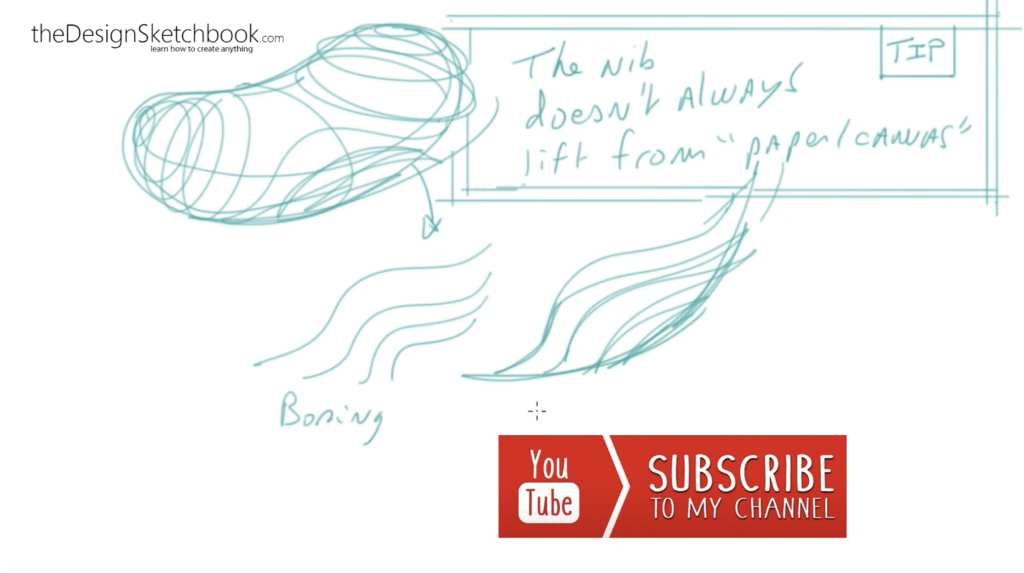
Tip 15 “Magnetic Paper”
- When you draw, don’t lift your tip.
- Draw freely with a loose hand.
The nib doesn’t always lift.
It’s quite fun to let it go.
It’s kind of pretty abstract.
This is going to be like a signature style.
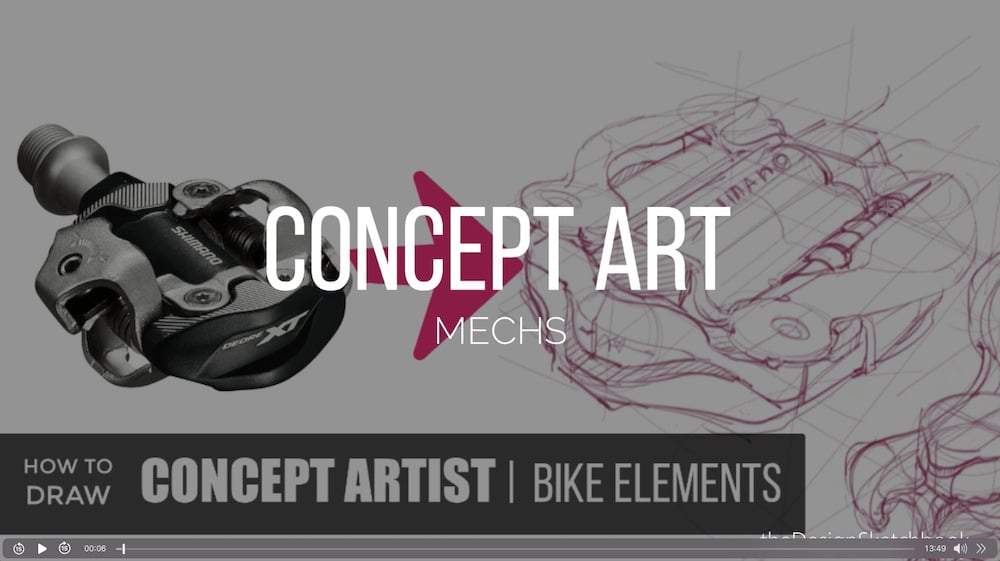
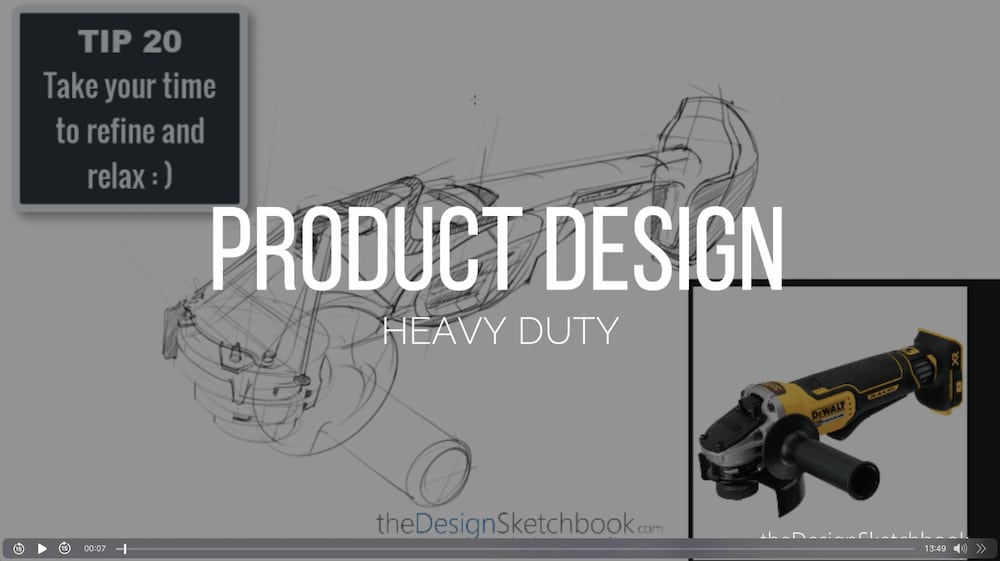
Domains of application
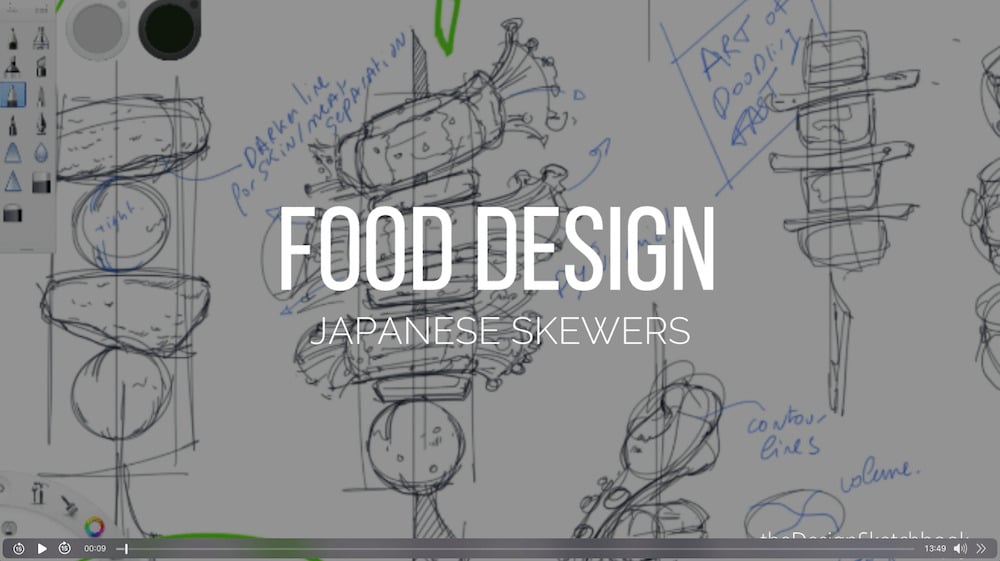
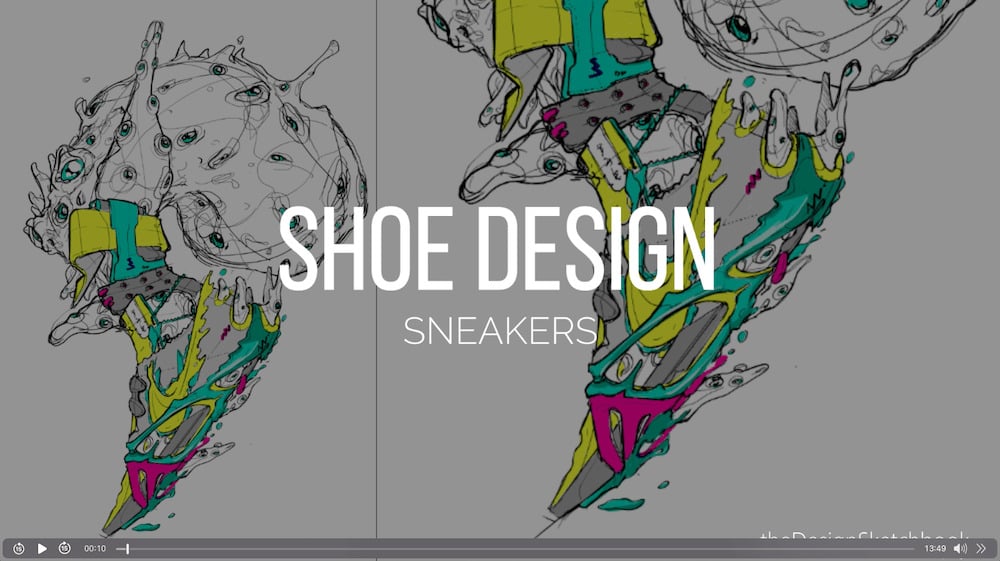
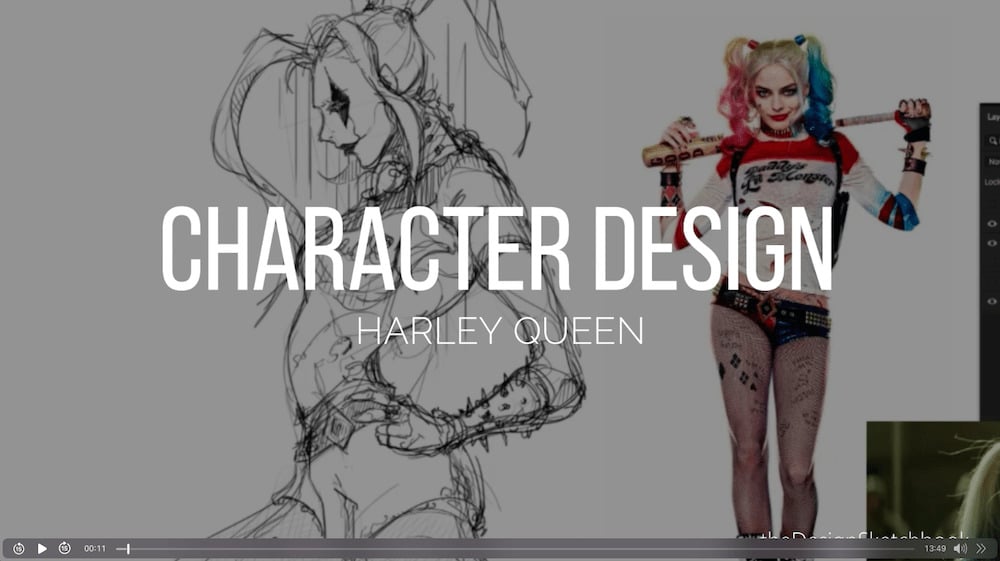
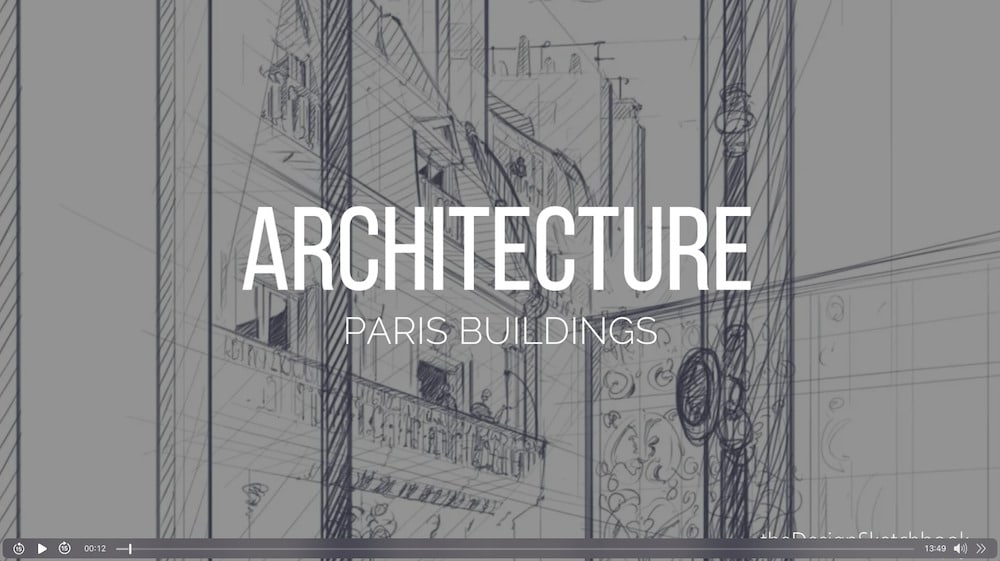
You can apply these Tips on various domain of art and design:
Concept Art, Product Design, Food Design, Shoe Design, Character Design, but also Architecture.
(Drawing on my digital tablet from Starbucks coffee)
Wrap-Up
With these 15 tips to draw confident lines like a Designer Rockstar,
you’re well on your way to injecting more personality, dynamism, and emotion into your sketches:
- Embrace Imperfection: Perfect lines are static and cold; your lines should dance with life and surprise. Let go of perfectionism!
- Go Beyond: Extend your lines, bend them, and exaggerate to create a dynamic look. Your drawings won’t just look good; they’ll feel alive.
- Vary Your Style: From controlled to wild, your lines should be like a palette of colors. Choose your style based on the project and phase.
- Sign Like a Rockstar: Your signature style is your personal flair. Let it shine through your drawings, just like a rockstar signs autographs!
- Express Your Emotions: Your lines are a direct line from your heart to your designs. Let them convey how you feel.
- Master the Basics: Before you can run, you must walk. Understand the fundamentals to create more expressive sketches.
- Set Your Strategy: Explore different ways to draw, and use hatching to give your sketches a solid, professional look.
- Explore and Experiment: Keep pushing boundaries. Try different angles, distort reality, and make your sketches feel dynamic.
- Draw in 3D: With perspective, your drawings will leap from the page. It’s like giving your designs their own life.
- Have Fun with Techniques: From the ‘Pizza Dough’ technique to the ‘Spring Technique’, play with your forms to add volume, depth, and fun.
- Let Your Lines Flow: Don’t lift your pen too often; let your lines flow like music. It’s your signature, after all.
Remember, these techniques are universal.
Whether you’re into Concept Art, Product Design, Food Design, Shoe Design, Character Design, or Architecture, these tips can help elevate your work.
So, what are you waiting for? Grab your sketchbook, let your creativity flow, and start sketching like a rockstar.
Your lines will speak volumes about your passion, your vision, and your unique style.
Keep practicing, and most importantly, enjoy the journey. Every line you draw is a step closer to mastering your craft.
Let’s make our designs not just look good, but also feel special and full of life.
And hey, did you enjoy this tutorial?
Let me know in the comments below, and don’t forget to subscribe for more tips on my YouTube Channel!
Let’s keep sketching together!
Happy designing!
Cheers,
Chou-Tac


[…] Related tutorial: 15 TIPS to Draw with Confidence Like a Designer Rockstar! […]
[…] best way to erase less, is to practice simple drawing movements until it become intuitive to you. Then, your brain will be able to focus on more advanced techniques such as perspective, 3d […]
[…] you ready to break out of the box and unleash your inner design superstar? I can’t wait to see what amazing, unexpected creations you’ll come up […]