How to draw 3D cubes | Part 3 (last part)
My nose is running, so sorry if you may hear my voice a bit like a duck 🦆in the video!
Today,
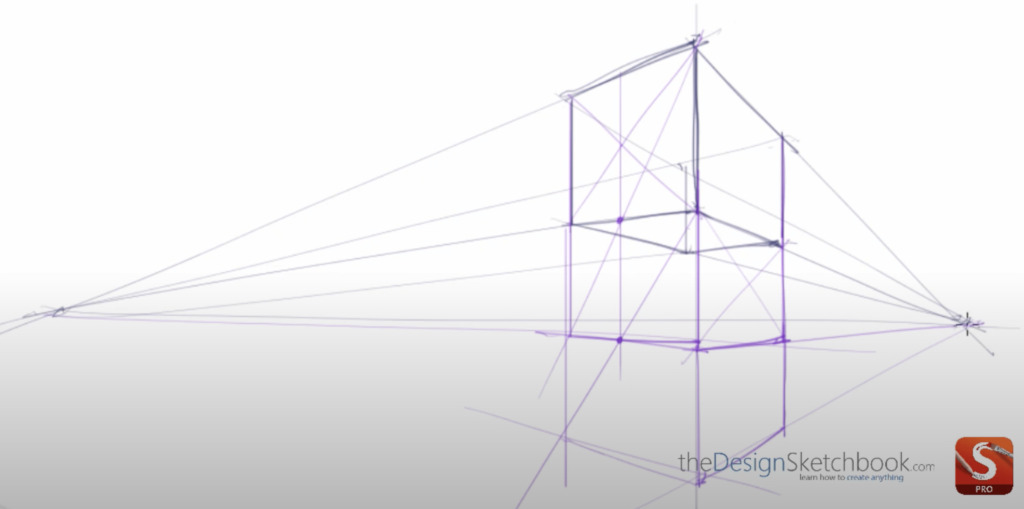
It is time to progress even further on the last part of the CUBE MANIA CHALLENGE (Part 3/3). Let’s train your quality of lines like the pros and build up your confidence!
If you haven’t practiced yet the 2 previous ones, I invite you to follow these video tutorials at the following links:
VIDEO 1 How to start drawing 3D cubes | Part 1
VIDEO 2 How to draw hundreds of 3D cubes | Part 2
If you are a true beginner, I invite you to go through these videos and make sure you did Download the Designer Starter Kit as well.
Let’s begin Part 3 now!
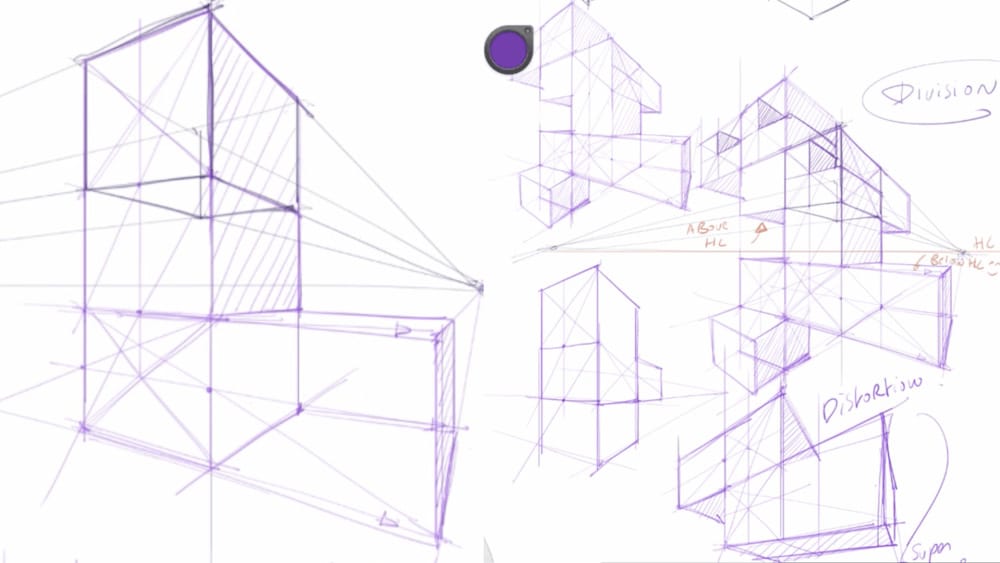
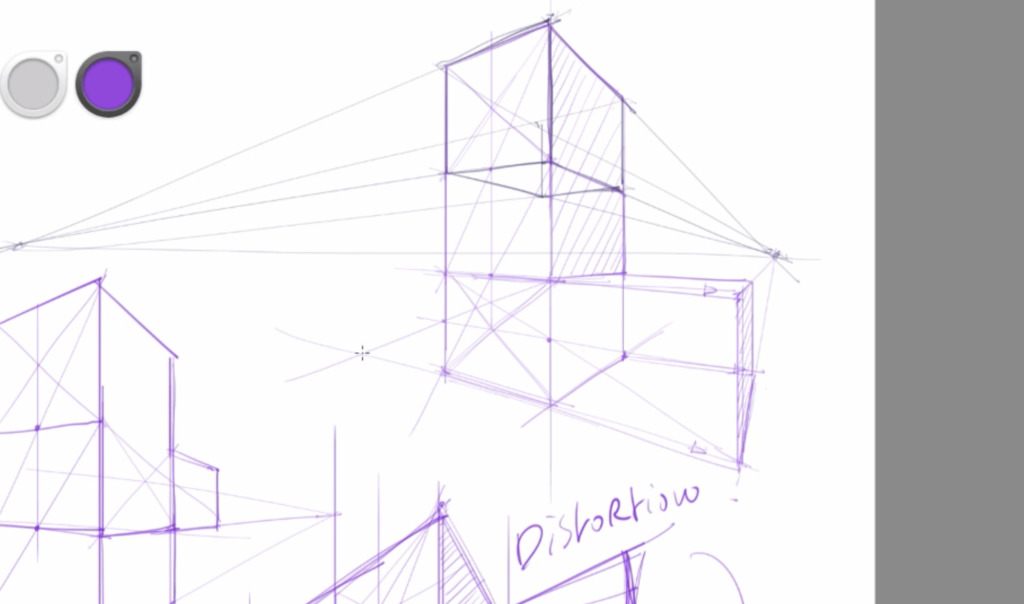
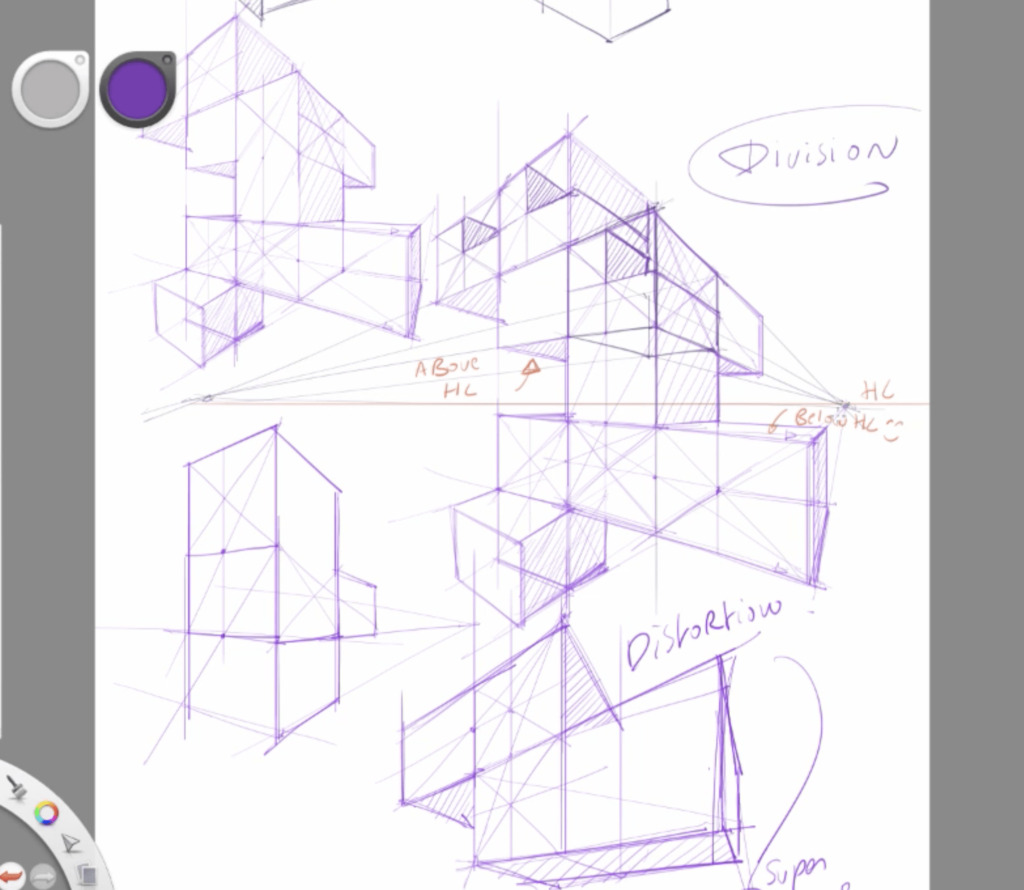
This technique is about purposely using a distorted setup of perspective so you can give more impact on your sketches. While in video 2, the sketch is more « proper », video 3 looks more inviting, and appealing to your clients.
Why? Because as a product designer, one of your objectives is to seduce your audience with your sketches.
Designer note:
Designers do not hesitate to draw using a distorted perspective to enhance the presentation of their products.
If the project is accepted, the engineering team will create a technical drawing with accurate dimensions.
Each design company has its specific process for that. However, remember that all designers use their “sketching skills” to create and communicate their ideas fast and efficiently.
This part 3 is my favorite!
It is so much fun to draw adding your personal touch to it!
Once again, send me your progress at choutac@thedesignsketchbook.com. I always love seeing my blog followers and students making huge progress super fast and gaining confidence in their drawing potential!
Cheers,
Chou-Tac
PS: To get started in the best condition, I recommend you go through the Designer Starter Kit:). It’s free.


[…] simplified geometric forms, such as squares, cubes, and […]