When we first join a design school, we receive an art material list.
After a visiting any art shop, you realize how the material is costly and that our budget may be quite limited as a student designer. We can’t possibly buy everything from the list.
But we are so excited to start school in great conditions that we tend to be non-reasonable and buy a lot more than we need.
- Let’s do a tour of an art material shop: Blick
We have the belief that more we get equipped, more we’ll do great stuff !
I do not recommend following the school list 100% and focus on the essential first.
- The list I received during my first year of design school contained about 3 full pages of material to buy… I didn’t use half of it.
- I unnecessarily spend a ton of money during my first week of school believing that I could get a great start getting all these things in advance.
So, I thought that this article could help you to avoid my mistake, and identify the essentials needed for a great start as a student designer.

TIP – Too many equipment kills productivity.
Start simple.
At the start, keep your material as minimum as possible or you may end overwhelmed. Later on only, spend some time to refine and explore more material along your learning journey.
1- X-acto
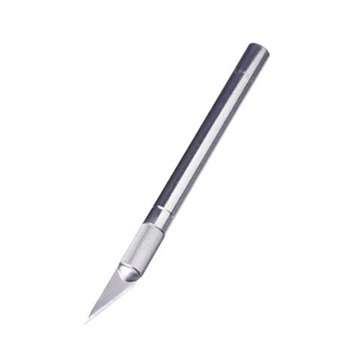
We prefer an X-acto to using a regular cutter or scissors.
You can cut more precisely such as font for example, and cutting curves with precision. I prefer to use Exacto to cut images to create my mood boards instead of scissors. Try and you might get used to it as well.
TIP Use an X-acto instead of a cutter or scissors.
Note that the blade needs to be changed regularly – especially when you want to cut foam board – or you may get some undesirable “bullet” of foam on the edges.
- Positive + Sharp and efficient
- Positive + Great for cutting curves
- Positive + Precision such as cutting fonts
- Negative – The blade needs to be replaced quite often
2- Cutting mat A3
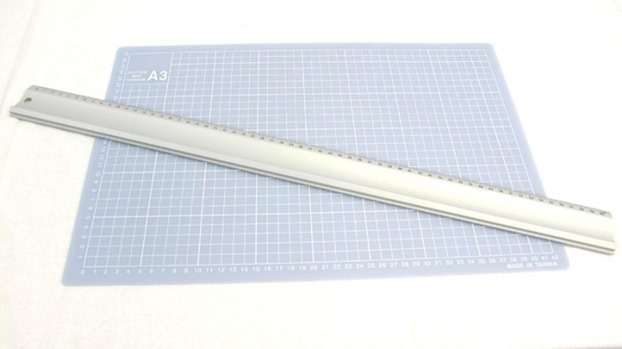
Protect your desk with a wide cutting mat from the blade of the Exacto and from ink stains.
This mat is great for protecting your desk. If you make some stains on it, try to keep it clean for a good working environment.
3- Metallic ruler 30cm
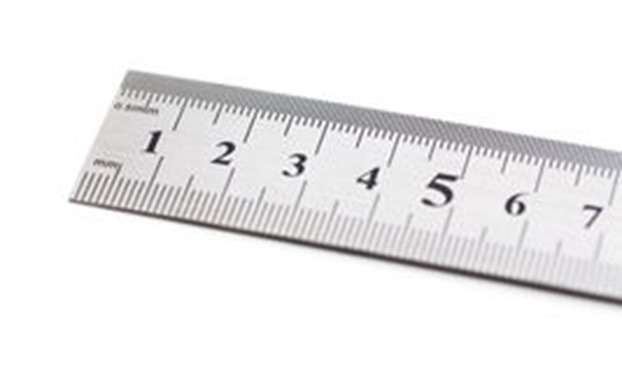
A metallic ruler is better than plastic to cut paper and foam board safely.
The plastic ruler is made of a “soft” material, the blade might damage it. To keep your finger safe, use a metallic ruler. Make sure to hold it firmly.
TIP You may protect your finger using your nails as a “shield”.
(Some chef use a similar technique for cutting onions for example)
4- Foamboard
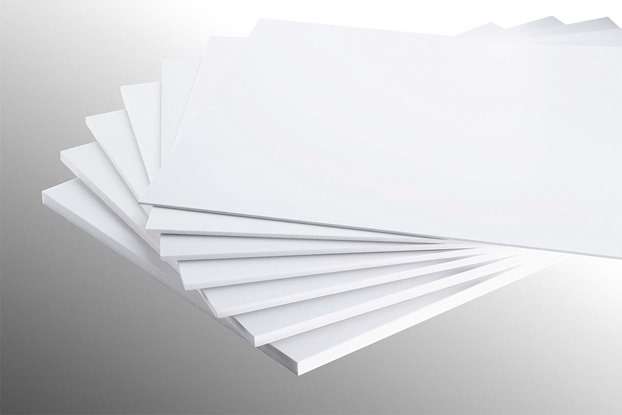
You will paste your work on these boards for your oral presentations.
I recommend foam boards with 3mm thickness. They look neat and elegant, however, these boards tend to bend a bit. The 5mm is a safer choice for big size documents such as A3.
TIP Buy them in a set to get a discounted price.
They are big and pretty fragile, make sure to avoid the rush hour if you take the subway and store them in a safe and non-humid place at home.
5- Ballpoint pen
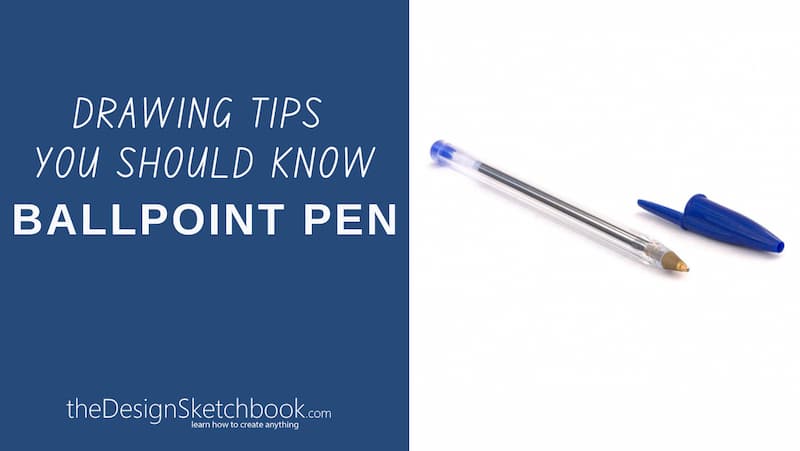
If you find a ballpoint pen that suits you, I recommend you guys to get them in the pack.
Train with the same pen and you will sharpen your pen pressure sensitivity. Each brand of a pen is different – so it’s good to stick to the same. Make sure to choose one that offers a good variety of lines. You can click here if you want to know more about the ballpoint pen.
The brand I used to buy when I was a student was the Paper Mate above.
- + Improve your skills faster
- + Cheaper price buying them in pack
- + Be able to bring them anywhere. Put one in your bag, another in your jacket…
6- Felt pen

The Stabilo Stylist is a great choice for drawing on Layout paper (Special paper for markers).
- + The ink doesn’t blend in contact with the marker ink. (Many ballpoint pens do)
- + Good pen pressure sensitivity
- – Remember to put back the cap after usage. The tip dries fast.
- – Draw gently with the pen, the nib get shorter from the “paper abrasion”

The Paper Mate Flair original is a good tool to complement your Ballpoint pen and Stabilo stylist. You can use it for adding thicker lines in your sketches.
- + Great for doodling
- + Play with different line thickness
- + The line is regular and bold
7- Colour lead o.7mm + mechanical pencil


The color lead is often more fragile than the regular “charcoal one”.
At 0.5mm, they will too often break and start to be irritating. Get color lead from 0.7mm or even 1mm. Blue and red leads are the most commonly used.
Besides that, color leads are more difficult to erase.
Get a good rubber such as Staedtler.
Note that I do not recommend using a pencil neither an eraser.
These color leads are an exception. There is no much need to get any regular “charcoal leads” for the moment.
8- Paper
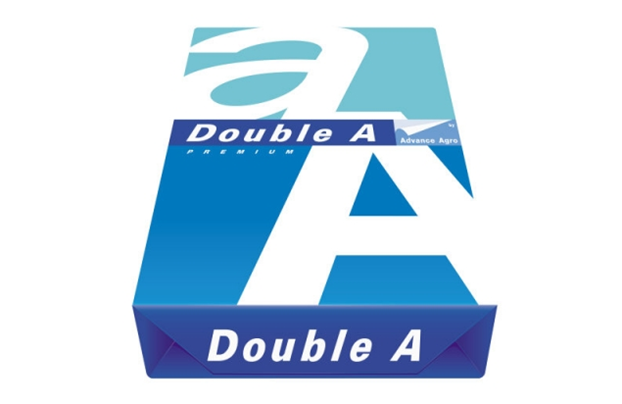
I have a preference for laser paper instead of inkjet paper.
- The surface is smoother and slides better.
- I choose 80g paper for the thickness. 70g is a bit fragile and transparent. 100g is unnecessary too thick.
- Choose 70g paper if you want to draw with underlay
9- Sketchbook A4
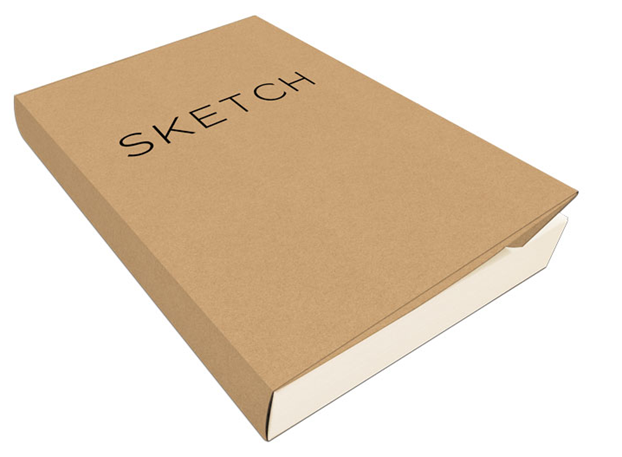
Don’t get any expensive sketchbooks.
It will paralyze you from drawing in. The sketchbook will be your best partner. Bring it with you as often as you can with a ballpoint pen.
An expensive sketchbook will make you draw lesser.
- + Carry it anywhere to sketch in anything
- + Note inside any ideas that come up day and night
- + Private. Not aimed to be shown to anybody
- + Not made to be beautiful but experimental and messy
10- Art Portfolio A3 with elastic
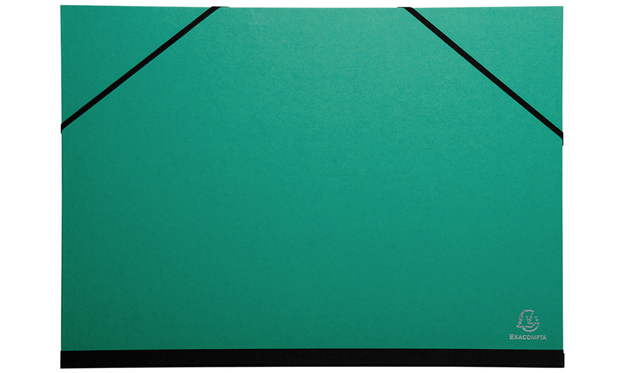
Bring your files at school with this portfolio.
I recommend getting one with elastic instead of ribbons. It’s just faster to use and it won’t open accidentally.
11- Glue in spray
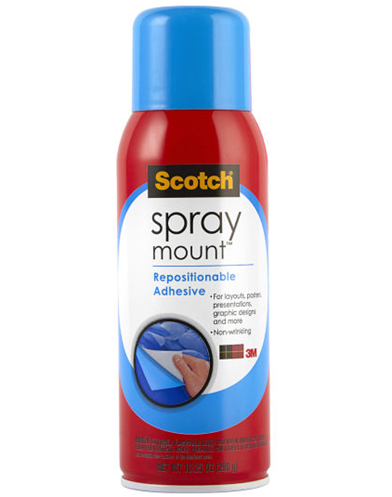
Make sure to get the REPOSITIONNABLE spray.
(Avoid buying the permanent spray version.)
It allows you to glue your work on the foam board and readjust the position if needed even hours later with a minimum of damage. If you make some mood board manually (not digital), use preferably that spray instead of a regular UHU stick of glue.
- + Reposition your paper even after the glue get dry
- + Clean work
- + Spray a light layer of glue is enough
- – Need an open space to spray
12- Markers
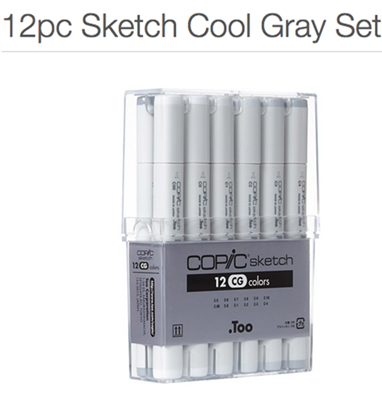
Markers are super costly. Buy them carefully. You can first get the basic set of grey shades. Then, for the colors I recommend you guys to buy them along with your projects.
 There are several brands available. The top 4 brands on the market are :
- Letraset Tria
: 3 tips – expensive – reliable. The colors are standardized. A marker bought in the US will be the exact same color as one bought in Asia for example. - Copic markers
: 2 tips. Cheaper option and well made. Copic is pretty well known for Manga artists. - Letraset Promarker
: 2 tips – pretty affordable – but may stain. The body is not as well made as the Tria series. About half price of the Tria if you get them in a set. - Chartpak: Strong smell of alcohol.
- + others such as Prismacolor Premier …
that I haven’t tested.
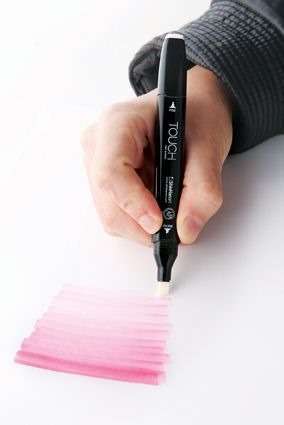
I discovered and bought a cheaper option in Vietnam. I never saw them in any shop. Actually, the website indicated (www.maieart.com) on the marker body – but it is not on service anymore. I only found these markers available on eBay: Touchliit marker. The design of the marker is Copic alike and is well made.
Note: Try to get a blender. You may try some nice gradient effect.
13- Layout Paper
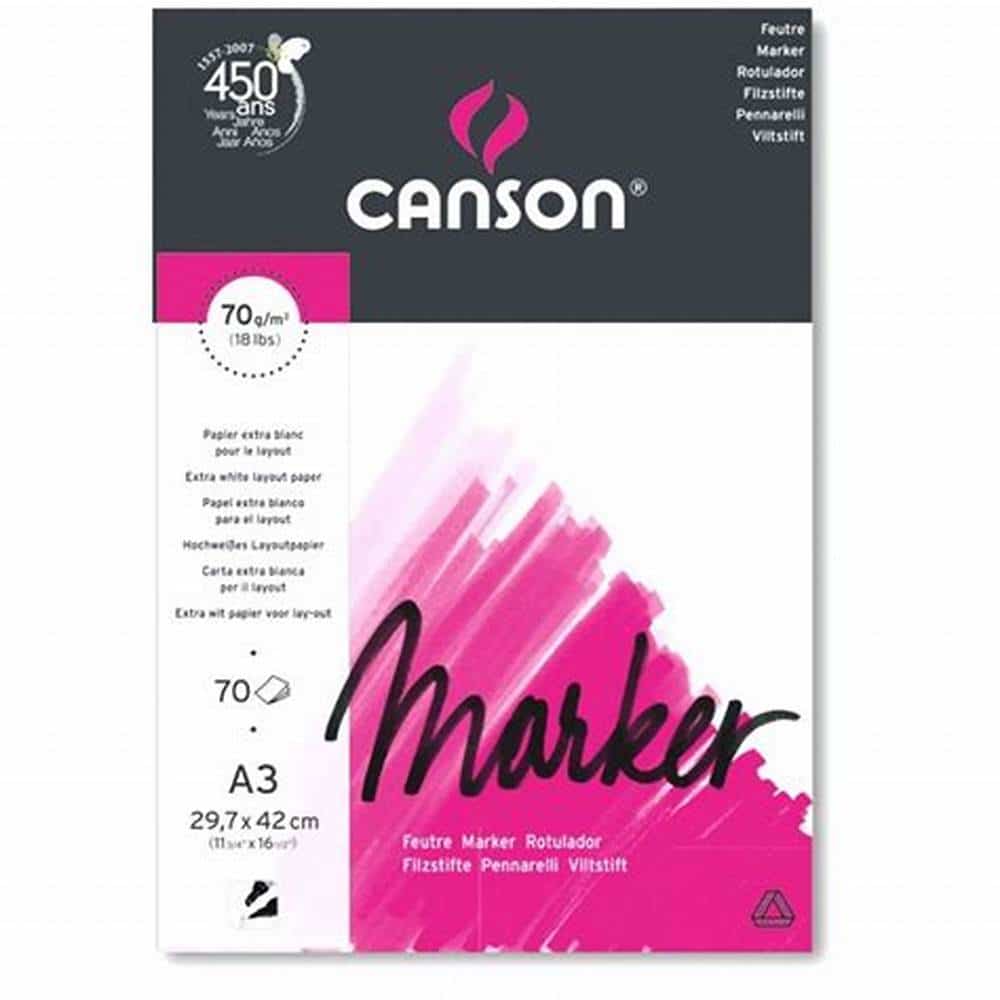
Get this paper for your markers.
Make sure to draw on the right surface. The verso is not usable (Some artist like to experiment with that surface. It gives a wet result)
- + The marker ink will be “regularly” absorbed on the paper to give a smooth effect.
- + The ink won’t go through
- + Save ink compared as regular paper that the fiber absorbs more ink
- + Semi-transparent, you can draw on top of another sketch from a different sheet of paper.
- – Doesn’t dry as fast as regular paper – be careful with your palm
- – Expensive
14- Printer
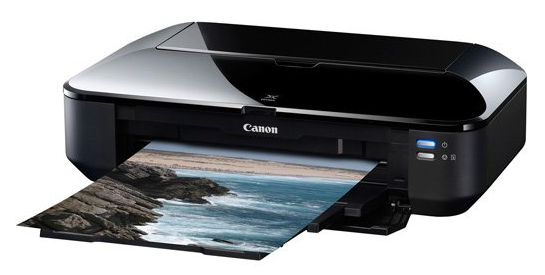
Get a borderless A3 printer instead of an A4.
Most of the work you will present at school will be A3 in size. It’s to make sure that the whole class can see your work, even from far. Ok, you may tell me that you can assemble two A4 paper on the presentation board. True.
Get an A3 printer to save time and energy.
- But you will discover that it’s pretty annoying to parameter your software and printer to print without margin. Note that not all printers can print without margin. So you may need to cut manually and NEATLY the extra white border…The joint has to be perfect, especially if you have some text written on it. To avoid the hassle, consider an A3 Printer.
- You will need a full A3 size paper for your portfolio.
- Note: You may consider printing your work or portfolio with a Professional Laser printer. It will be much faster, cheaper. However, you won’t control the color calibration that tends to be too contrasted at times.
- Make sure that the ink cartridge is all independent.
- You may consider refill ink to low the cost. Try to get a system that needs less maintenance as possible.
15- Scanner
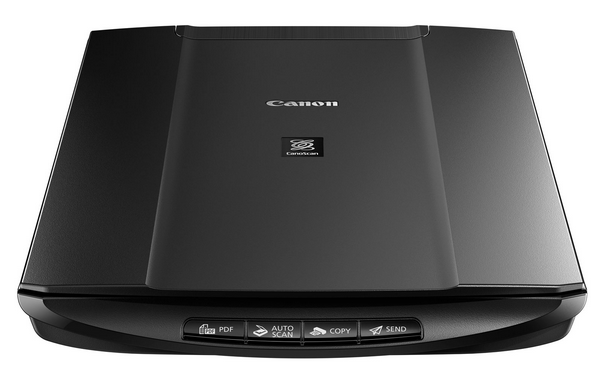
Despite recommending an A3 printer, I recommend an A4 scanner.
Because the A3 scanner is just overpriced. Things you will scan from may come from magazines, newspaper,s or else.. most don’t exceed a4. Note that an A3 scanner is VERY bulky.
Get a scanner that has ONLY an USB cable, no power cord.
A scanner doesn’t need much energy and will get it from the USB cable itself. The simplification of cable is a practical choice. My scanner remains most of the time in my cupboard. I take it out only when I need it.
16- Mac or PC?
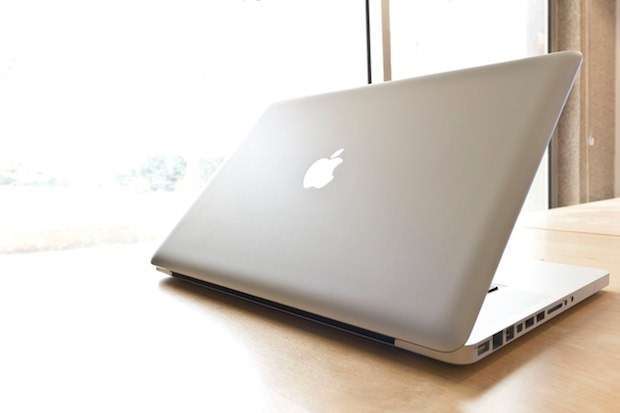
Definitely Mac!
Most industrial designers will answer Mac as well. Nowadays both 2D software and most 3D software such as Rhino 3D are available on Windows and Mac OS.
I would recommend a portable option that allows you to work anywhere. Just make sure to get at least a 15-inch screen. I know it’s quite heavy, even for a Mac Book air.
- + Safe environment
- + NO VIRUS
- + Low updates needed
- + Possibility to install Windows on a Mac with Parallel Desktop (Works great but take a lot of resources)
- – 3DS Max and Solidworks are ONLY available on Windows
- – A bit heavy to transport.
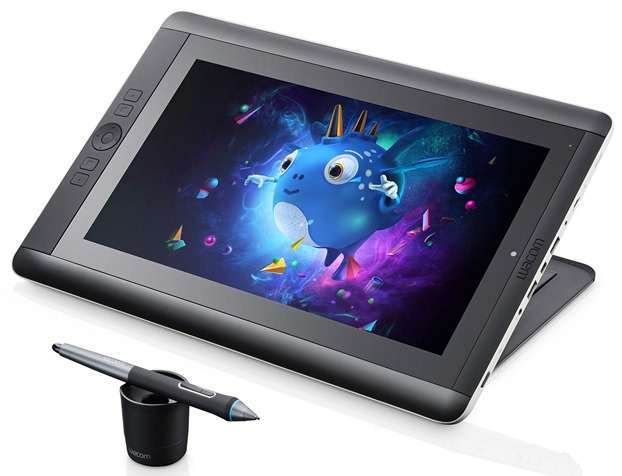
The only reason why I would go on a PC would be an additional screen tablet included. Some of you may think about the “Portable” Wacom Companion. I tried and unfortunately, I didn’t like it. It’s heavy, the autonomy of the battery is low, and worst of all, the pen is not accurate when you reach the edges of the screen. Disappointed.
17- Digital Graphic tablet

If you can’t afford a screen tablet, start cheap.
Don’t underestimate a regular graphic tablet vs the Screen tablet. It will take you more time to get used to it, but we all need to start somewhere. If you can’t get an Intuos 4, you may even consider a Bamboo. Unfortunately, I haven’t personally tried that one. All I know is that I started with the Graphire 2, a very old version that gave me satisfaction.
For the rest of the materials, wait for your teacher to give you specific instructions before getting more such as:
- brushes,
- painting,
- watercolor,
- curves,
- permanent markers,
- Posca,
- trace ellipses,
- pastels,
- sponge,
- color markers,
- blender,
- pencil color…
All these can wait or you may start your design school being overwhelmed. Remember that: “Less is more”!
Let me know your impressions in the comment below.


[…] and/or the elbow is placed on the table. Our mind is concentrated solely on the movement of the drawing utensil, so we’re unlikely to notice these posture […]
[…] we talk about art material to add in your drawing tools as an artist or designer.After sketching The Grand Budapest Hotel in […]
I bought some of these markers Touch lit you are talking about in Copenhagen this year, and mine have the website http://www.shinhanart.com/ on them. They are great!
Hey thank you Anna for the link !
I guess it was not that easy to find them right ?
Very happy you share with us this website :D
Rhino for Mac is not the finished article. as an industrial designer I do appreciate the design of the Macbook, I do own one, but I do get frustrated with the lack of Solidworks, Solidedge or Inventor availability on the OSX platform.
Have you found a way to deal with it ?
wuauuuu I love this article, it makes me feel sooooo young! ;-)))
thanks Chou-Tac for sharing
Back to school ! Still like chilling in the art shop. :)
Macs do/can get viruses. Last year, OS X and iOS actually had more vulnerabilities than both Windows and Linux. Anything that connects to the internet can get a virus or be hacked.
If you have an article about this, I would be pleased to read about Mac vulnerabilities. Thanks for the precision Davis.