We saw in the Part A how to solve a common mistake about drawing “dual ellipses” – showing the top surface of camera lens for example.
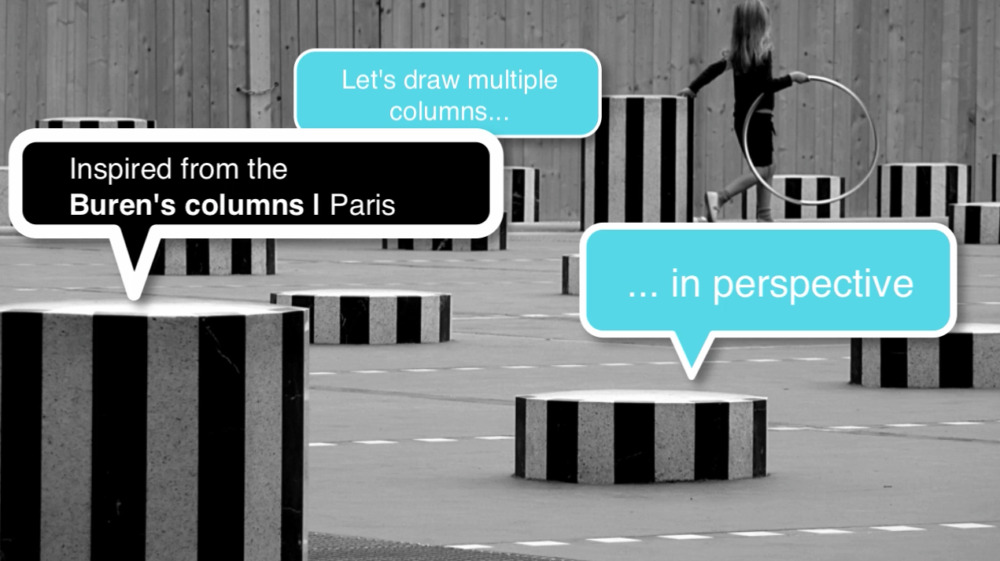
Today, let’s draw multiple cylinders on the same scene, like the Buren’s column in Paris.

Introduction and Overview
[Music] Hey guys, so let’s see how to do multiple cylinders Part B. First of all, feel free to download the Designer Starter Kit to make your first steps in design sketching such as perspective. Okay, so let’s start. We are going to draw multiple columns in perspective like these pictures inspired from the bar column in Paris.Drawing the Ground Plane and Ellipses
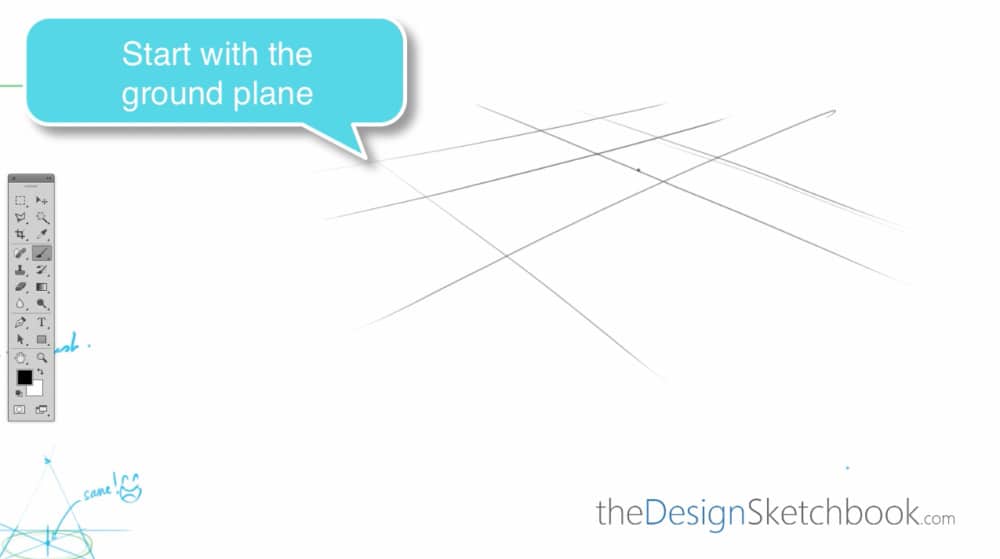
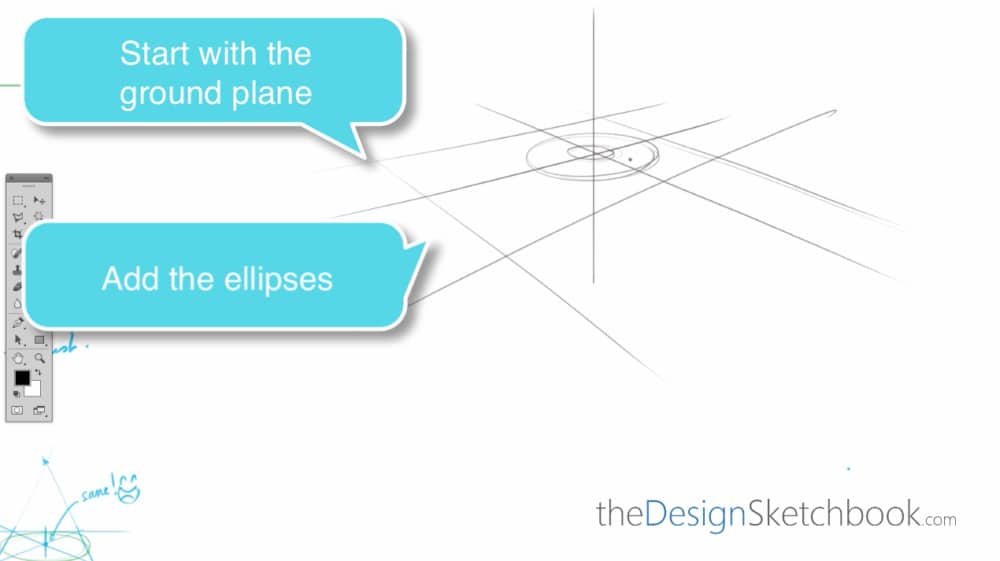
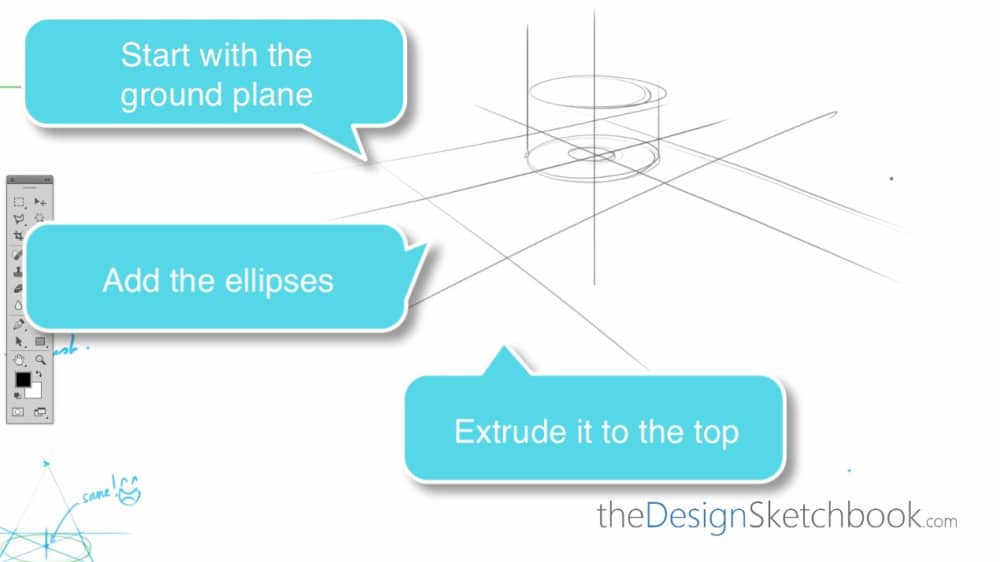
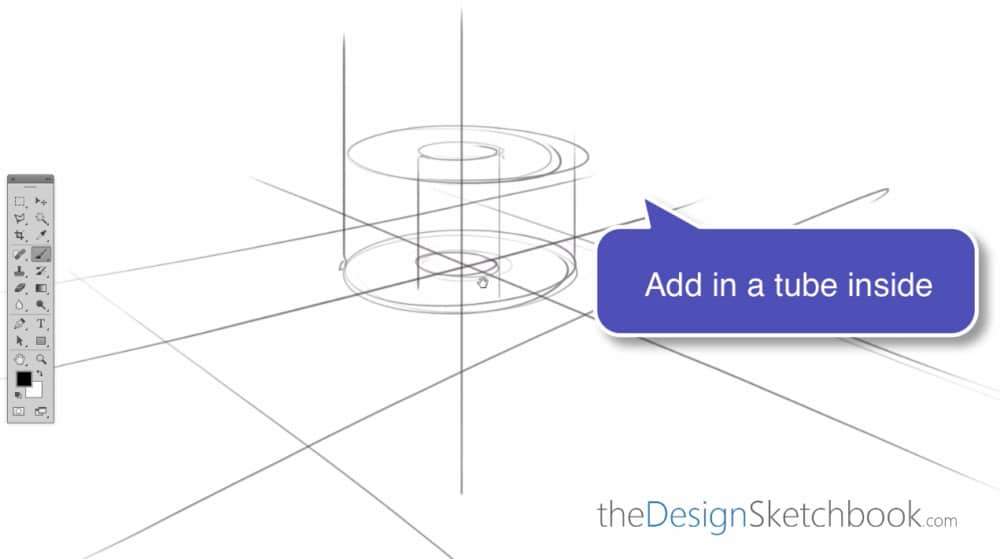
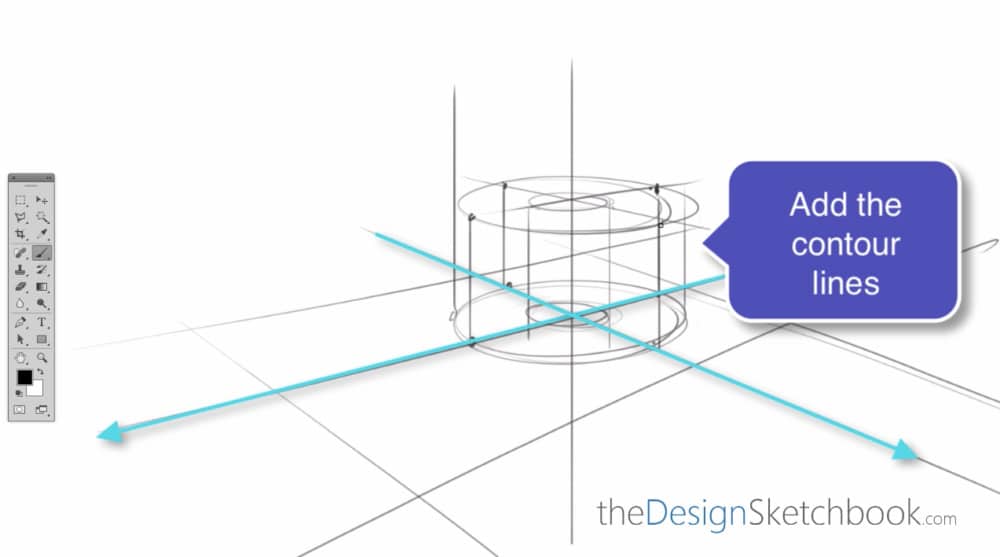
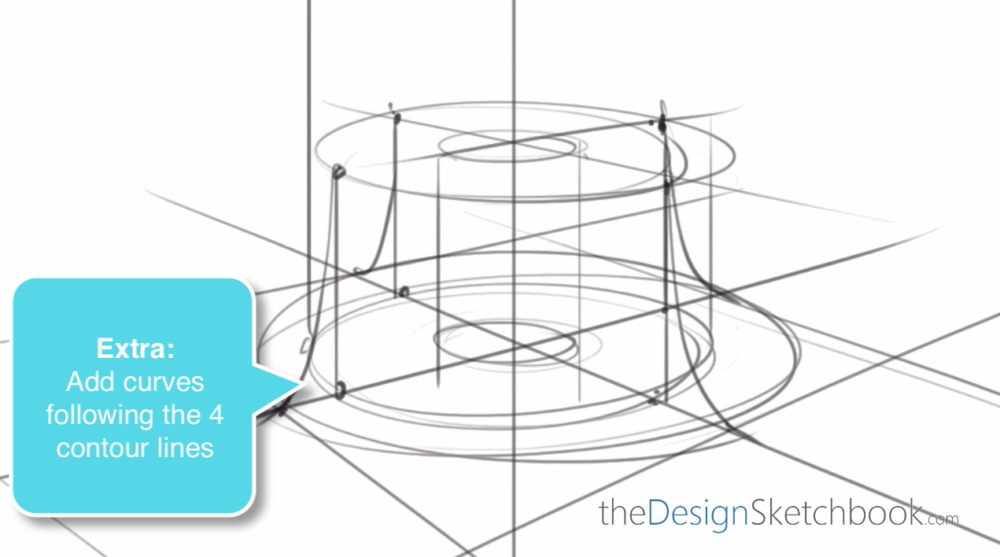
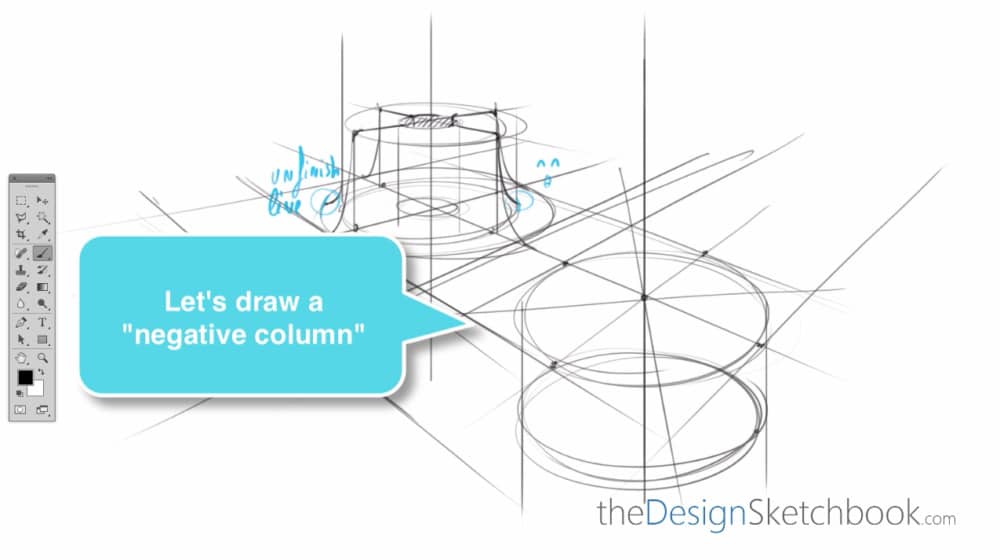
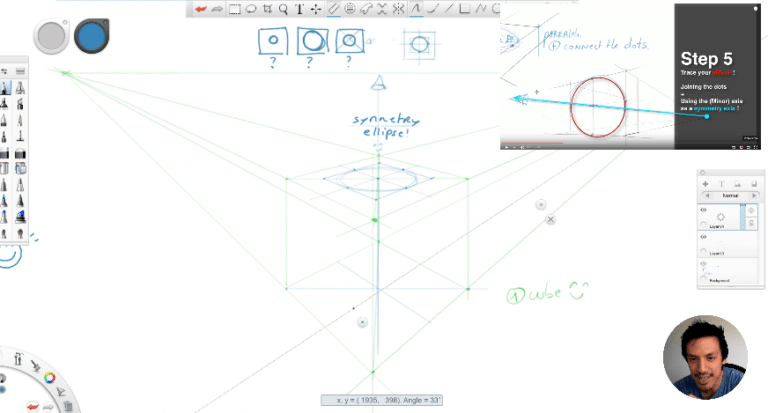
First steps, draw the ground floor, the ground plane, and then add an ellipse on it, plus an extra ellipse in the middle. Then what we want to do is to extrude it to the top. Now with the first ellipse, with the small ellipse in the middle, you can also add a tube inside. Time to add the control lines and make sure they are following well the converging lines of the perspective.
Adding Curves and Tubes for 3D Volume
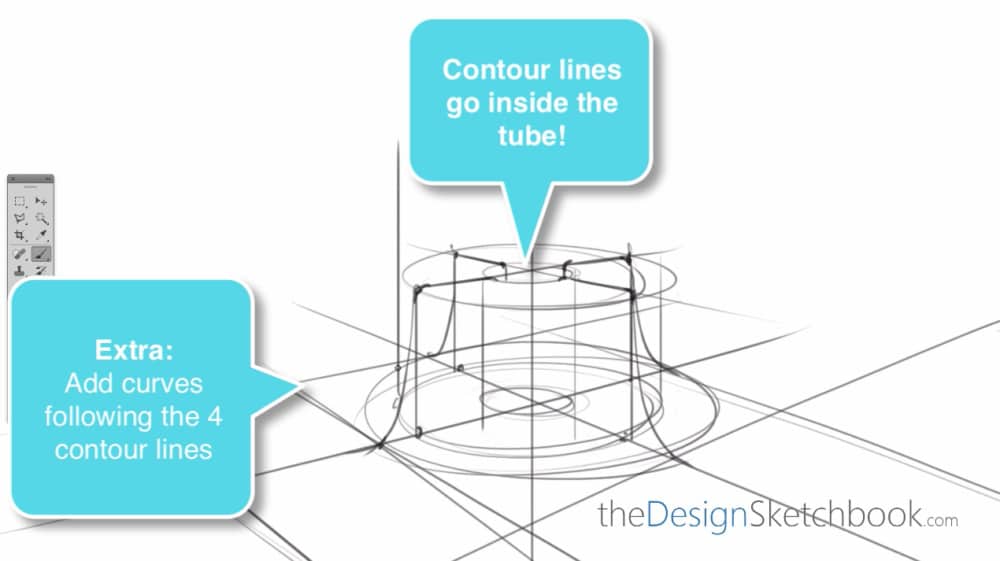
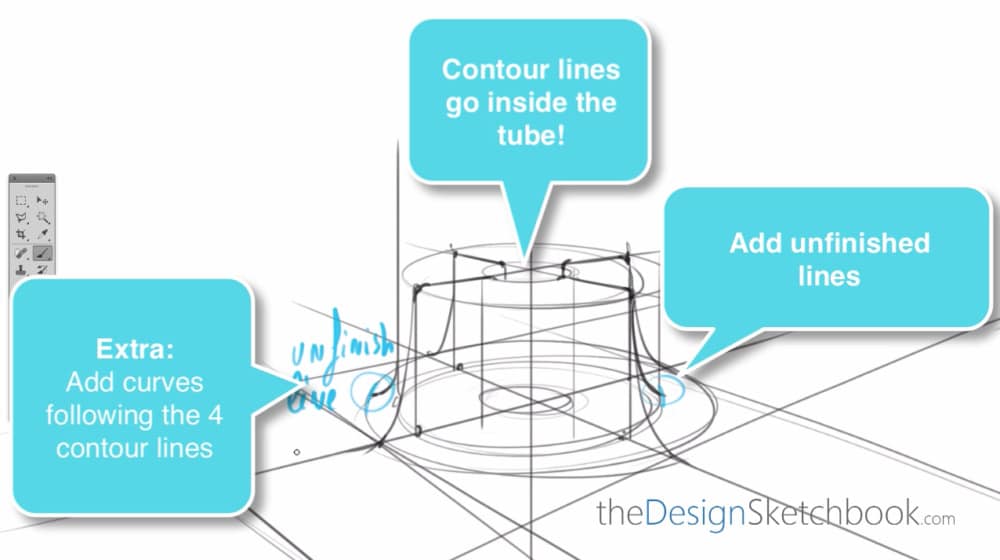
You can also add extra curves following the four contour lines right here. For the tube inside, make sure that your contour lines go inside. This is how you have a well 3D volume. Feel free also to add some unfinished lines on both sides. Now I’m adding some hatching for the shadow inside, so it’s giving even more contrast from what is outside and inside.
Drawing More Columns and Expanding the Ground
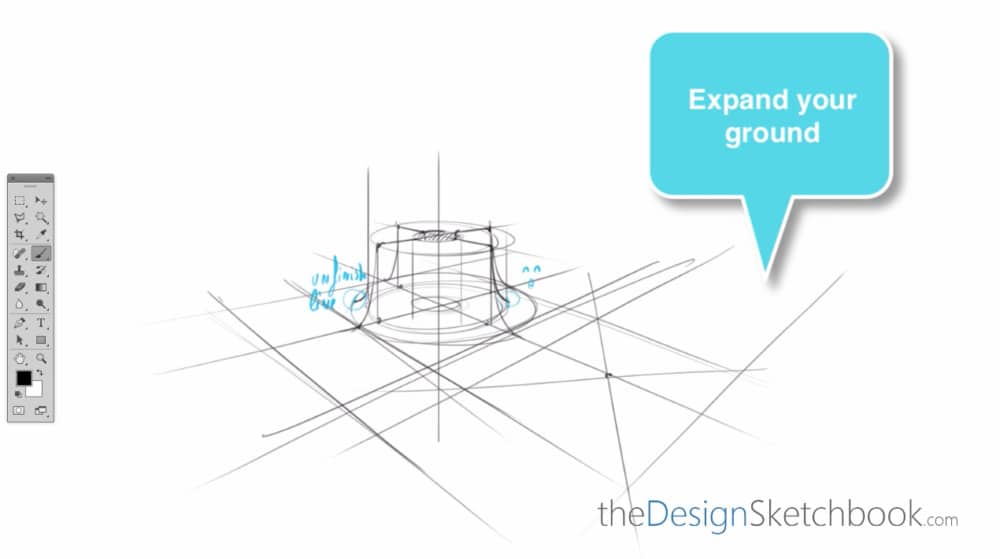
Now I want to draw some more columns around. We need to expand the ground by adding more converging lines. I draw an extra ellipse along my axis, and I want to draw a negative column which is going down this time. How about adding a rounded surface below like this? If you can see, all this extra curves are sections.
Checking Symmetry and Minor Axis
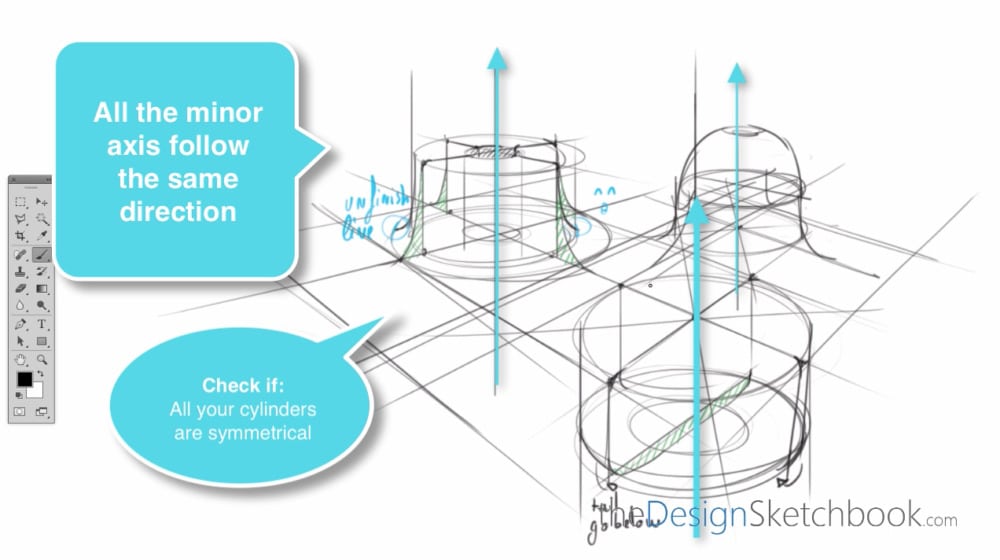
Make sure that your control lines go well below by adding a small tail. Remember you need to see in transparency. Keep going adding some more columns all around, including one behind. The golden rule here is to make sure that all your minor axes go in the same directions and check if all your cylinders are symmetrical. As you saw in part A, your minor axis is also a symmetry axis.
Adding Volume on Top of the Column
Let’s add an extra volume on the top here, like a levitating volume above the column. Add the contour lines, and I’m using the tube as a reference. I join and connect the contour lines which helps simplify the volume and give a good understanding of it.
Final Rough Drawing Practice
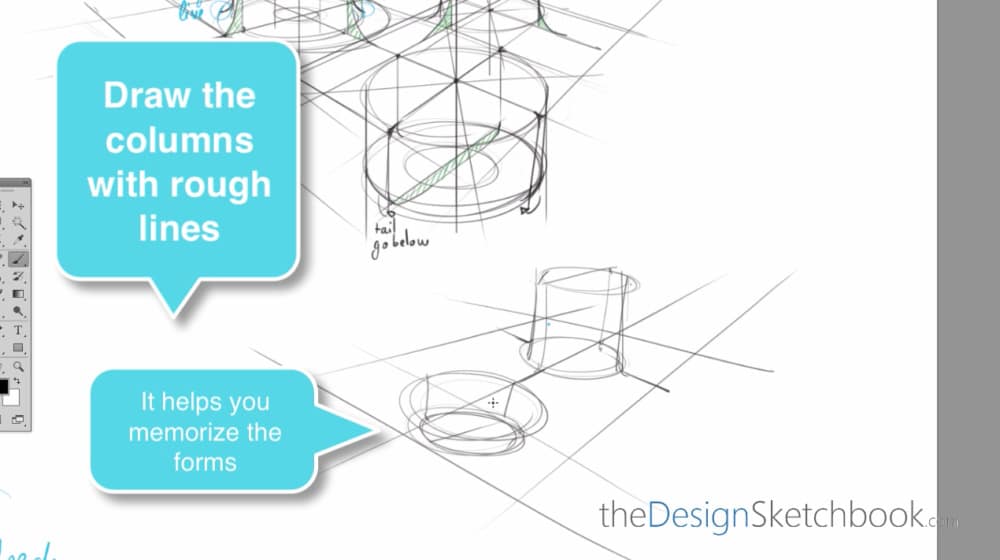
Now it’s time to draw the columns with rough lines, making sure you have memorized the process. You don’t have to be 100% perfect; it’s just for self-practice. That’s it for today, see you for the next tutorial. Bye-bye.







Latest Comments