
Villy da’Locca saw the TIP OF THE DAY on the blog Facebook Page, and he decided to apply that TIP, NOW. That’s the best way to learn efficiently how to draw. You memorise and make useful the knowledge you’ve just learned. Otherwise, the human brain might unfortunately soon forget.

>> Villy, you rock ! ;)
TIP#37
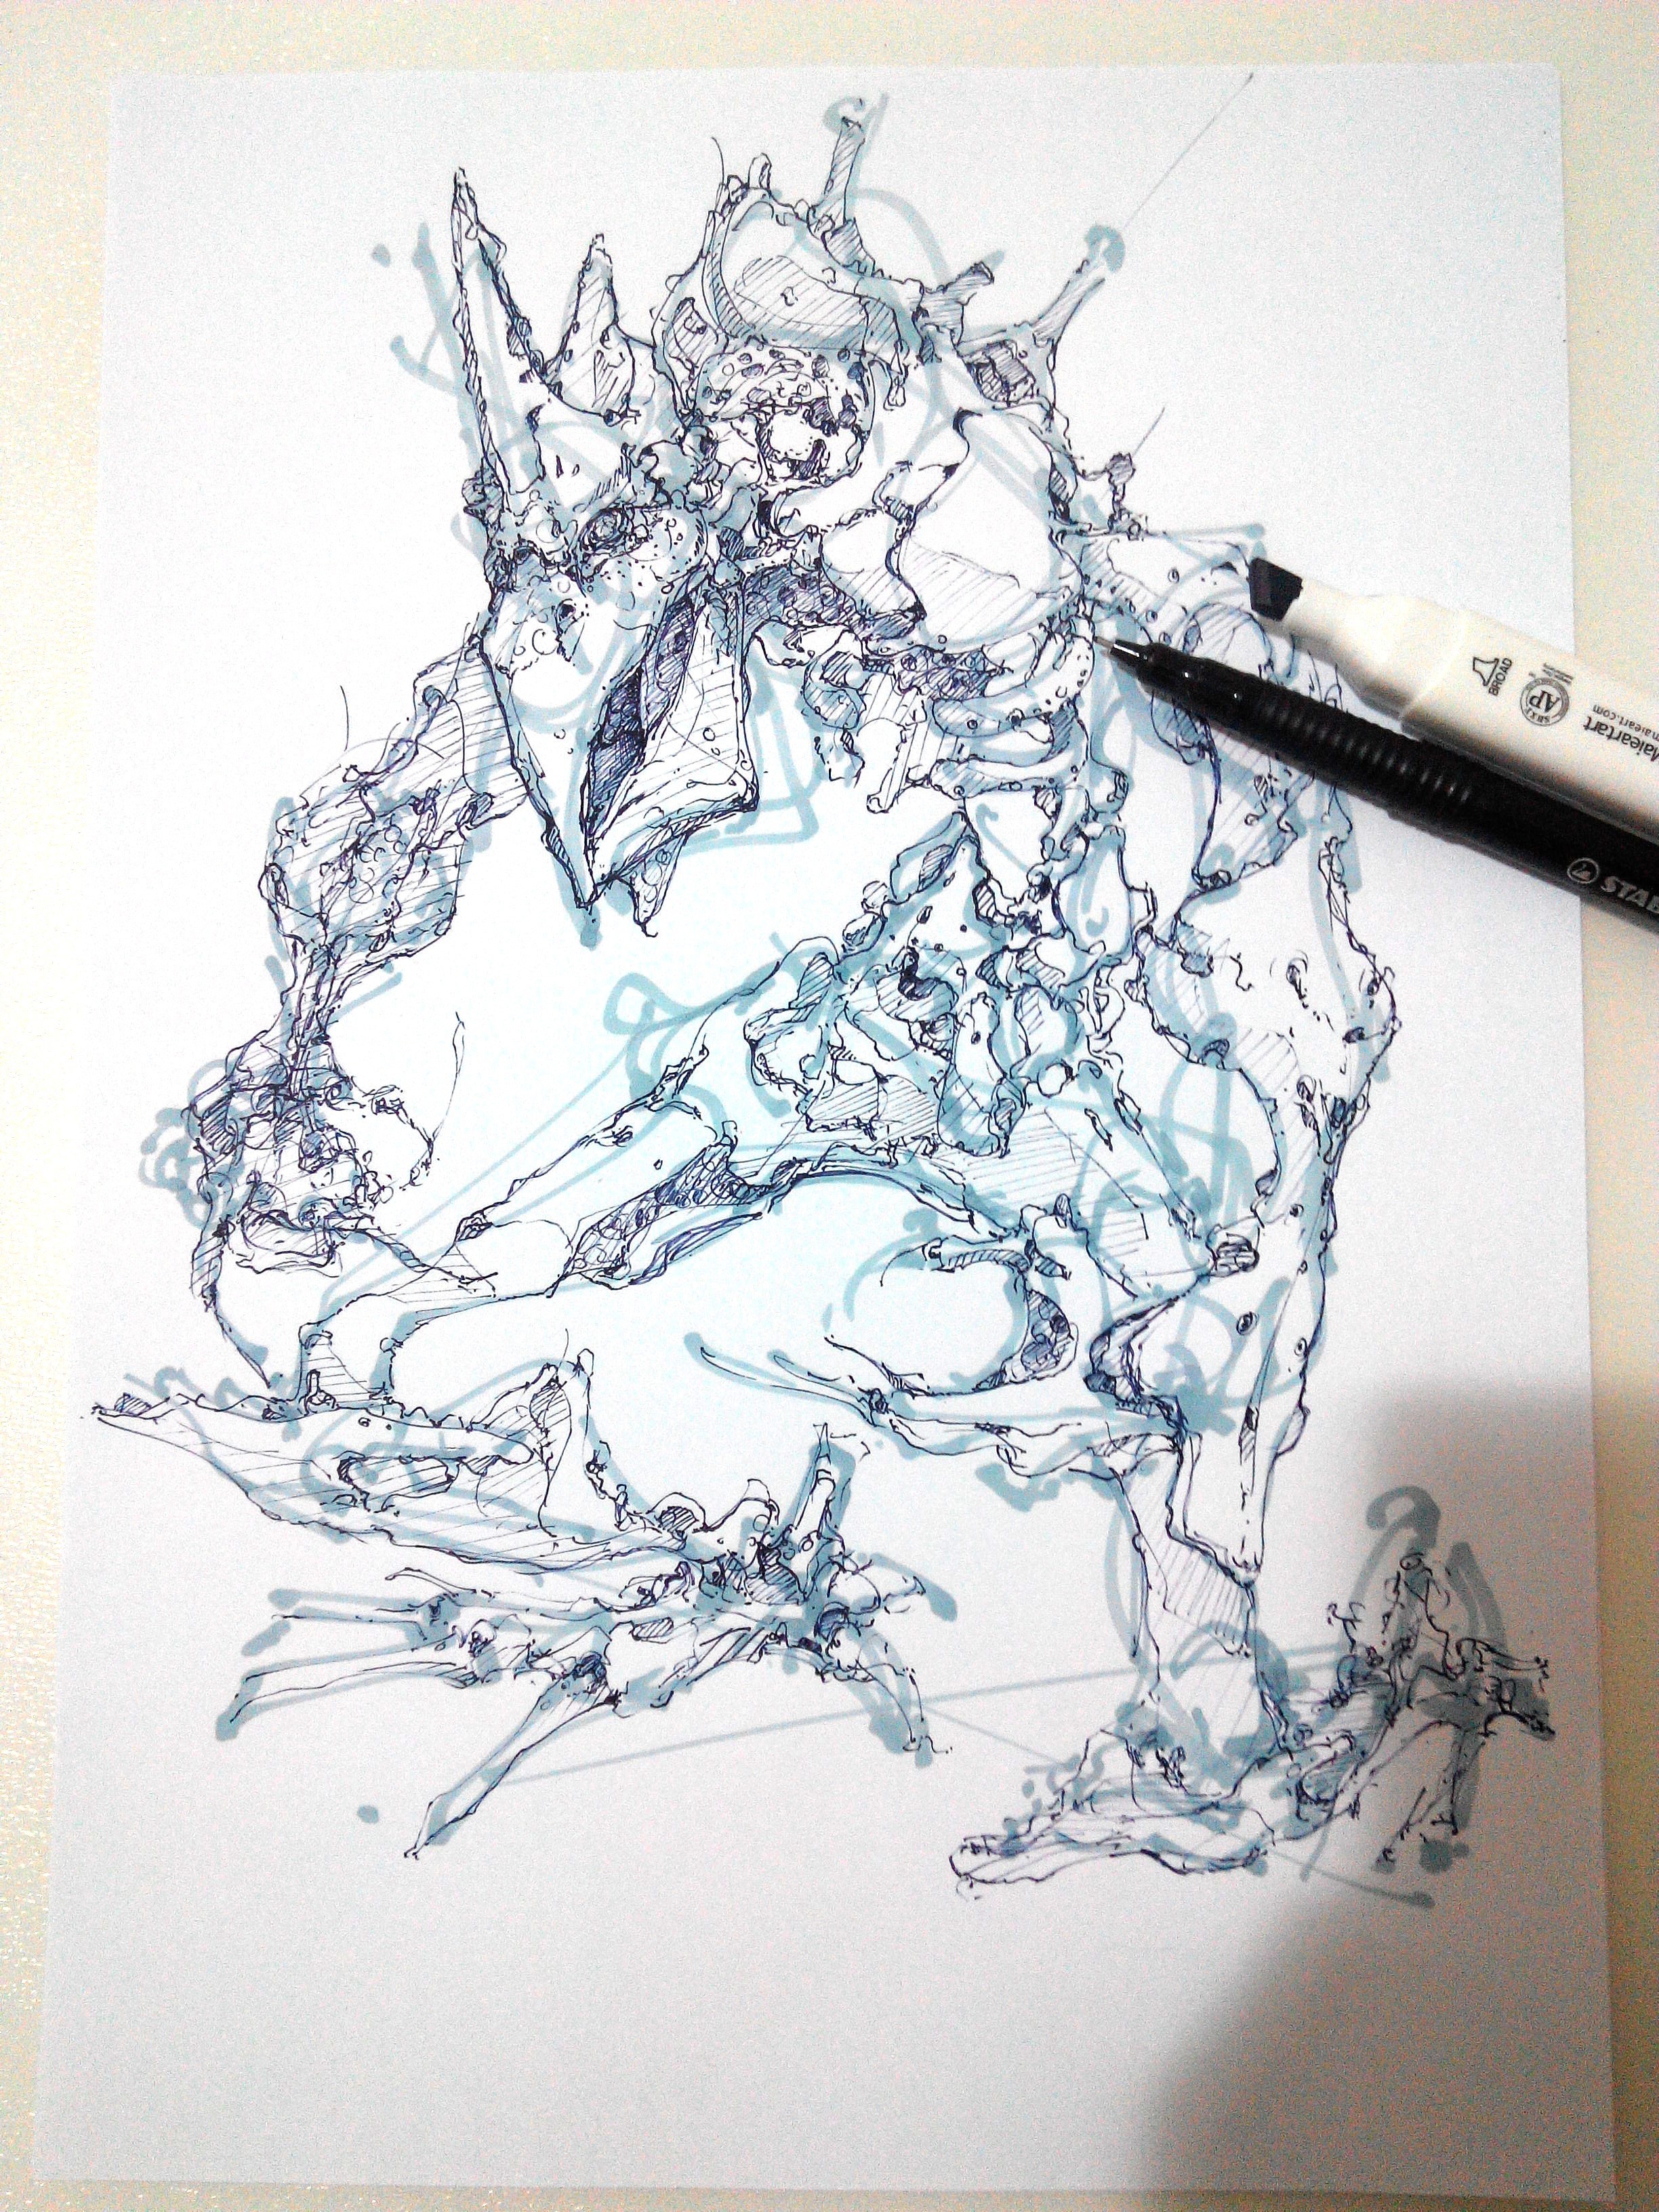
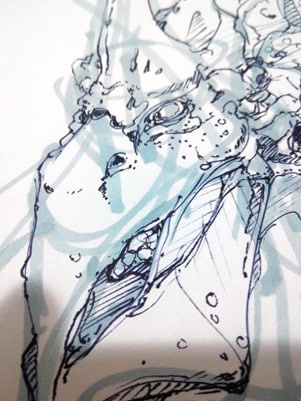
Use a light marker for a rough silhouette. Then use a Stabilo Stylist for details.
TIP#38
“Feel in your heart the emotion you attribute to the creature”
There is quite a good number of details, but the overall logic remain simple.
- The outside surface and skeleton are clear, and made of the same hard material: bone (mineralized collagen fibrils).
- By opposition, the flesh is mostly hidden, soft, dark and textured.
 Recommended material

- A light marker, using the thick tip: Copic, Pantone, Chartpak, Touchlit
- A Stabilo Stylist, black
- Layout Paper > this paper gives optimal results with above markers
Step by step
We start from a global to a detailed approach.
By doing this, we can draw a “complicated” creature without being overwhelmed of detailed. We build the character along the way.
PHASE 1 PRETHINK
Get inspired: take documentation (I had Rio and Godzilla in mind) Think of the character personality, attitude, action. Is he jumping, waiting, fighting ? If you can’t visualise, refer to documentation or pose yourself in front of a mirror. ![]() A body posture translates not only an action but also emotion. “Feel in your heart the emotion you attribute to the creature” Is he angry, nervous, suspicious ? If yourself believe in that emotion, you will get much more chance to translate it. Try. It REALLY helps !
A body posture translates not only an action but also emotion. “Feel in your heart the emotion you attribute to the creature” Is he angry, nervous, suspicious ? If yourself believe in that emotion, you will get much more chance to translate it. Try. It REALLY helps !
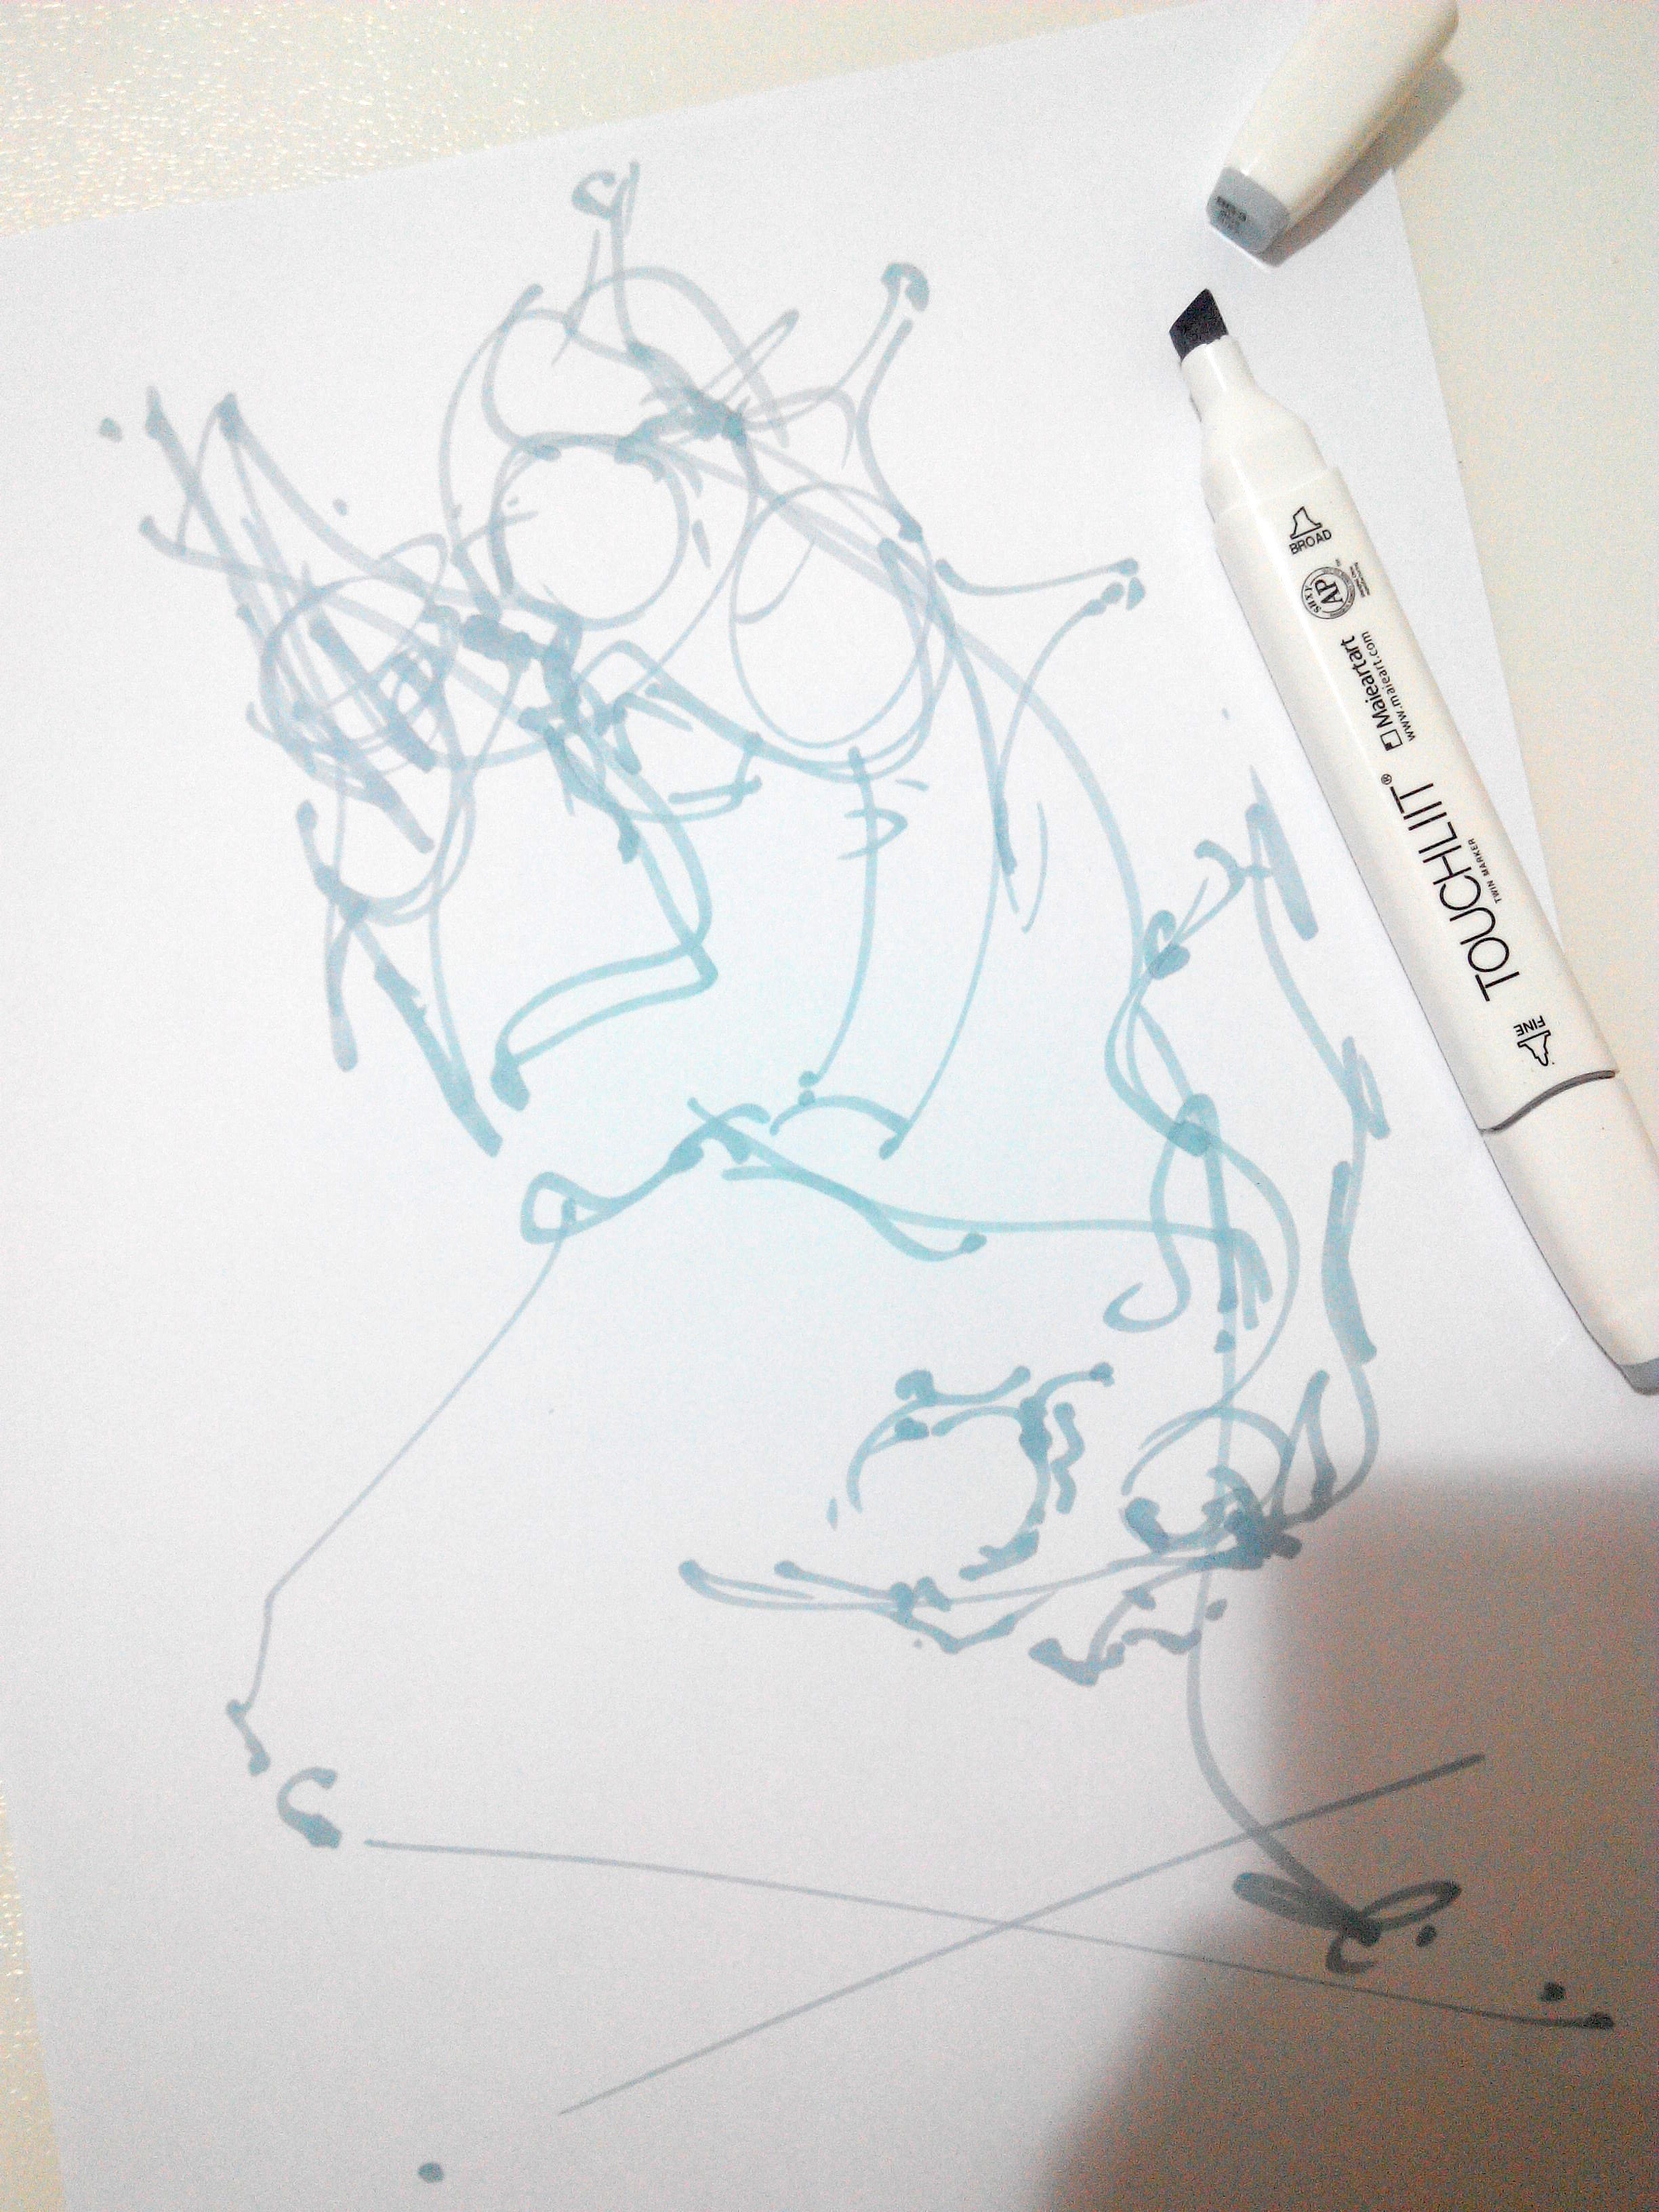
PHASE 2 MARKER
We use the marker to make a rough sketch. It will serve as a guide.
Trace the ground with 2 axis plan
Trace the pose with a rough skeleton, is it for example a “C”, “S”, inversed “S” body shape ?
At the same time, spot each main articulation (shoulder, elbow knee, wrist…)
Make sure that your character is stable on the ground
Add some quick shape of the body structure
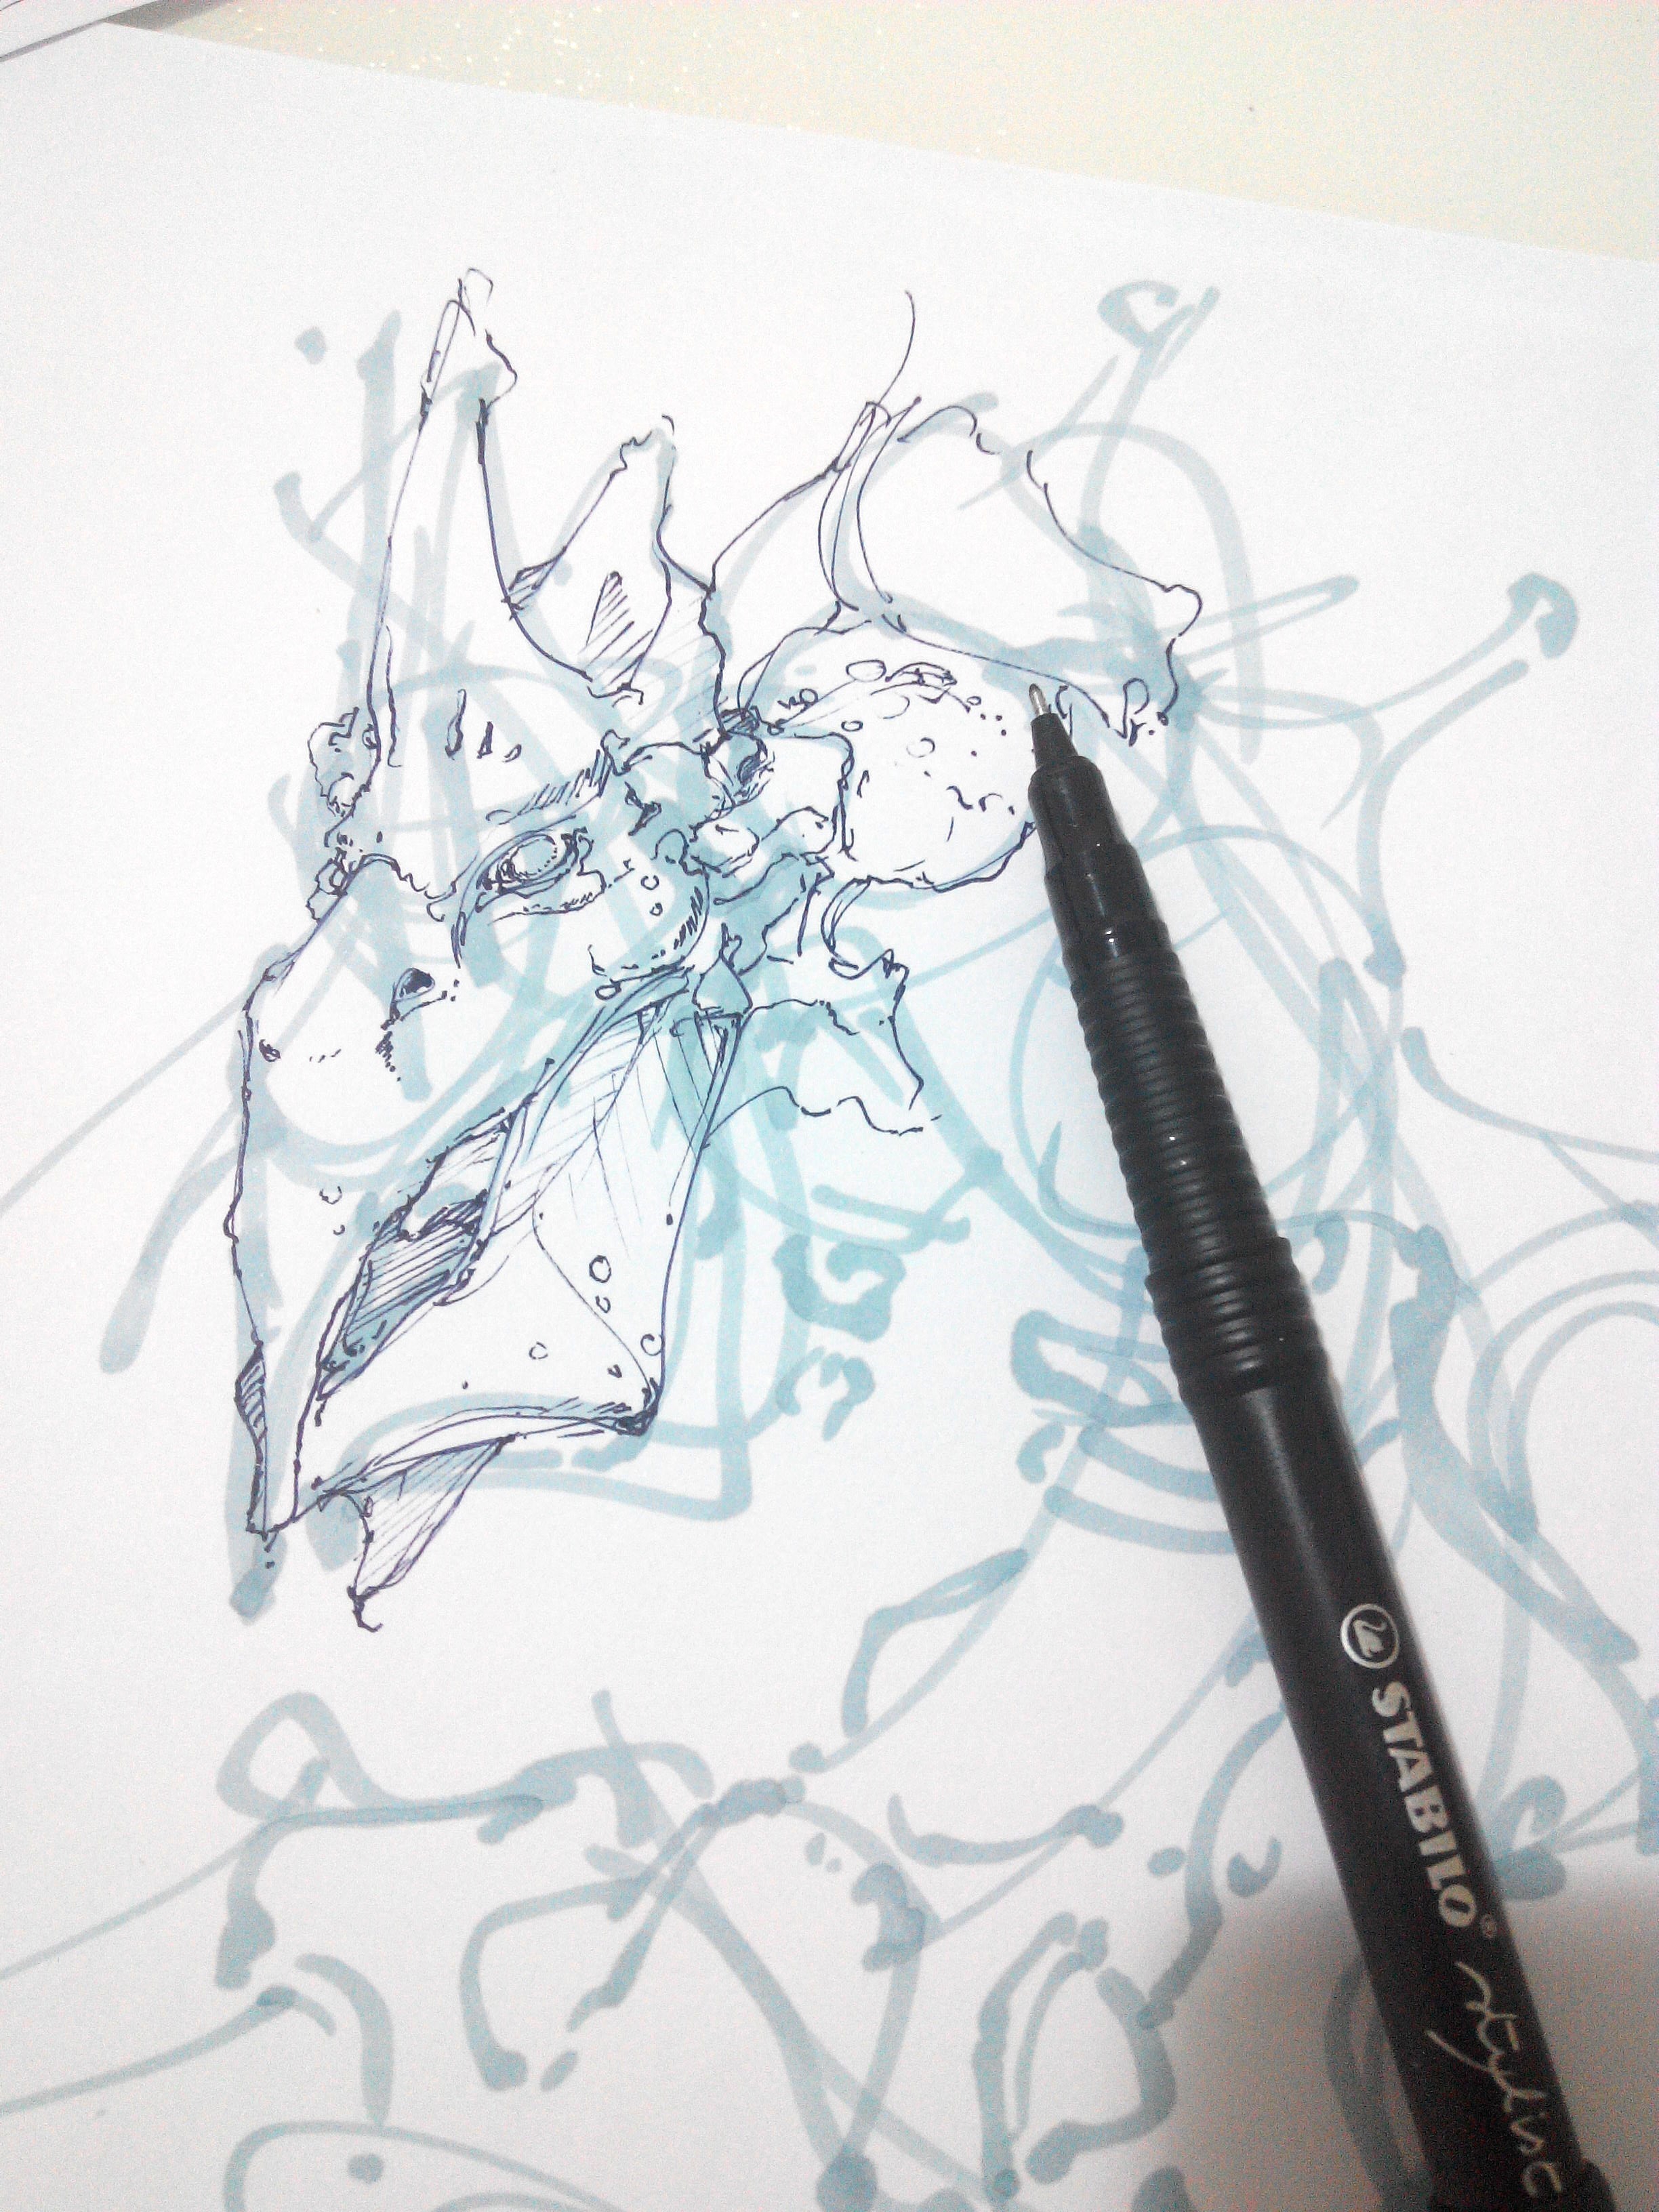
PHASE 3 STABILO Stilyst
I personally start drawing the eyes, then the head. That’s the main point of attraction. Keep a minimal approach. For the moment, add only a bit of details and shadow. You’ll get a first hint of the volume and texture you want to give to your creature.
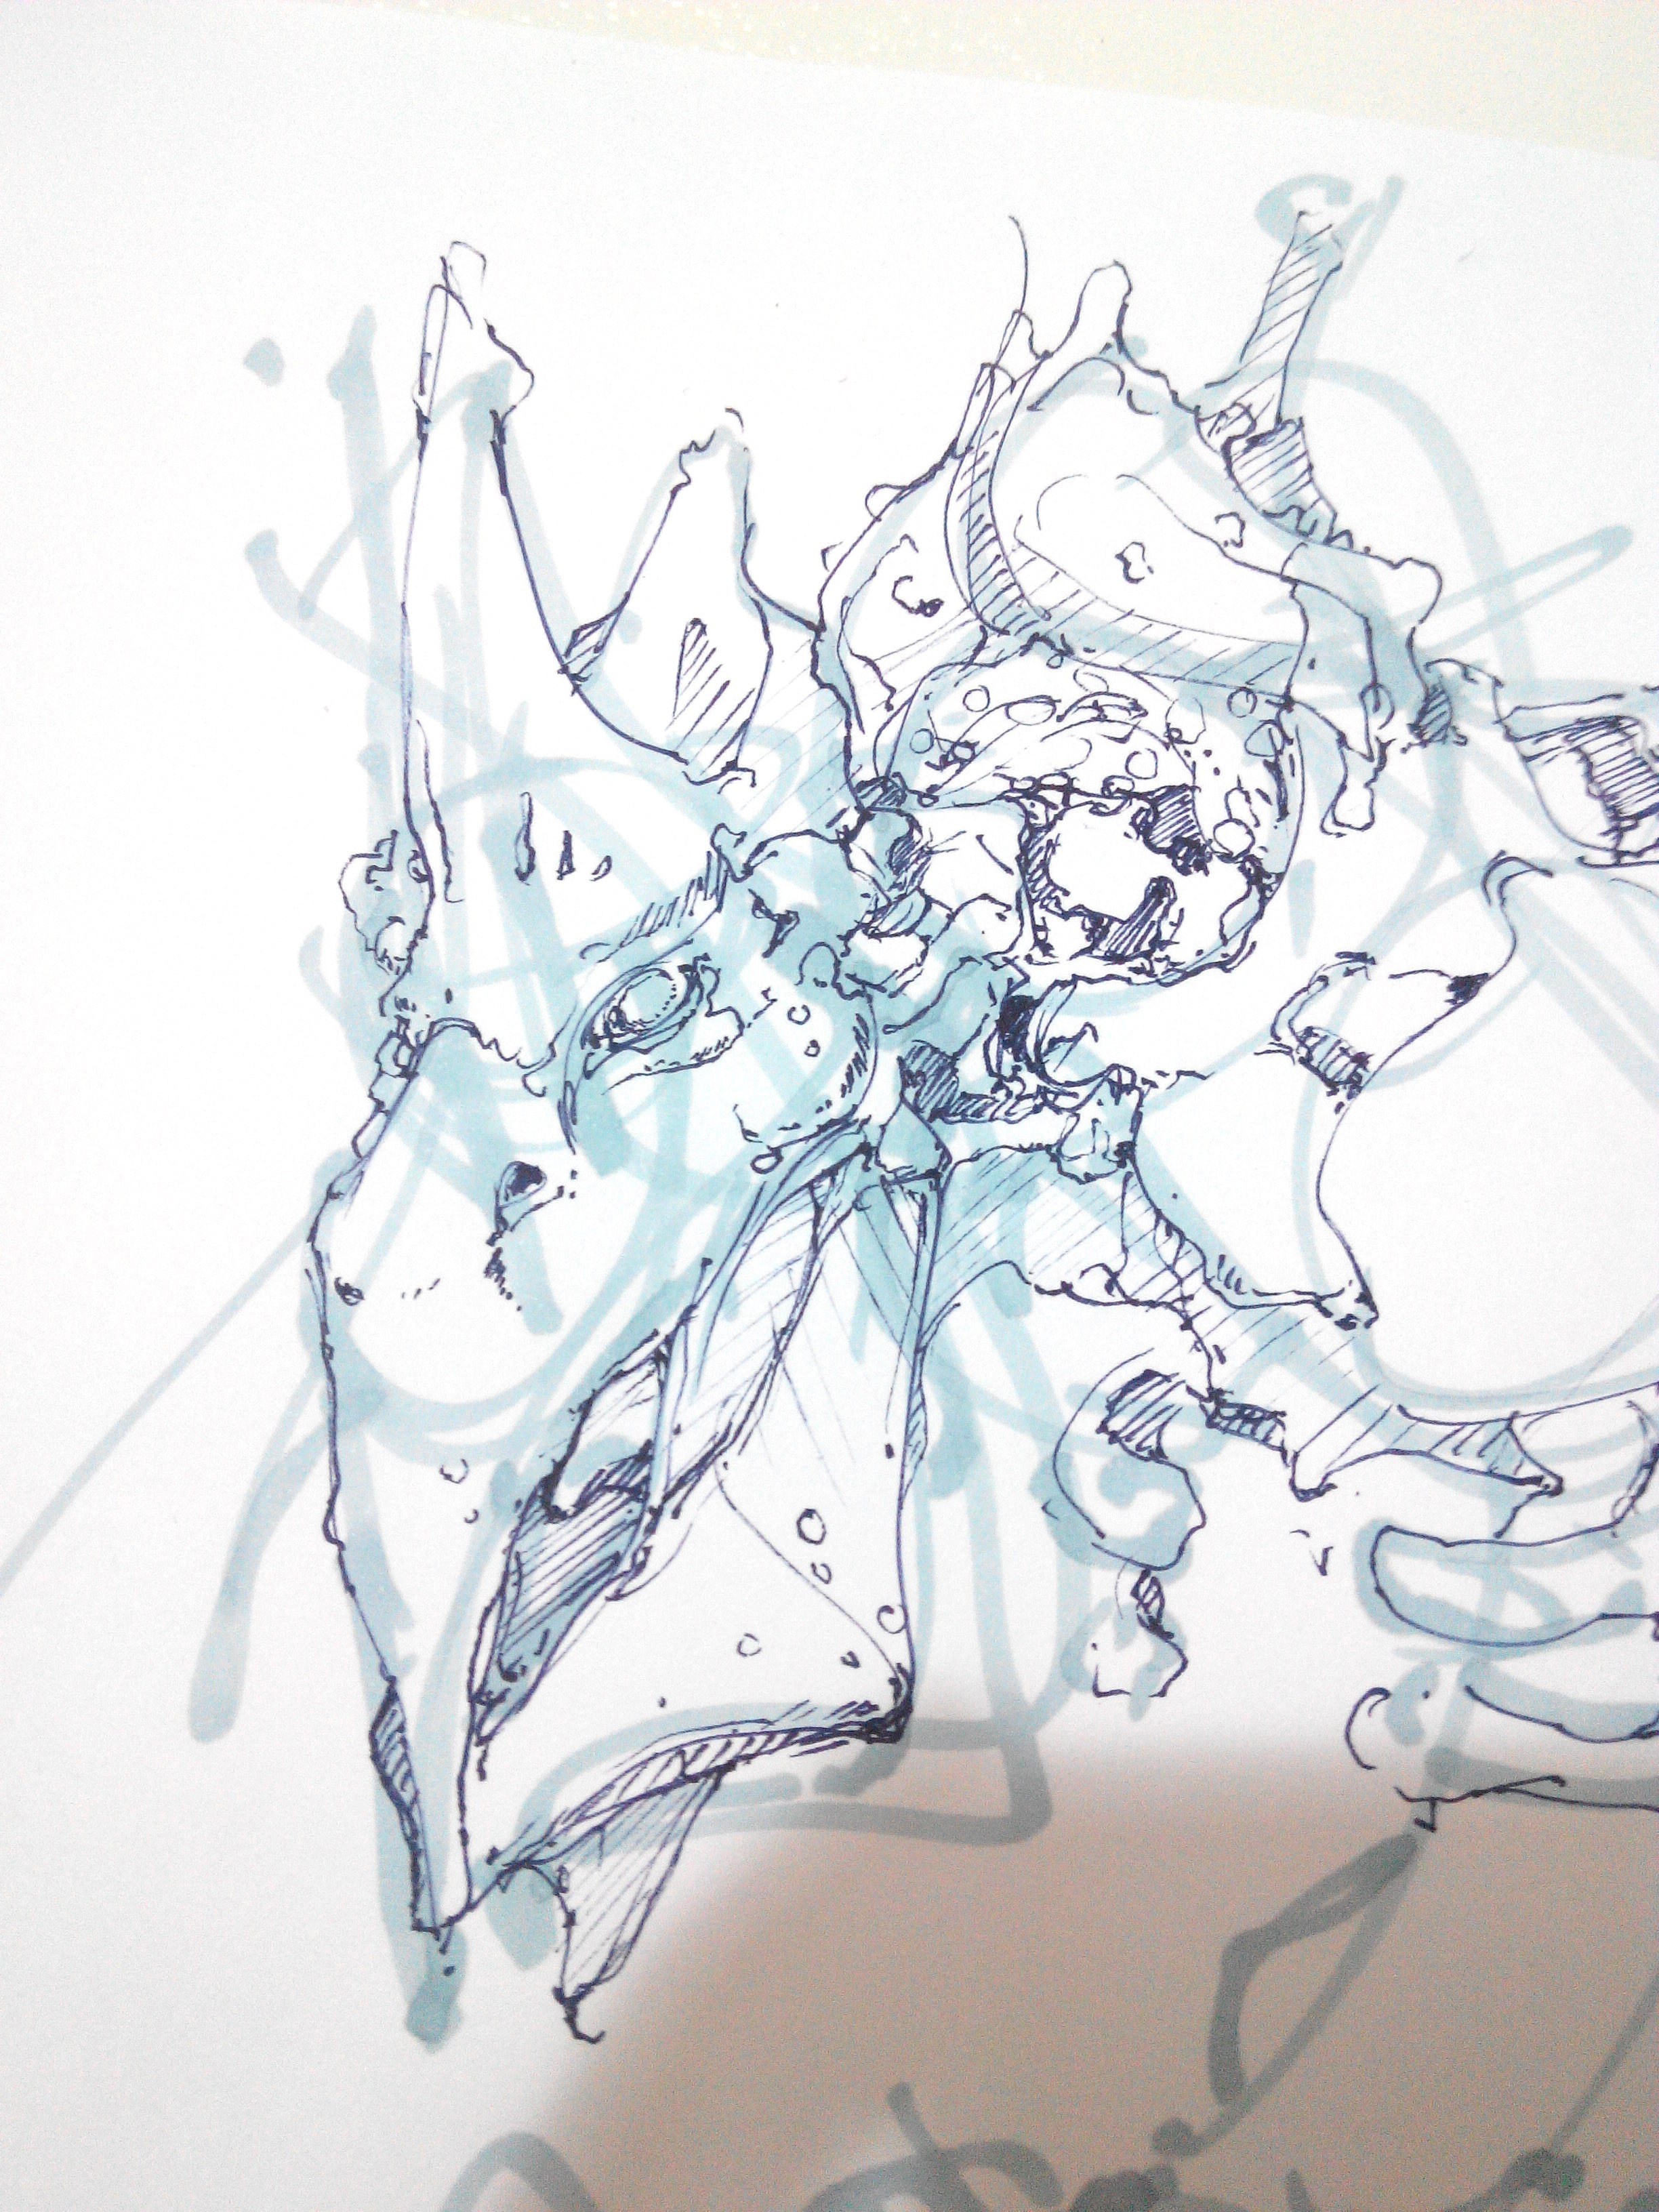 As soon as you got something viable, go further on the body following down the spine.
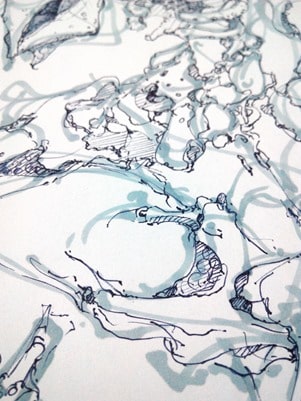
Add some texture and details. Do not overload.
 Identify the light source and add the shadows
Do some final touch up
For nice shadows:
I recommend you to read the article about How to I draw good hatching.

Alright, that’s all for today. The TIP OF THE DAY just became a tutorial ! ![]()
Try it, and give me some feedback. See you tomorrow.


Add comment