- How to Draw a Speaker: Easy Step-by-Step Tutorial
- What You’ll Need to Draw Your Speaker
- Step 0: Set a big resolution for your canvas
- Step 1: Sketching the Basic Speaker Shape
- Step 2: Adding the Main Details
- Step 3: Drawing Speaker Components
- Step 4: Shading to Add Depth and Realism
- Final Touches: Review and Clean Up
- Why Sketching Speakers is a Fun Practice
- My Students' Speakers Drawing
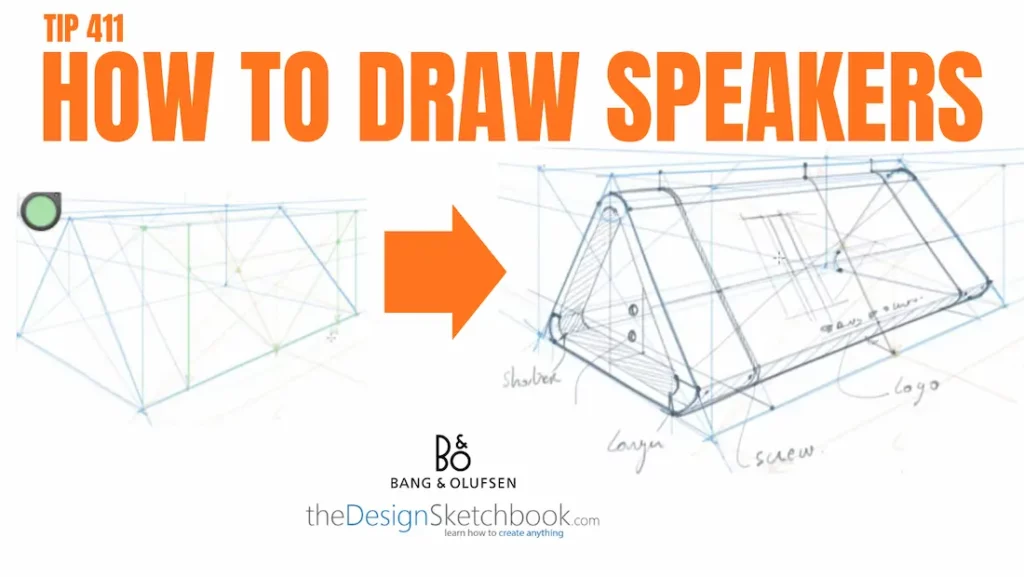
How to Draw a Speaker: Easy Step-by-Step Tutorial
Hey Sketchers!
A while ago I created a video tutorial on How to draw a speaker drawing tutorial for my students of my Private group “Bring Your Sketch Alive 2017!”, and I thought I could share with you today the full video tutorial and their creations, so you too can get the same results (See my students results below). 🙂
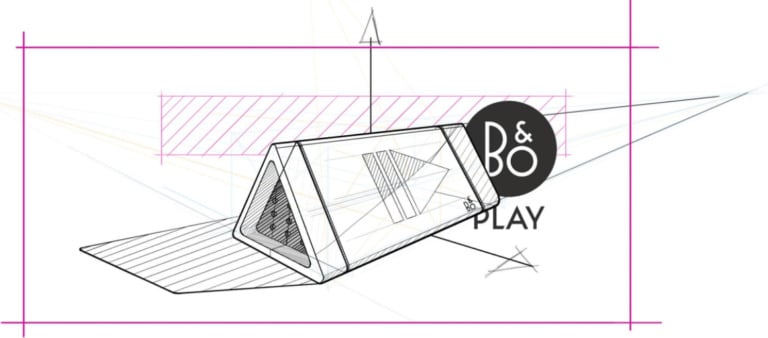
You too, you are ready to learn how to draw a cool speaker from Bang & Olufsen, piece by piece? I’ve got you covered.
This tutorial for beginners will walk you through everything step-by-step: from sketching the basic shapes to adding all the fun details.
What You’ll Need to Draw Your Speaker
Before we jump in, let’s quickly talk simple materials. You just need a few basics: a ballpoint pen for sketching, and some paper. I would like you to avoid pencil and erasers, so you can practice drawing controlling your pen pressure (and fight the “heavy wrist syndrome” if you have).
An other option is to draw on your tablet like I do with Sketchbook Pro software.
Keep that in mind, when you start your construction lines, start with light pen pressure, so you can later draw your speaker with bolder lines.
Nothing fancy, just stuff you probably already have handy.

If you need to practice your 2-point perspective skills, I invite you to download the Designer Starter Kit. I cover all in detail inside.
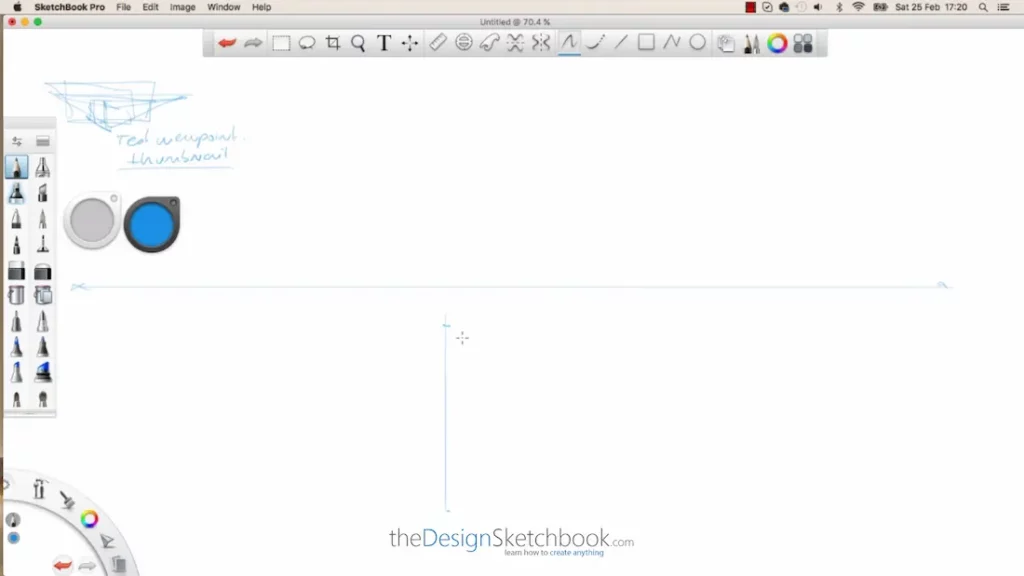
Step 0: Set a big resolution for your canvas
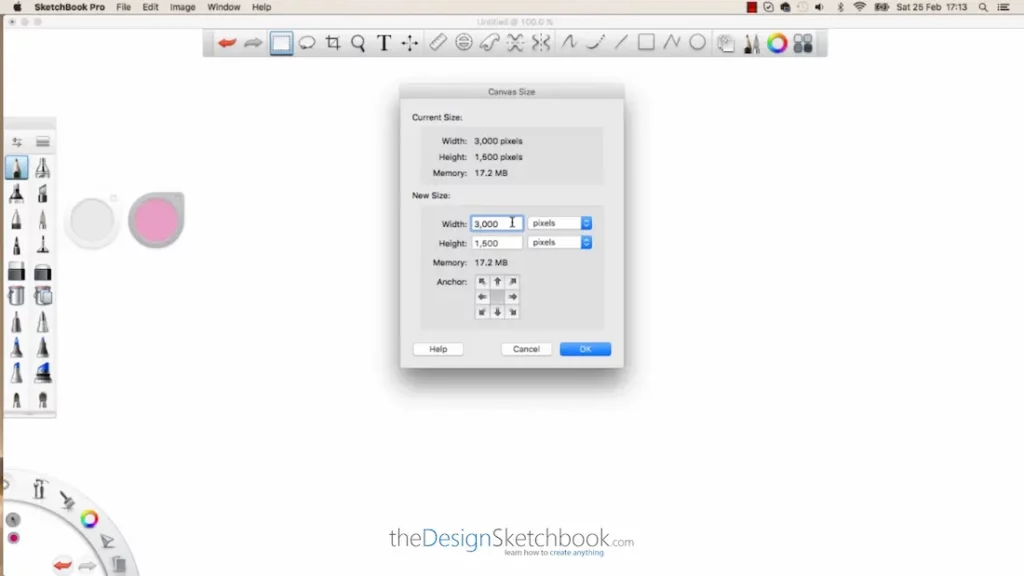
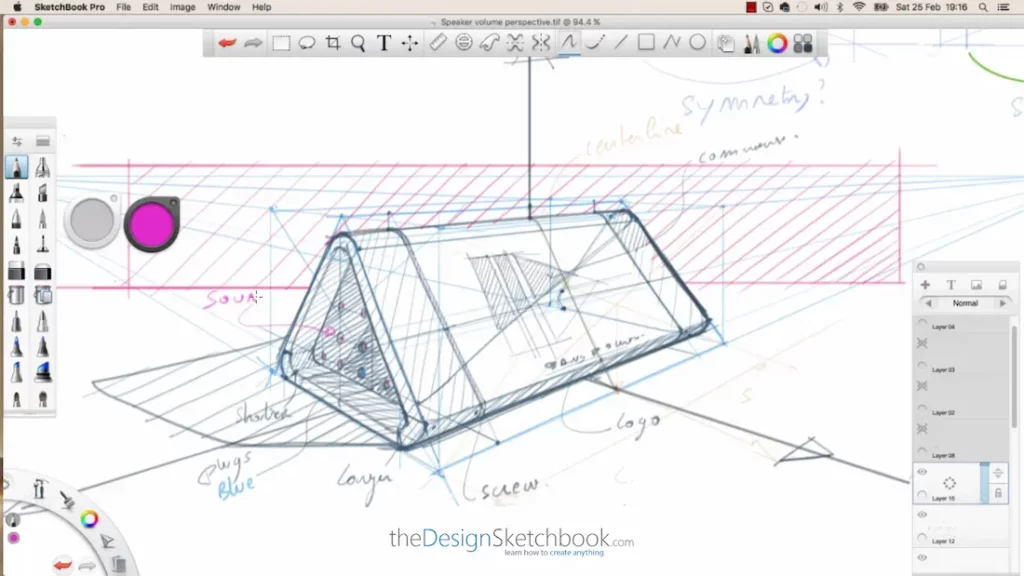
Adjust Sketchbook Pro drawing software’s resolution to 3000 width and 1500 height.
A big resolution allows you to be able to draw into your details keeping a quality resolution with clarity.
Step 1: Sketching the Basic Speaker Shape
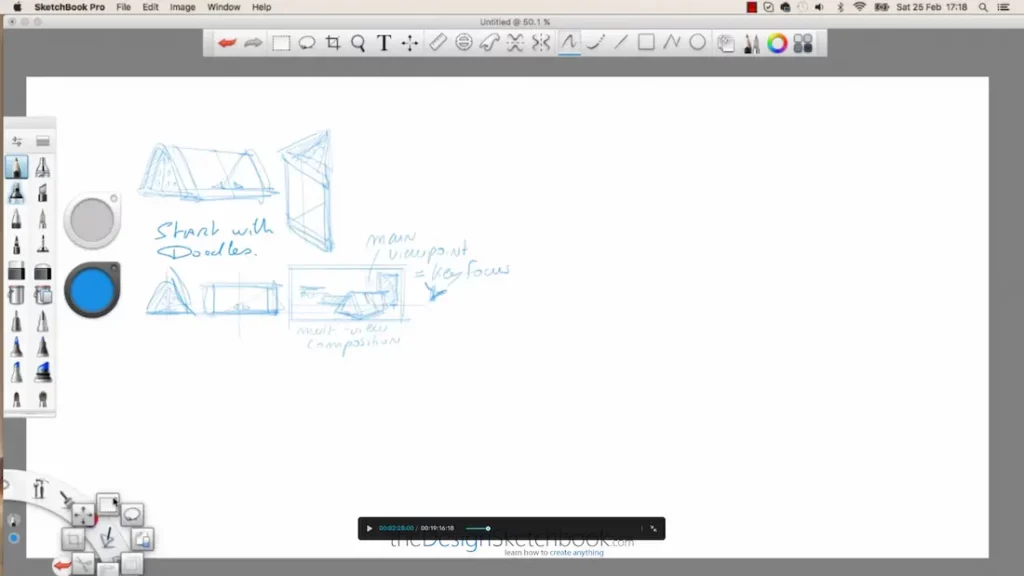
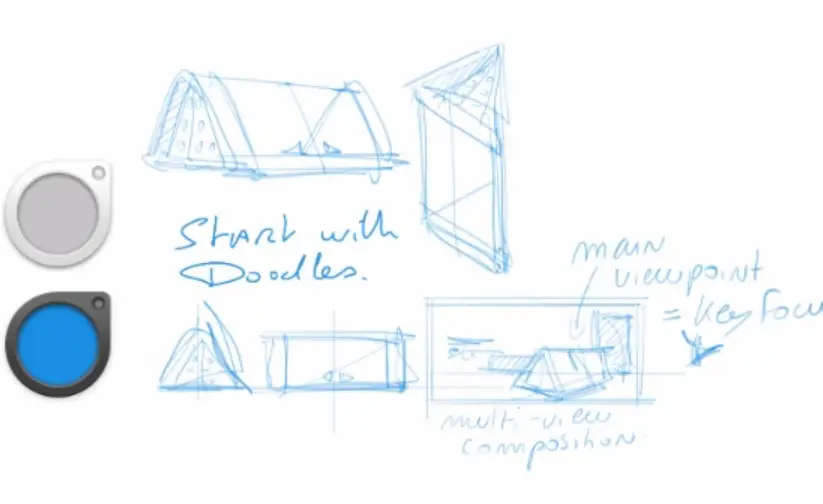
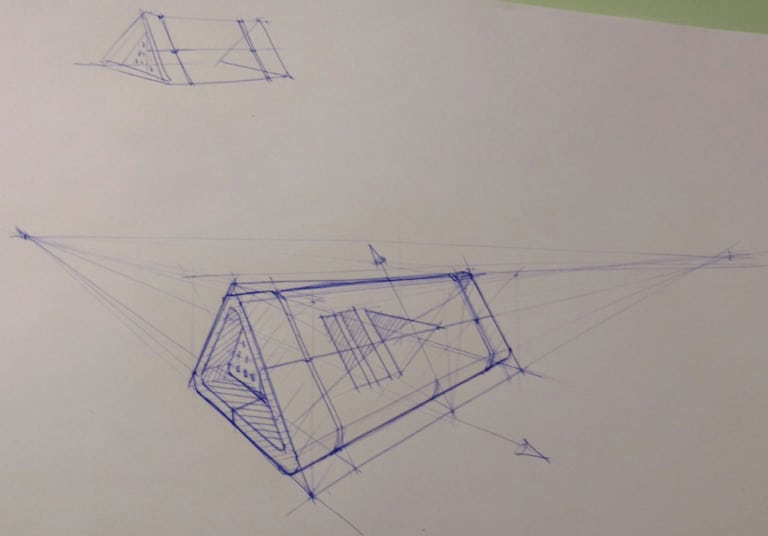
TIP: Doodle thumbnails of the speaker before drawing it big. I drop my ideas fast and plan my next moves.
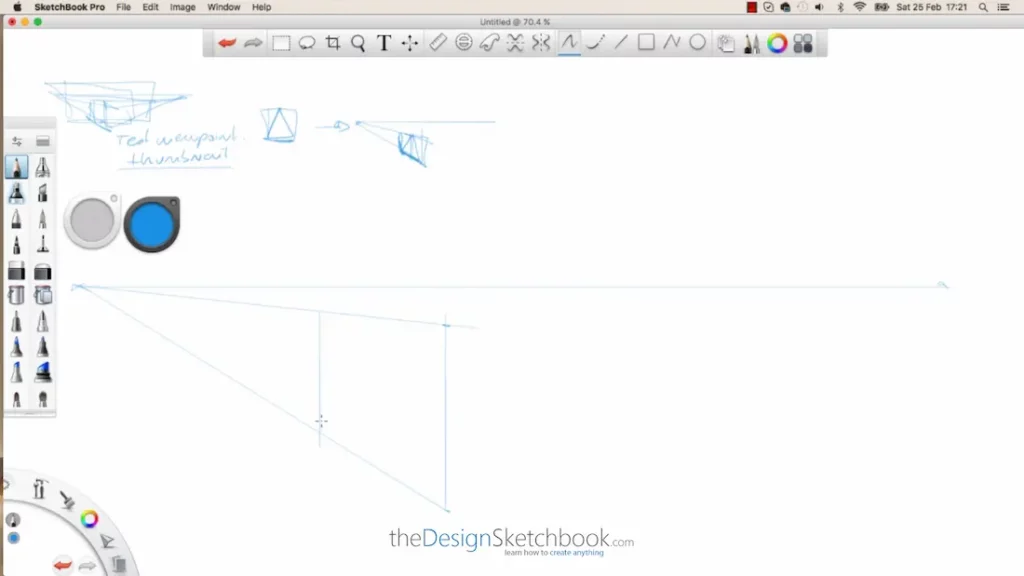
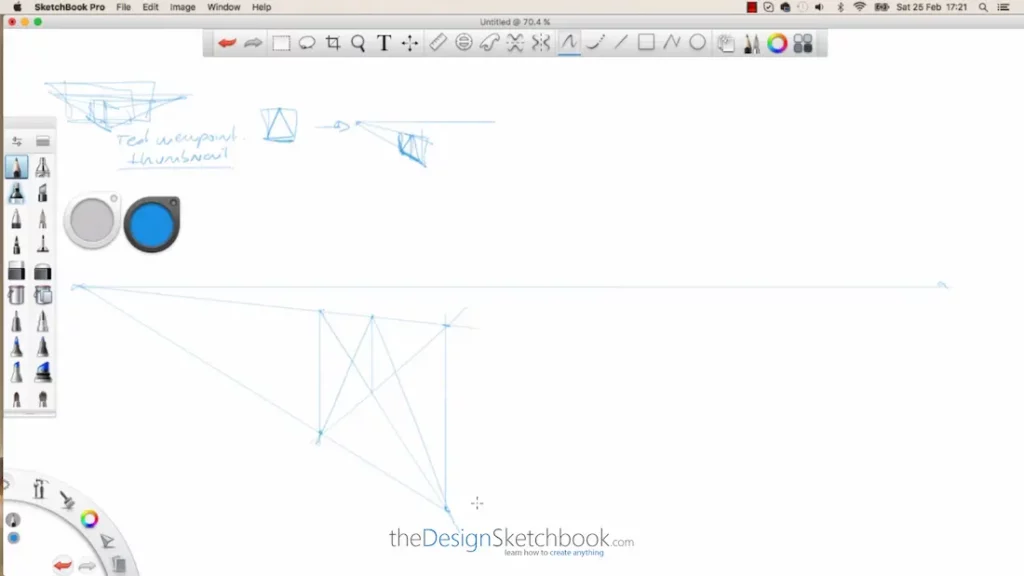
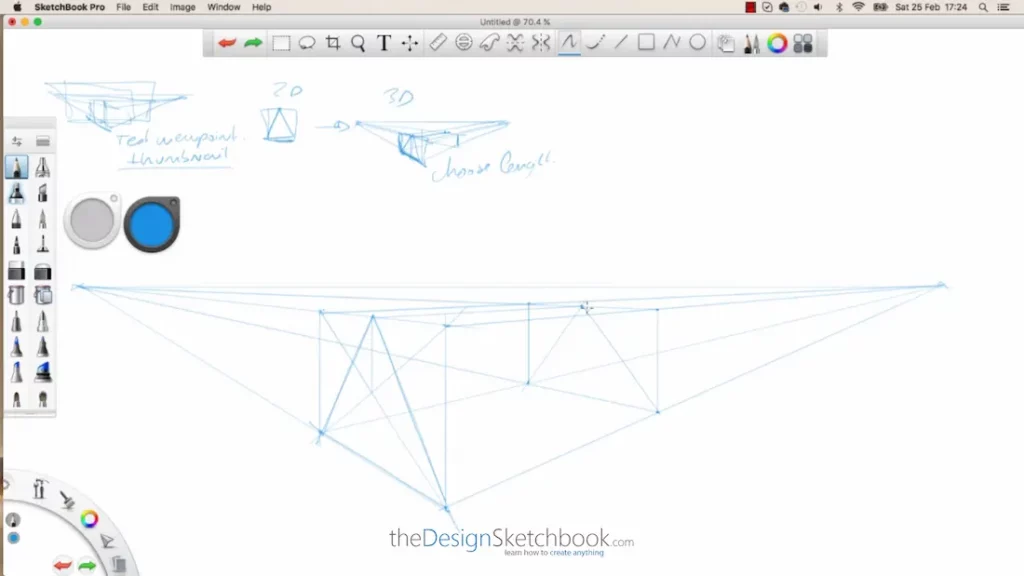
The first thing is to get the overall shape down. Think about the speaker as a simple box with rounded edges. Don’t worry about perfection here, just block in the general outline.
Make sure to draw with a light pen pressure, especially if you have a Heavy wrist tendency. (Drawing with dark lines by default). I choose a light blue lead for the construction lines. I will then use a black lead for drawing the speaker.
This sets the stage for everything else we’ll add later.
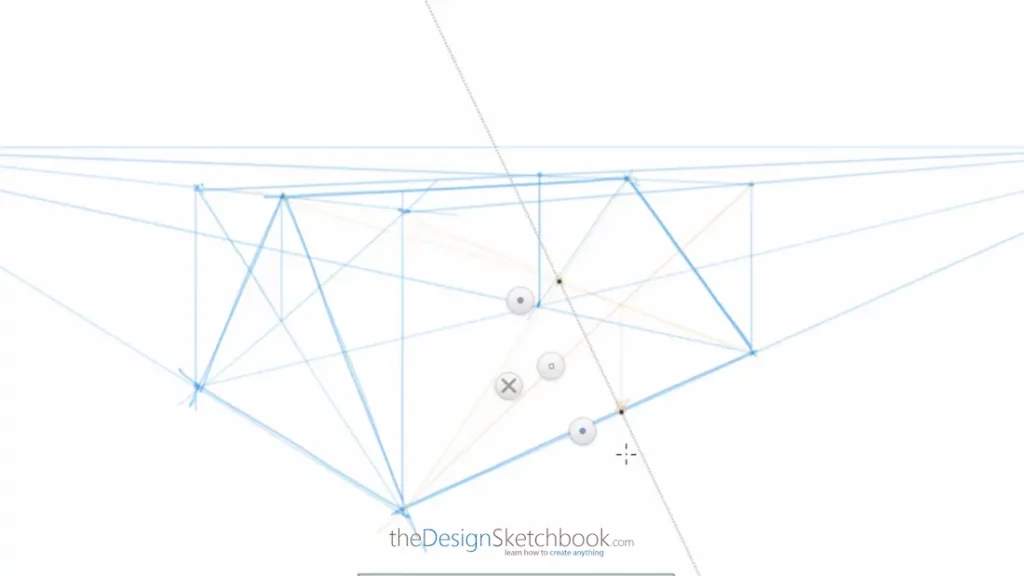
Step 2: Adding the Main Details
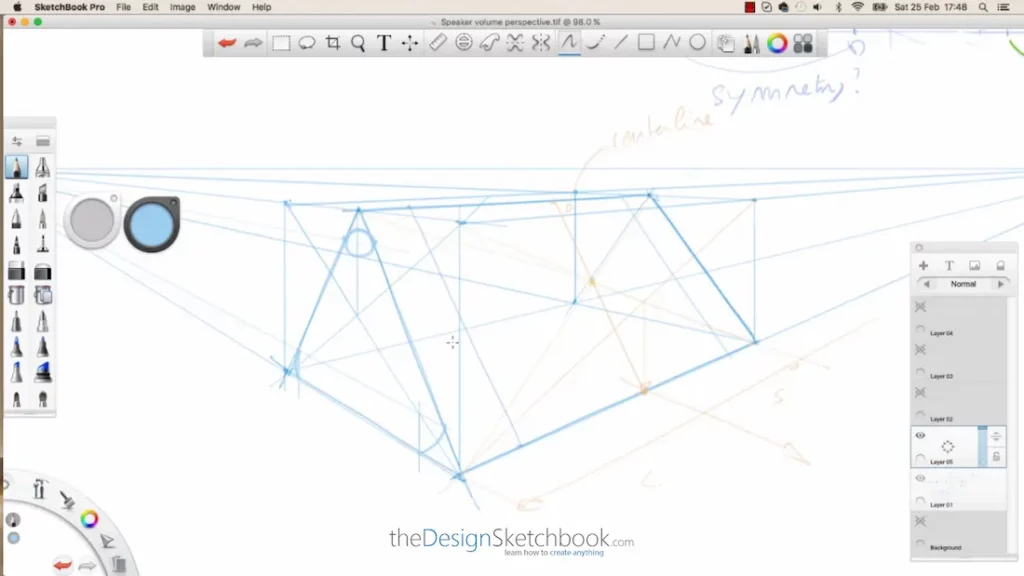
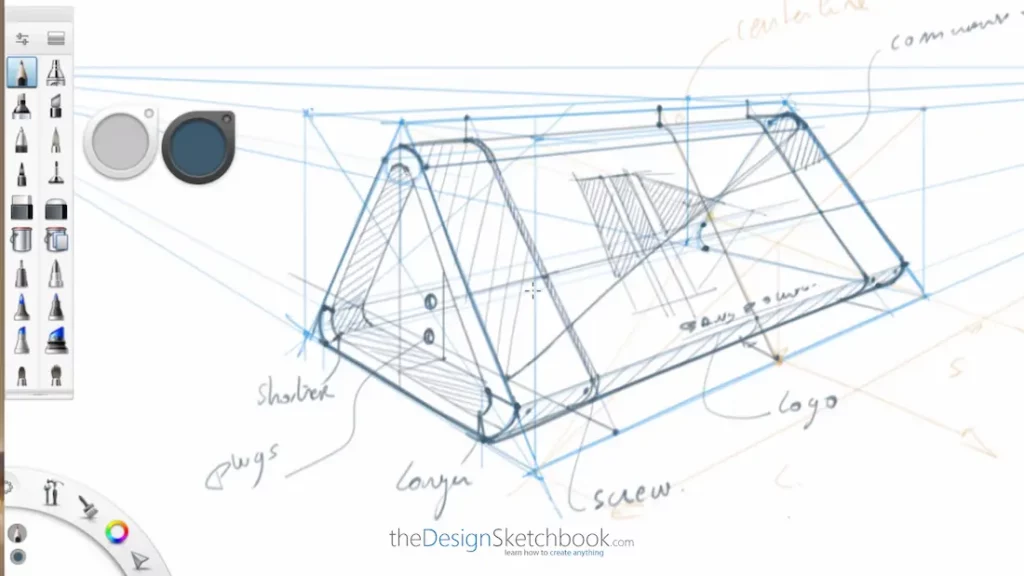
Once you have the shape, start dividing your speaker into parts, like the side grille, the speaker perforations, the front touch screen and the graphic buttons. Use light lines to place these elements so you can adjust as you go.
This is where your speaker starts to look like, well, a speaker!
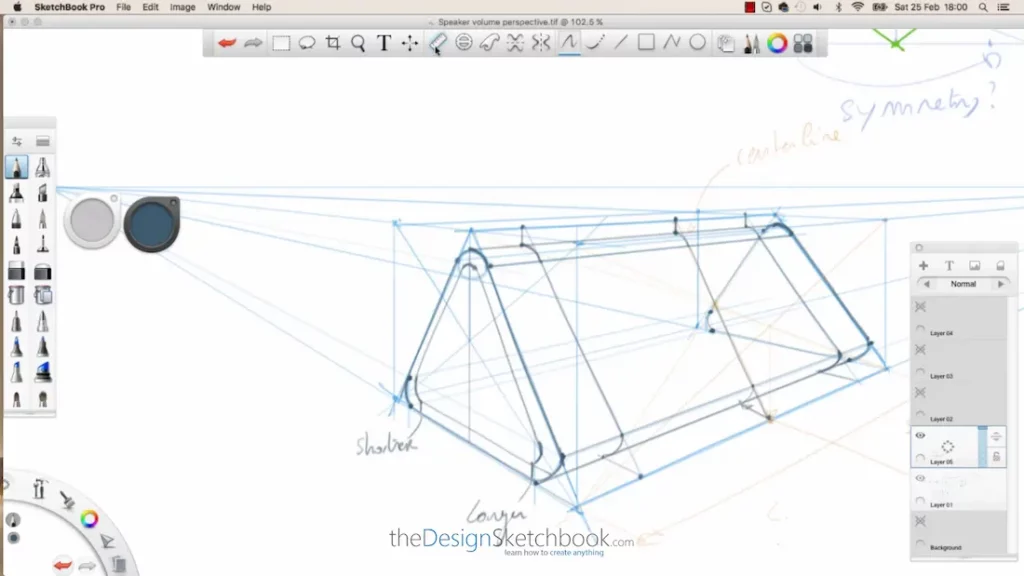
Step 3: Drawing Speaker Components
PRESENTATION TIP:
Add some written annotation to name and identify the speakers’ various elements.
To contrast with the sharp lines and edges of the speaker sketch, I draw the annotation arrows with curved lines.
Step 4: Shading to Add Depth and Realism
Here’s where your speaker really comes to life.
Start shading the “internal pieces” and edges lightly to show curves and shadows. Imagine where the light hits the speaker and where the shadows fall to make it pop off the page. This step adds volume and makes your drawing look 3D.
Final Touches: Review and Clean Up
Almost done!
Erase any extra guidelines if necessary and darken the lines you want to keep.
Add any last details or highlights. And voilà, your speaker is ready!
Why Sketching Speakers is a Fun Practice
Drawing tech objects like speakers is fantastic for improving your observation skills and mastering shapes. Plus, it’s super satisfying to see plain lines turn into a realistic object.
So, keep practicing and try sketching different types of speakers too!
My Students’ Speakers Drawing
Below are the sketches my students made following the step-by-step video tutorial from Sandi Premri, Martin Goulet and Lucas Hippolyte.

Recommended Articles
TIP 343 How to Draw 3D Objects from Imagination Using Basic Perspective

TIP 297 How to Use the Y-Axis to Sketch Product Designs in Perspective
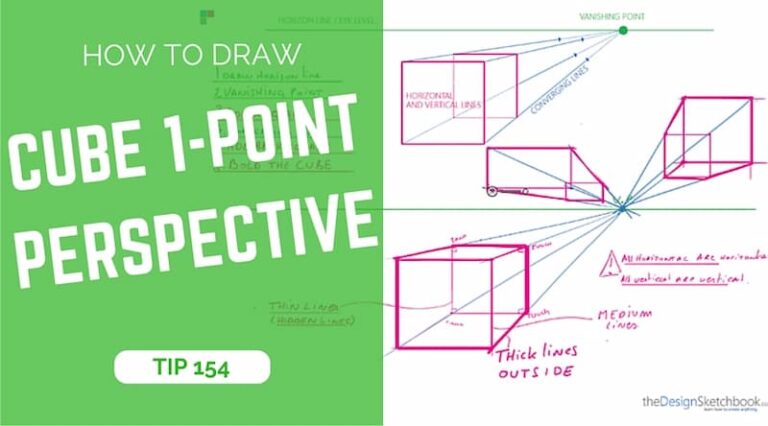
TIP 272 How to Draw a Cube in 1-Point Perspective: Step-by-Step Tutorial
TIP 268 How to start drawing in perspective with this New drawing tool: The MICRODOT®
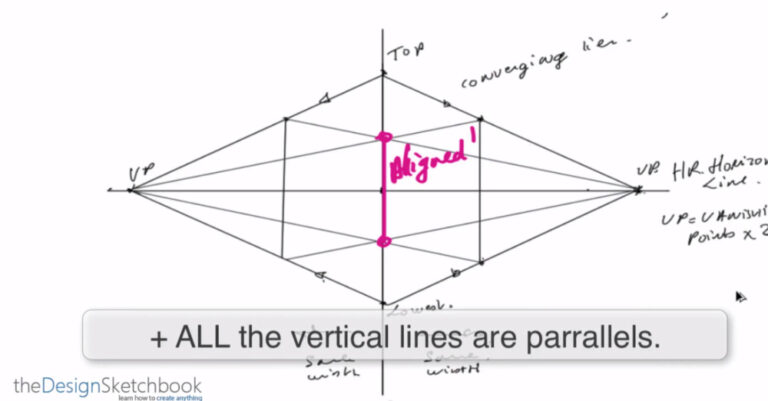
TIP 256 How to Draw a Cube in 2-Point Perspective: Beginner Tutorial


Add comment