Discover how to bring your products to life with the help of simple cylindrical formulas.
Follow these 4 sketching tips and start drawing cylinders today!

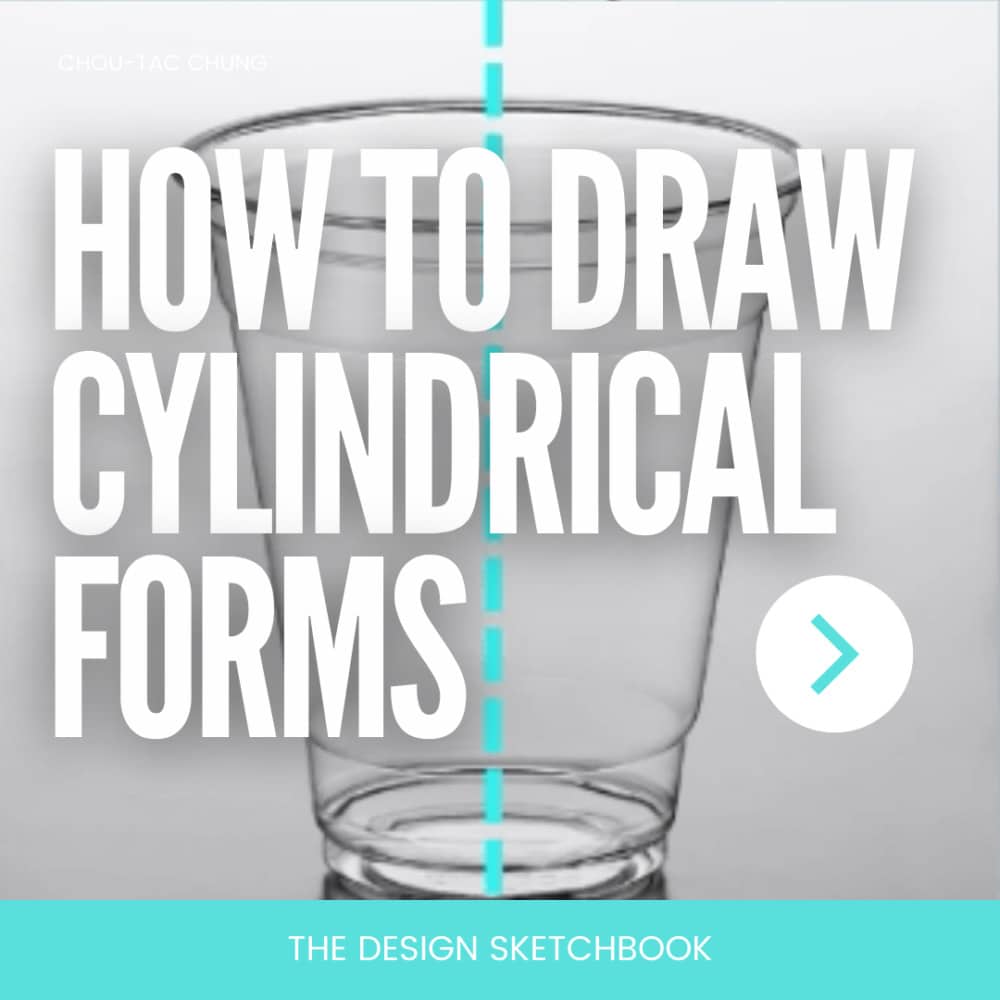
How to Draw Easy Cylindrical Formulas for Products

  • TIP 1 Draw with a Papermate Flair M
  • TIP 2 The minor axis is your symmetry axis!
  • TIP 3 The 3 steps to drawing “cylindrical forms” are easy
  • TIP 4 Visualize boxes in perspective
  • TIP 5 Draw contour lines
  • TIP 6 Try the Spring technique!

Drawing cylinders is inspiring when you decline them into an infinity of forms to draw your products Let me show you how to decline them easily in steps and share with you my sketching tips

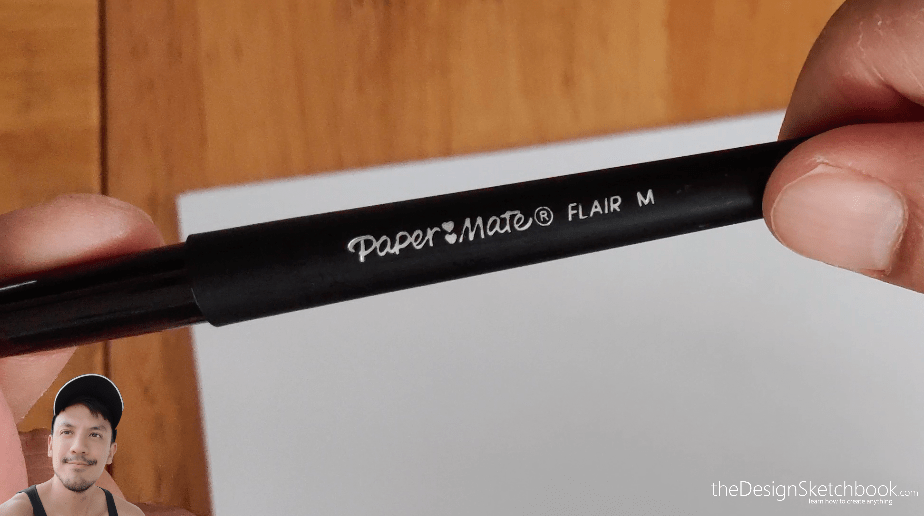
TIP 1| Draw with a Papermate Flair M

Learning a new technique is often intimidating at the start.
As a beginner, we lack precision.
This is why I recommend you practice with a thicker felt nib: The Papermate Flair M is my favorite.

Draw without looking for perfection and enjoy studying today’s drawing tutorials!

Papermate flair m (medium)
Papermate flair m medium
Thick felt nib
Thick felt nib

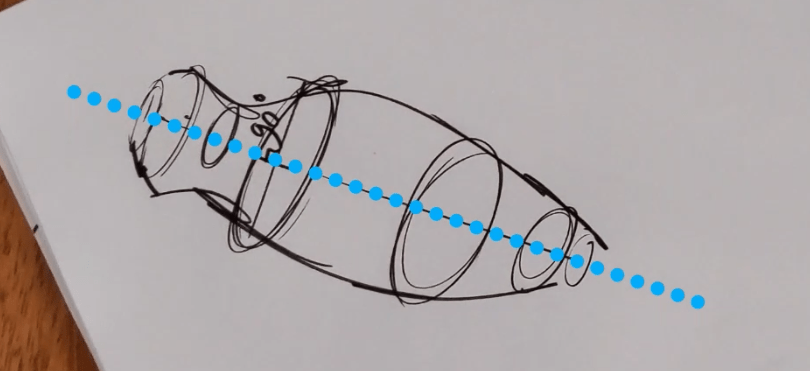
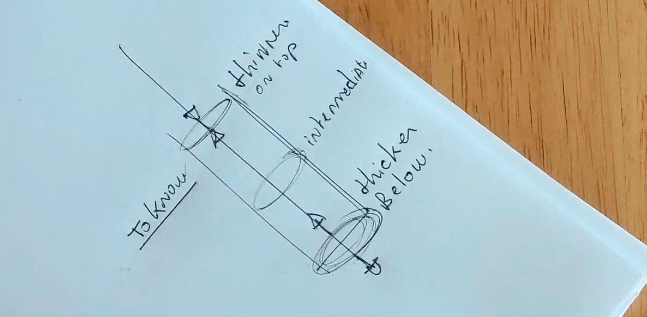
TIP 2| The minor axis is your symmetry axis!
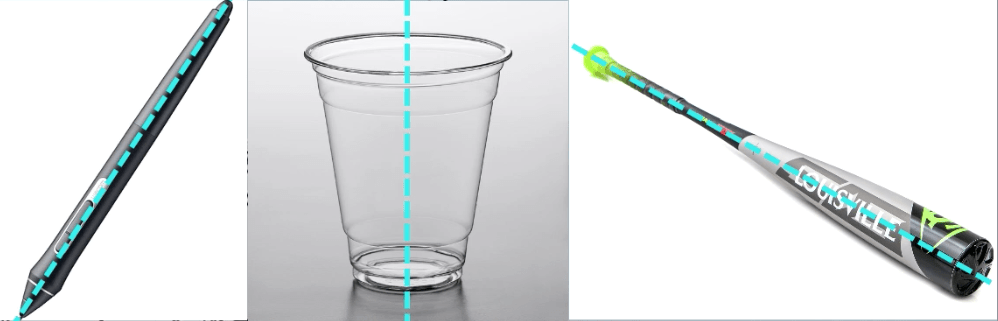
Take any product around you with a cylinder base. 
Turn it in any angle while visualizing the invisible minor axis.
<strong>take any product around you with a <a href=httpslifedrawing Academylife drawing academy newshow to draw cylinders from life target= blank rel=noopener title=>cylinder base<a> <strong><br >turn it at any angle while visualizing the invisible minor axis

An important rule is to draw a cylinder base product, the minor axis is your symmetry axis.
No matter from which angle you see your product.

We use the cylinder base to create our new form drawing a series of ellipses.
We use the cylinder base to create our new form <a href=httpswww Thedesignsketchbook Comhow to draw ellipses in perspective in steps tip title=httpswww Thedesignsketchbook Comhow to draw ellipses in perspective in steps tip >drawing a series of ellipses <a>
Spot the minor axis here in blue = symmetry axis

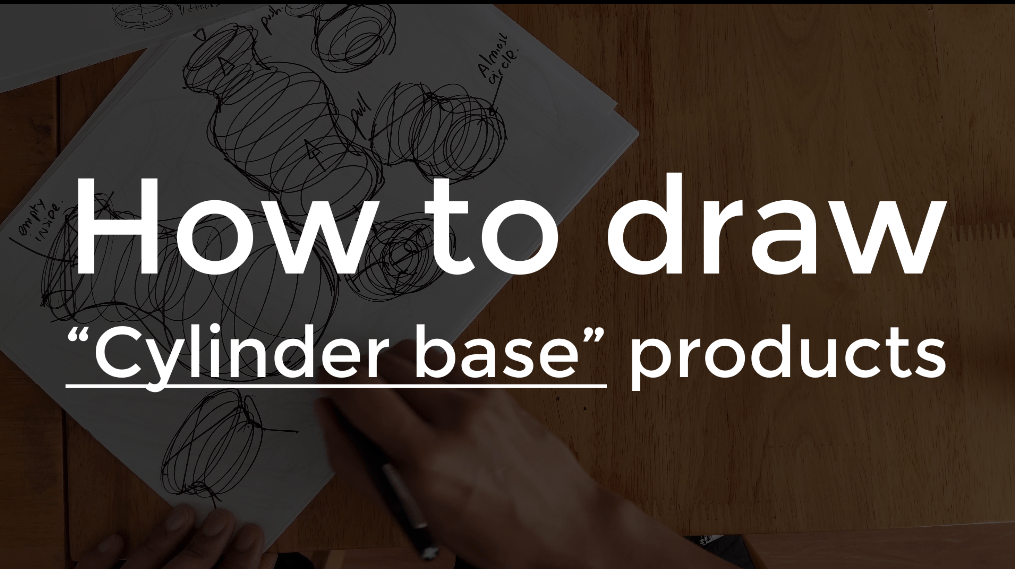
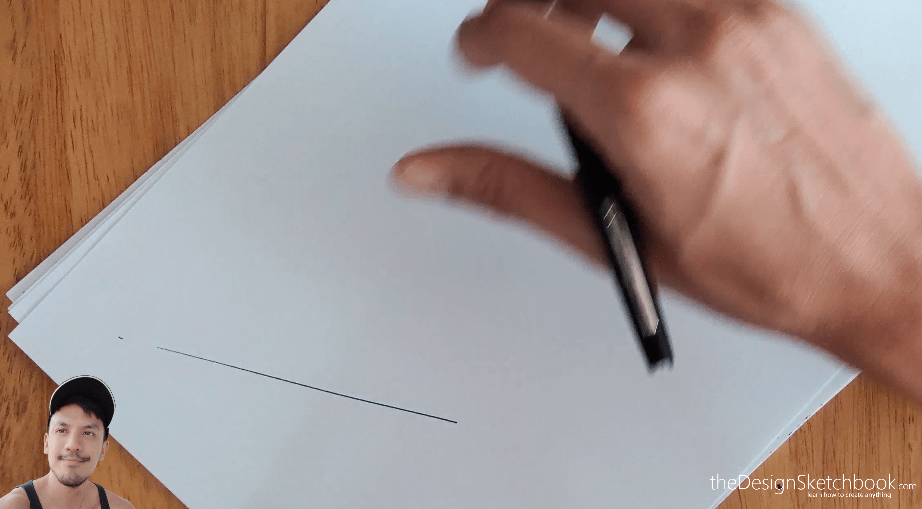
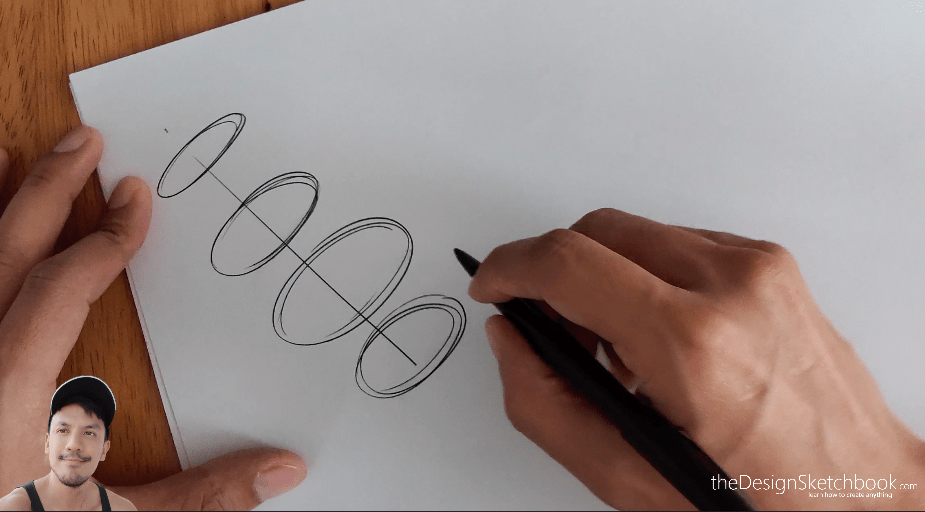
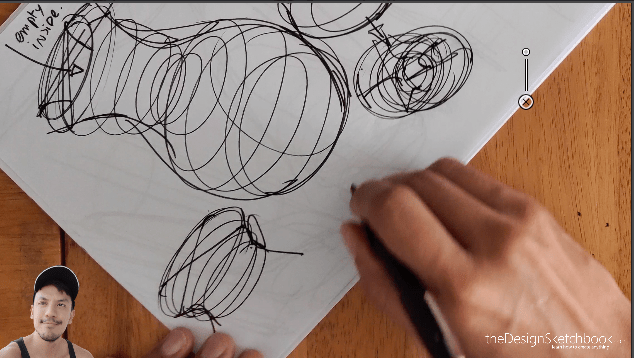
TIP 3| The 3 steps to drawing “cylinder forms” are easy

Let’s have fun drawing some random forms using the “Cylinder base” technique! I show you below in 3 simple steps:
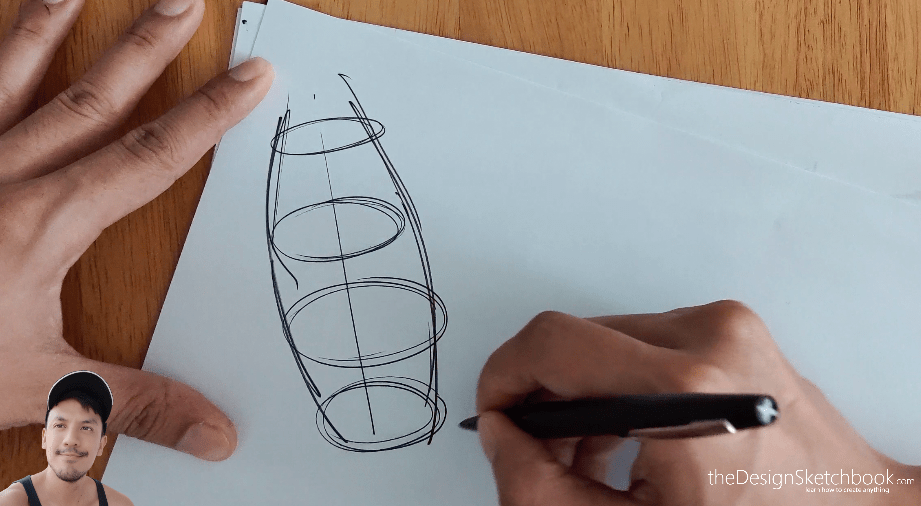
Step 1: draw an axis
<strong>step <strong> draw an axis
Step 2: draw ellipses with different sizes all along the axis.
<strong>step <strong><a href=httpswww Thedesignsketchbook Comhow to draw an ellipse freehand>draw ellipses<a> of different sizes all along the axis
Step 3: connect the ellipses creating the form you want.
<strong>step <strong>connect the ellipses creating the form you want

IMPORTANT:

To know: the top ellipse is thinner than the bottom one. All the ellipses in between get thick gradually going down.
<strong>to know <strong>the top ellipse is thinner than the bottom one All the ellipses in between get thick gradually going down

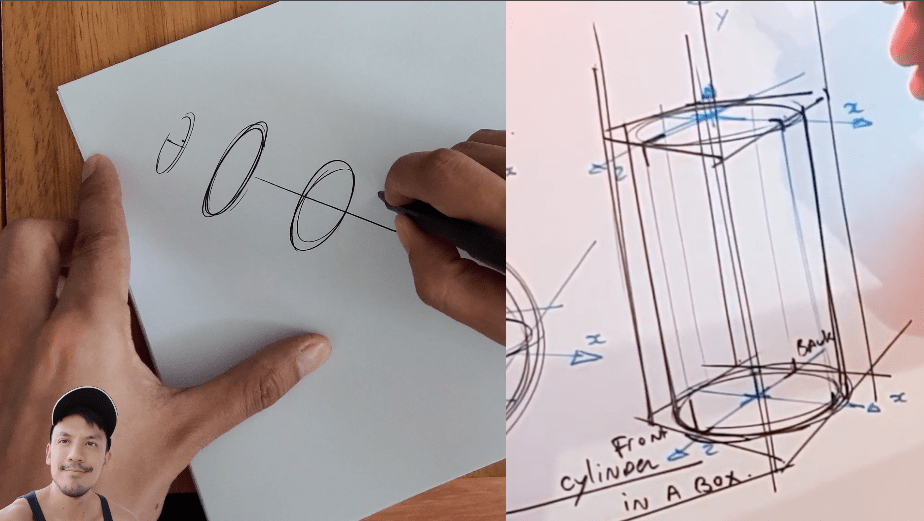
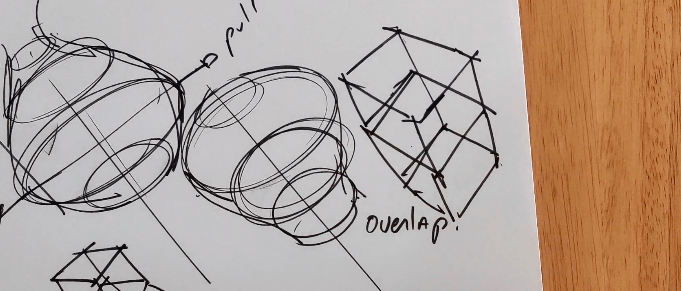
TIP 4| Visualize boxes in perspective

To level up your visualization in 3D, imagine your “cylinder forms” embed in boxes in perspective.

Each box is a portion of the "cylinder form".
Each box is a portion of the cylinder form

TIP 5| Draw contour lines

To show even more clarity and volume, add in contour lines. To practice this, you will need first to study the Designer Starter Kit.

Level up learning how to draw the contour lines of your volumes.
Level up by learning how to draw the contour lines of your volumes

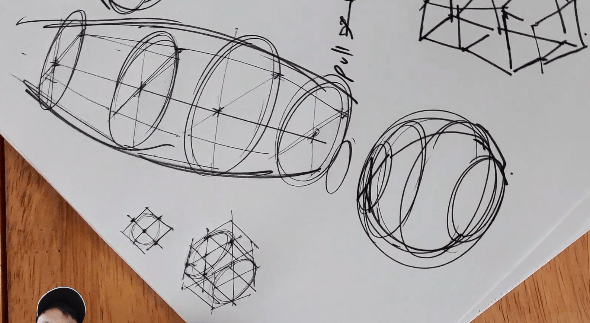
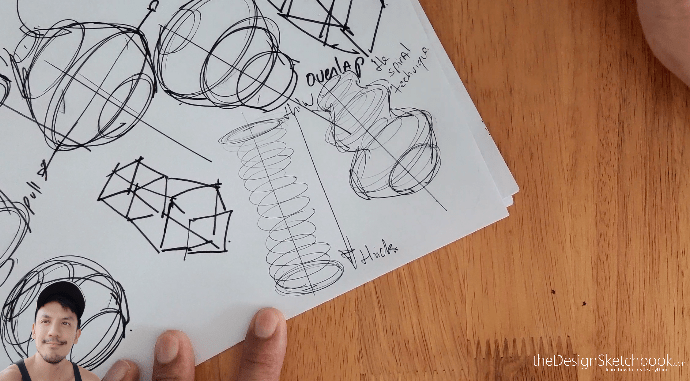
TIP 6| Try the Spring technique!

Let me show you a fun sketching technique.
I draw some springs to create some volumes. Remember to widen the “ellipses” as you go down.

Draw with the spring technique!
The spring technique
Fill many draft paper to practice.
Fill out many draft papers to practice

Alrighty, I hope you enjoy this simple tutorial. I wish to show you how you can draw many new forms even as a beginner. 🙂

See you for the next DRAWING TIP!
Cheers,
Chou-Tac

1 comment

Your email address will not be published. Required fields are marked *