Today let’s see how to draw contour lines. Your first steps, the easy way!
With this simple technique, you will draw any volume super fast.
Your speed of sketching is essential for a designer to develop his ideas smoothly and communicate them fast.
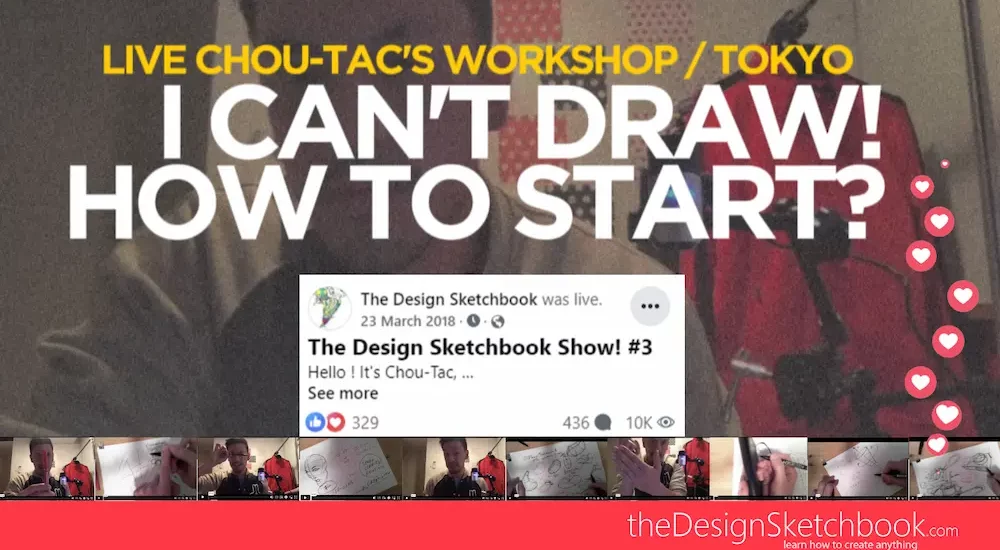
I am Chou-Tac. So welcome to the Design Sketchbook.
Before getting started, I would like to invite you to download the designer starter kit.
https://www.thedesignsketchbook.com/sign-up-and-receive-the-ebook-the-designer-starter-kit/
To get started, what I like to do is to draw in and read what is not recommended or what you shouldn’t do.

First of all, we are going to draw the plain for him right here without contour lines. So basically what I draw is in the perspective of 3D volumes, that look like a box. And basically, here, I’ve got drawcharism the outlines. And here I’m building up a little bit to give it a bit more charism to the sketch.
Remember to draw with the ghost drawing right here. And if you don’t have any notion of perspective, once again, feel free to download the designer starter kit, I’m going to explain to you step by step, how to join the box in perspective from different angles.
Alright, as you can see here, you have read a plane volume, which is something that actually is missing of kind of charism that I would say.
And what we will do here in blue is the same volume. But with the contour lines, so I got left the speed of the video to one, so I didn’t speed up the video. So you can see basically how you can take your time when you draw actually.
So I’m doing here, the same box right here.
Bolding a little bit here.
It’s like the usual steps of trying like you just take your time you do the outlines very lightly. Then you put to make it mobile but to to your sketch.
Okay. As you can see, by just adding this little bold line below makes it heavier for this, you know, 3D volume that was just we are drawn, with some light lines. And there are a few more tricks to know about how to make your sketch more real. And I’m going to create some more tutorials for you guys, in some separate videos. The great way is when you play as as same assembling them all together.
Alright, so here I am joining the contour line since basically is that I’m thinking that I’m cutting this volume in half. And this is how like, you will help your visualization like your brain to better understand the volume of this box.
And its really give you like the impression that this volume has more texture somehow. And it tooks like just a few minutes left just like two seconds to create. And just remember to do the the contour lines very light.
As you can see, now you got a solid for you what was just playing like something which was very like wireframe become of solid volume, something which has more weights once again. So now let’s see how you can do a hole inside this box to level up this exercise it to make it even more fun.
So I took back, my red pen here actually my my fuchsia color. So I’m going to draw a small surface right here,
my box and what I will draw is on top of it an ellipse.
And as you can see here, we are not using any,
any contour lines. And this is how like you don’t really know what the ellipse come from is it all is it like groove, you don’t really understand what’s going on here like is it flat. And this is why we are going to need here the usage of contour lines.
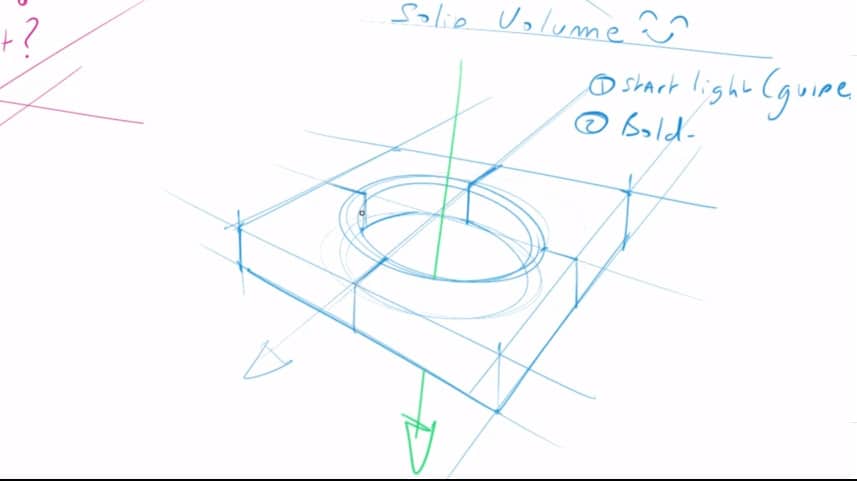
Here we go in blue, same box. And what we will do here is going to draw the hole insight in the middle of this box. So now adding the same contour lines previous on top of his ellipse. Very light once again. And we are going to usethis contour lines as a guide.
I’m creating this little ellipse, to make sure that we seen transparency for this hole. And now I just need to connect like the tops surface to the bottom surface. As you remember use the guide of the control lines to create that. Now I bold the surface contour line, but are on the surface.
Always use them as a guide. So it make sure that you’re doing something she’s need. I bold a little bit more can you feel like how much more product feel you have with these contour linesbold and be still a bit of bold.
This is just two simple techniques, but can give you actually a big, a big amount of confidence when you’re going to draw. Because you realize that you’re sketch actually have something which is more realistic, something more tangible.
Here we go for this green arrow,
it’s going to help me to show you that there’s a hole going through inside this volume. So this is an optical illusion that we have right here. And when you do that with this contour line is pretty powerful.
And feel free to use contour line at the beginning like well, more than needed. And we’ve experienced you will see when you need it when you don’t want them and so on. But for now, draw the maximum number of 3D volume of boxes and added some contour lines like that, like you’re cutting this volume by half.
So half on one direction, half on the other. So you have four quarters. All right. So your start the guide lines with the contour lines, we will start like step light lines, then you can bold on what is going to interest you what you want to keep what you want to show to people when they look at your sketches.
Because you are the one to decide what they want to see like is it like on the surface is going to be a whole show whether it’s a question like is it going to be flat, but you want them to do not ask question of themselves, you should solve the problem for them.
All right, so you see now here how to draw a bump on your surface. So we are not going to go trough the volume, but just feeling that there is a bit of wave inside.
Now it’s time to draw bump on this surface. So we start as usual with the contour lines guide and then use them at the guide to pull down the surface. There you go.
Well, making sure that you have draw the guideline first of the components, make sure that when the lines goes in the surface and out of the surface that is following the same line.
It is going to follow the same perspective as well.
Okay, so first, that is to have light lines. And this is what is going to help you to create the guides and the second right here. So what we’re going to do is to take care of the surface by putting down the light lines.
Yeah, and then you just imagine that the surface has been pulled out. Now we’re going to do the same, but the surface is going to be pulled up. So we draw quick surface right here, this full stroke, then the guidelines, contour lines. Here we go. That’s it.
And from here can actually create the form that you want. That’s it pretty simple, right? So you can try many, many, many from different directions as well, and if you still struggle with perspective, once again, you can follow up step by step with the designer starter kit that you can download on the blog.
Okay, so it is pretty simple logic thing that you’re pulling down the surface using these guidelines and the other one you’re pulling up. So, structures we have to actually to make a lot more better sketches.
All right.
Alright, so I hope you enjoyed today video and I’m going to create some more tips and tricks to help guys to create some products sketches that are going to be more real and feel free to visit more videos on the blog and see you on the next videos.
Cheers,
Chou-Tac


[…] Step 2 Draw the contour linesEven if these shapes are flat, play with the contour lines to give them a 3D volume appearance. Try to represent it with a minimum of lines. […]
succinct and very useful. thanks