Ready to learn how to draw a USB charger on your iPad? Follow this tutorial and use Morpholio Trace App to draw a perfect product to learn proportion, round edges, and round corners.
- Download Morpholio Trace (Sketching app for designers)
- Download the Designer Starter Kit (Free book for beginners)
How to Draw a USB Charger on iPad (Morpholio Trace App)
Today we draw a USB charger!
Welcome to thedesignsketchbook.com,
I’m Chou-Tac and I invite you to download the Designer Starter Kit.
You have the link in the description below to make your first steps in perspective.
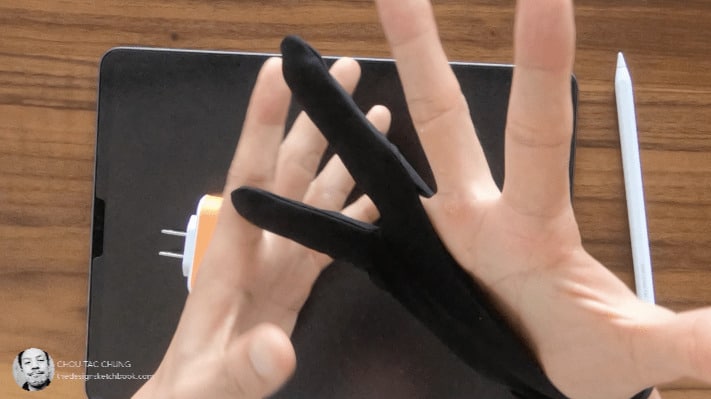
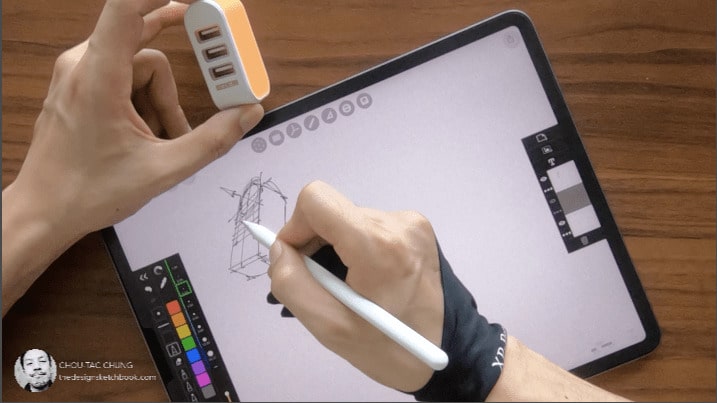
All right to get started I put on my glove which is specially made for drawing on tablets but will avoid the palm conflict.
So before starting I like to warm up a bit my hands just to warm up the muscles. It is just like if you are going to start a session at the gym you have to make sure to warm up to have the most comfortable range of motion.
So here we go for the USB charger which you can see has three plugs and also a cylinder on the top and some round corners.
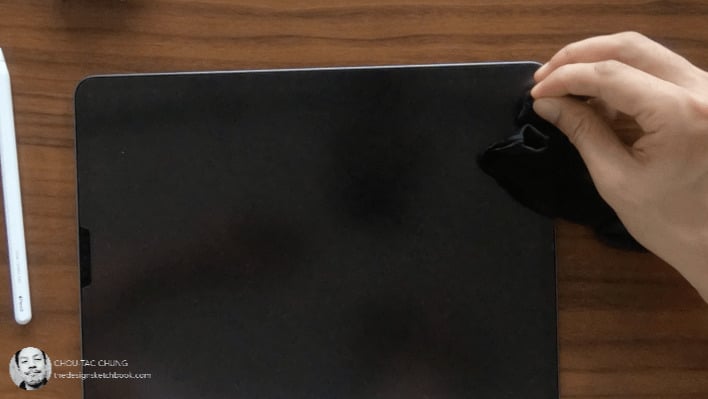
Alright, so let’s open the iPad Pro. Here we go.
What I like to do is to deactivate the rotation, and also activate the flight mode just to make sure that we stop all the notifications.
Let’s open our MORPHOLIO TRACE.
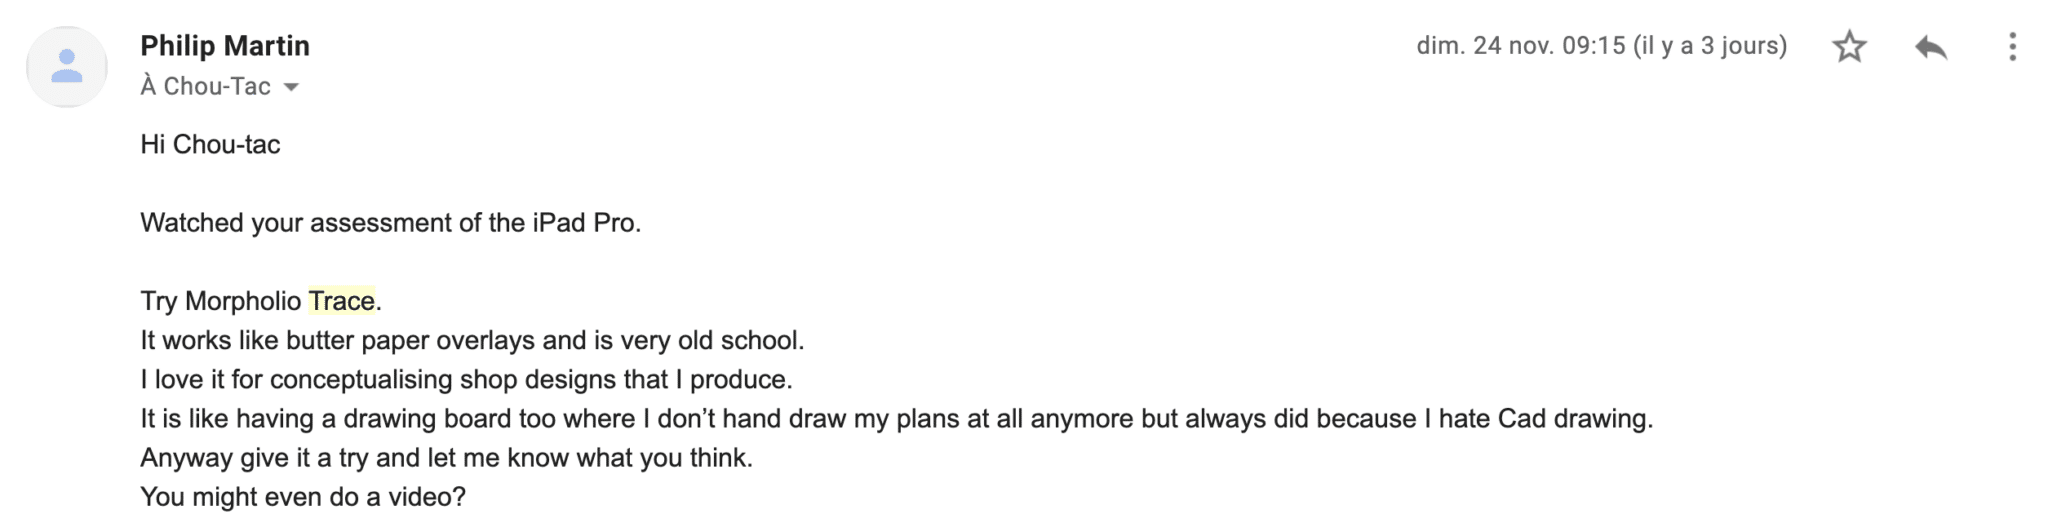
So which is a new application that actually, I’m trying for the first time, which has been recommended by Phillip Martin who is one of my students.
So here I’m doing a bit of warm-up, which is something I like to do. So whenever like I started sketching session, doing some circles, some straight lines, and some ellipses. So you also have all these exercises in the Designer Starter Kit as well.
Alright, so I create a new layer, I click the three little dots and replace the yellow background with the white one. So what I like to do is also to just have a quick observation again of the product. And then what I do is a small thumbnail, like what I called ugly doodle.
It is like something that I will draw, just to gather some more information about the product. I don’t want to really bother much about proportion yet. All I want to know is to build up a strategy for drawing.
What will be the steps I would take to draw this USB charger like as you can see one of the main rules of drawing is to start with the general shape first and then you go into the details.
Like I had stepped first with the big box and now as you can see because I got the big box I can draw the USB plugs inside. It wouldn’t make sense to start with the USB plug first and draw around because it would be tricky to visualize the rest.
Think that you’re drawing like sculpting you draw the roundness for example after you have like a sharp box and then you add the roundness.
Yeah, really think like sketching like sculpting.
So you don’t have to memorize every single detail, all of them in one shot. All come along the way. So take your time. Once again, don’t forget to draw the control lines. Start light your sketches and more and more confident you can bold along the way.
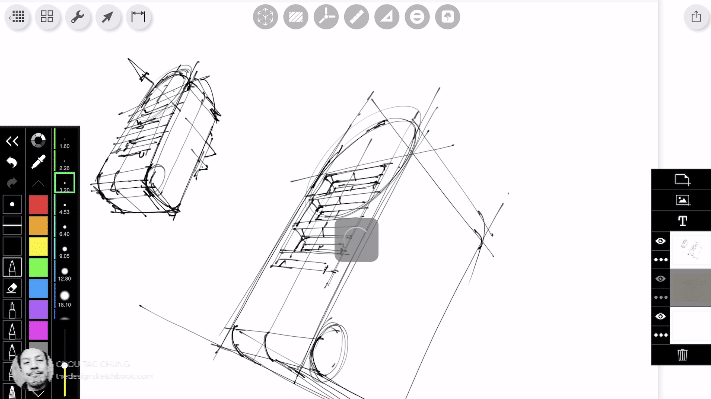
So this step is really like the steps of memorization. And the second step here, I’m drawing again the same sketch bigger. And what I do is that I’m drawing it mostly by memorization because I don’t really need more to look again at the original product.
But of course, I keep it next to me.
Whenever I need I will look at it. But the idea is that because I was generating all the information in my mind, I can really better focus on how I’m going to draw it. And the magic of it is that because we are drawing in three dimensions I’m saying this product, having some boxes, having some cylinders, having some roundness.
Being able to draw with the perspective rules, actually, I could draw it from any angle. It is like I can rotate it in my mind. It’s pretty magic because if let’s say you have been learning how to draw just by copying a picture.
You wouldn’t be able to see it in 3d or draw from another angle you would be dependent on having your product in front of you and turning it.
And so you could copy it as it is, but from now, because I have created the strategy in three dimensions, I’m pretty much able to draw it from any angle just from once again memorization.
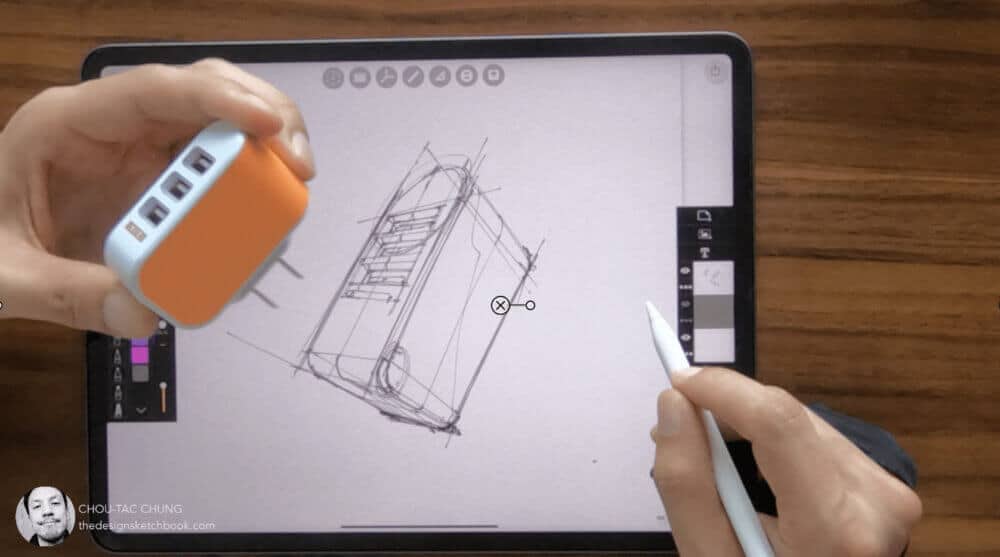
Like here, what you can see from the three USB plugs, I have defined like see that they are all aligned. So this is what I do. I draw like the first rectangle around and then I trace every single USB plug, following this rectangle all around as a guideline.
So I make sure that every single plug is well aligned with the one next to it.
Make sense?
So now I’m going to get into the details and to add more clarity I will add some contour lines.
So take your time.
So for this part, I’m also looking at my original product just to make sure that
I’m not getting overwhelmed by all these little details.
Then here we go.
Here is like MORPHOLIO has a bit of this little charging thing that is actually saving. I felt it was a bit like interrupting my flow of sketching because when it’s saving actually I cannot draw anymore during that little two or three seconds lap of time.
Yeah, I just wish somehow that maybe future versions that this thing will be removed and will be totally transparent.
Okay, so let’s carry on because, besides that, there is plenty of stuff that is pretty good.
I pretty much like the way that it “drops” off the pen-like you can see these little dots starting at the beginning of each line. It is really replicating the way how a traditional pen would do.
So it’s really cool when you know your basics of perspective because as you can see, we have been drawing these two sketches in less than seven minutes, which is pretty good timing. So now actually when we got this, you can really take your time.
It feels like you can spend some time relaxing with some small details, and some additional contour lines to add some clarity to your sketch.
And it feels more like relax, like all the kinds of the stress of the sketch-like:
“Would I be able to make it?” – “Is it going to be going to be all right or not”?
It’s already over in a few minutes. And this is why once again when you know your basic rules of perspective, which is great because you can do your sketch very fast. You don’t need to spend like one hour to have something proper.
In just a few minutes, you can get something and be able, to be good enough to present to someone and to understand your idea.
It could be your colleagues, your friends, your boss, your clients, and so on… In just a few minutes so you can get it. And that’s really the magic of learning the techniques of product design sketching.
As a designer, as you have the ability to understand that in terms of productivity, you have to be looking for efficiency within the results and the timing also that you’re going to get.
Why?
Because whenever you will have a design brief, you will need to propose multiple, a multitude of proposals or sketching sketches. And this is how you need to make sure that all your ideas are getting on the table. Without looking for perfection for every single sketch. It would take just too long because at the end, you will make a selection and just a few of them are going to be selected.
So make sure that it’s good enough. Don’t look for perfection once again.
Okay?
And when you will get like the ultimate selection at the end of the project, then you can spend more time getting something neater. I would say.
So remember that the quality of the sketch that you’re doing is depending on what’s your aim, what’s your goal.
Like the Ugly Doodle, the goal was to memorize the steps and create a strategy for drawing. So, it was very fast in a few seconds, this second sketch is like a few minutes, and so on. Okay. But basically, in product design, and sketching, you want to draw fast and efficiently.
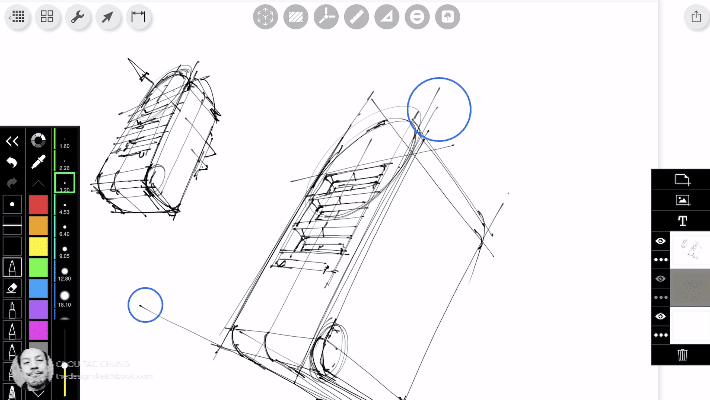
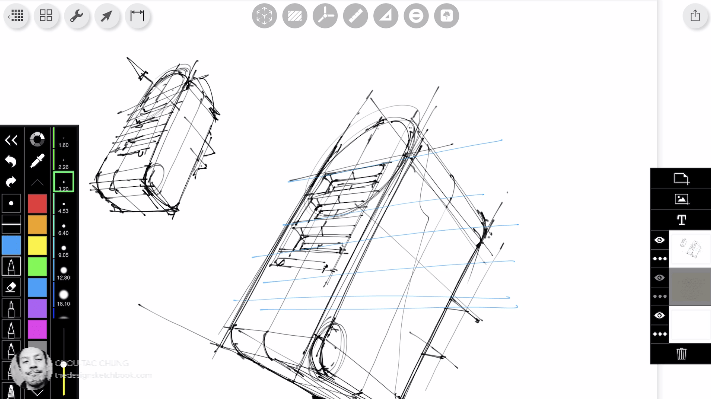
So here the blue lines are basically the perspective lines and are the things that you need to keep visualizing in your mind when you draw them.
And remember that you can rotate the tablet itself. It’s something personal I like to do like treating the iPad like a piece of paper. Instead of using my two fingers on the touchpad to zoom in and zoom out or rotate it.
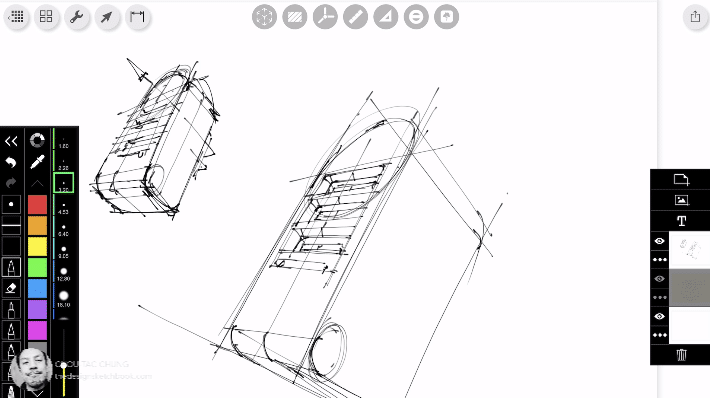
So step A was the Ugly doodle.
And it was made to absorb the information and basically start to build the strategy that I’m going to use when I’m going to do step B. Which is more about doing the “Pretty Doodle”, I would say, just to make it contrast with Ugly Doodle.
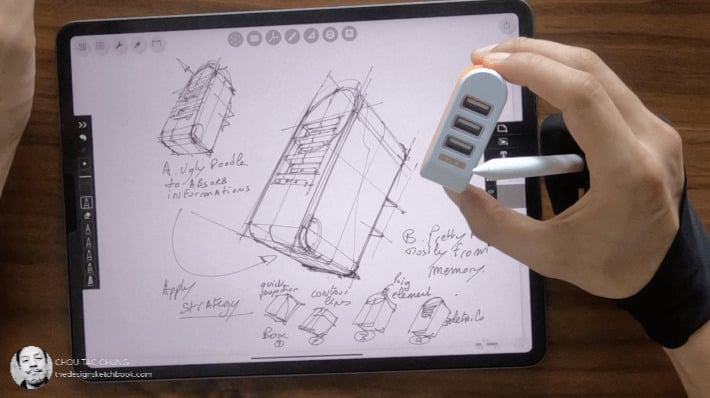
But it’s mostly from memorization, thanks to step A. Which helped me to apply the strategy of drawing. Because it’s all about simple geometry, okay?
So basically what I did what we did here was I started with the box.
So the general shape first, and then I draw the contour lines to make sure that I caught some quick proportion as well.
It is mostly like a flat rectangle, I would say.
And then I’m drawing for the third step here to understand that I have a cylinder on the top.
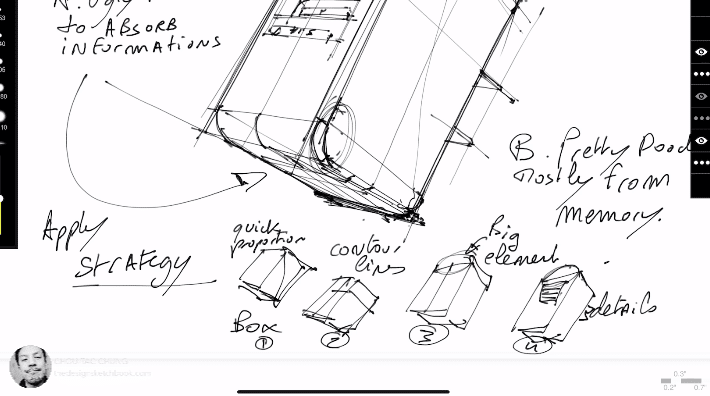
Okay, so I’m taking care of the big elements of the product.
And then I know that the three USB plugs are aligned, which is helping me with the details, I have the plug behind, and so on and so on. Okay?
So remember, for the step A, you just do an Ugly doodle. Like a draft. You don’t care about proportions, but you start to visualize it better. Don’t try to make it perfect.
And then on the B, you’ll be more able to draw something neat.
Alright, so I hope that you enjoyed this video.
Feel free to add a comment below and tell me how you love it, and how you draw it. And feel free to send me by email your own sketches and see you in the next video.


I love your work. I am a production designer in television.
I want to learn to draw in Morpholio trace. I have the ipad pro and pen.
the problem I have is the tutorials and manuals are not there.
I cant even figure out how to do consistent straight lines.
Do you teach courses on line?
Josee
Los Angeles