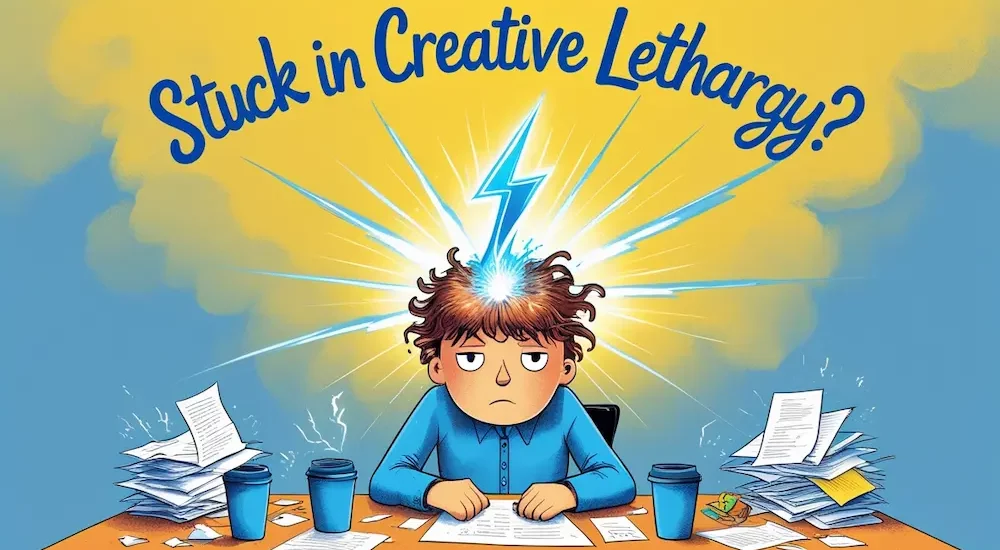
We often wonder what to draw.
Today, I share with you a simple solution to get started – and create that “spark of inspiration” to know what to draw. So you will fill that blank page with plenty of your drawings!
Draw fast and ugly (on purpose)
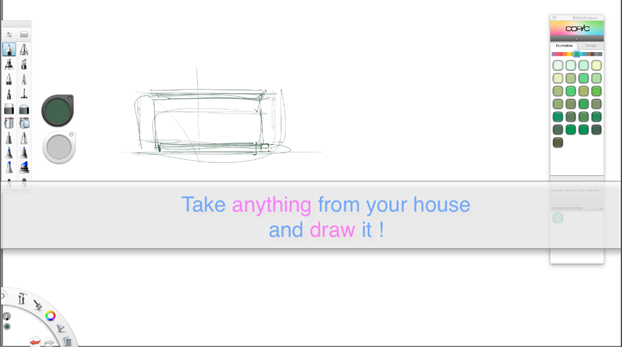
If you are looking for drawing cool ideas, pick up anything you like in your house, and draw it.
You can turn it around, analyze it, and draw from any angle.
Be driven by your enthusiasm and you will make cool drawings!
Then you can decide to look at your reference product and:
- Draw it
- Doodle it
- Modify it
- Or mix it with another object to create something new!
TUTORIAL NOTE: I am thinking of doing that experiment one time in a while
choosing something I have around me and making a sketching demo with it.
I could share with you the process I use depending on the object.
Some of you told me that the drawing demos and drawing lessons
you find are mostly time-lapse videos without narration.
If I can, I will try to add some narration, otherwise,
I will add at least some additional written comments on the video to illustrate my thoughts.
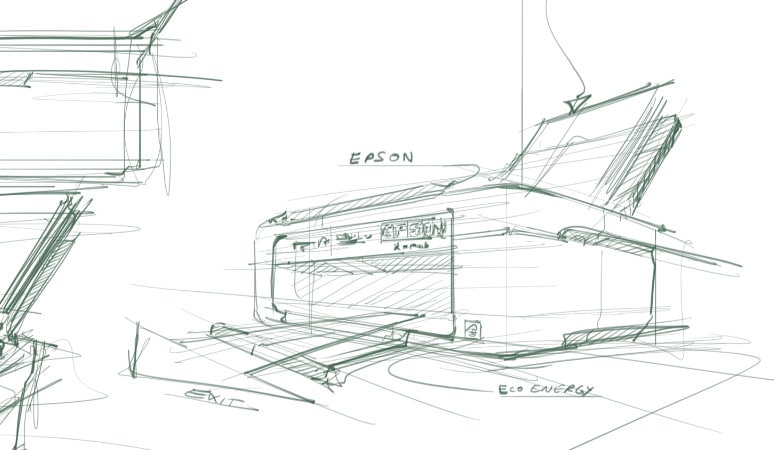
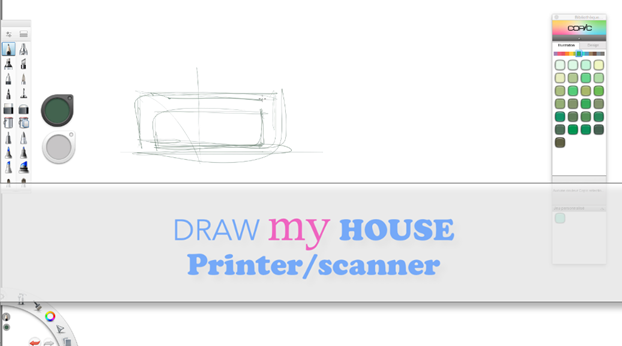
Today, I started sketching with the [DRAW my HOUSE] challenge, my EPSON printer is also a scanner.
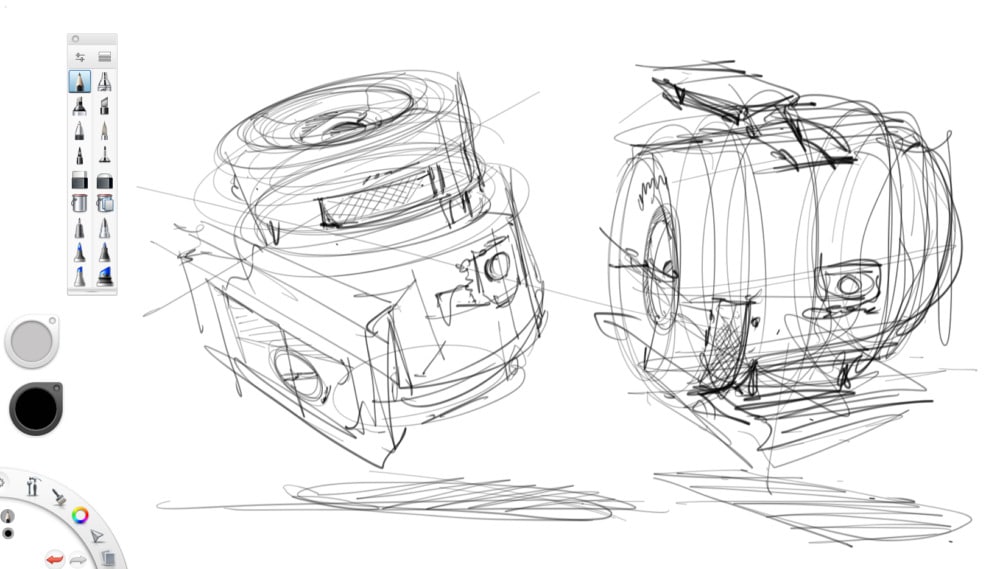
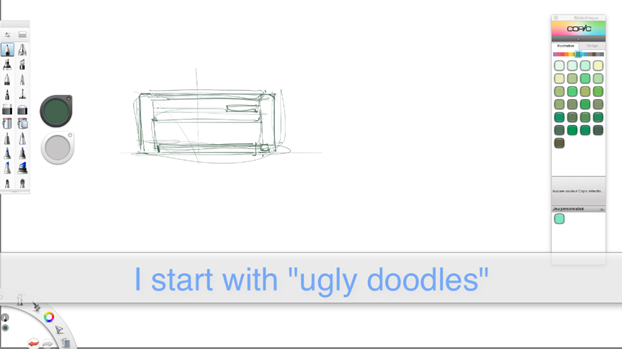
The “Ugly Doodle” Sketching technique
Drawing with Ugly doodles about starting with a sketch purposely inaccurately.
The first sketch is a draft (and you can draw as many drafts as needed).
The initial sketches aim to feed my brain with precious pieces of information.
I try to memorize:
- The main elements
- The main functions
- The quick proportions

Too many beginners try to draw the perfect sketch in one shot.
They fail and think they don’t have the skills.
However, designers draw many draft sketches first.
They iterate to, later on, create a good and quality sketch.
“Starting to draw with Ugly doodles
is the key to drawing amazing drawings.”
They help you to better prepare your mind before trying to make a nice sketch.
When you adopt this step in your creative process, you never feel weak again.
You accept making mistakes to improve and suddenly get fast results.
Just because you learn how to persevere positively.
You gain confidence and fun as a design sketching beginner.
“These few minutes of draft drawings will avoid frustration. Do not look for perfection for your first sketches.”
Feel free to send me some of your sketches from the “Draw my house” experiment.
I could publish some of yours and share some sketching points.
If you guys have started Design sketching, feel free to sign up for the blog.
You will receive 4 guides for beginners, that will help you start sketching.
The steps to draw anything
Take your time looking around at the object that interests you. If you are a beginner, start simple. Look for more cubic forms for an easy drawing. They are easier great to start learning drawing with a basic perspective.
You need to warm up with an ugly doodle.
It is basically the first draft of your object.
Your brain will get familiar with it, memorize the main elements, and have the first feel of proportion.
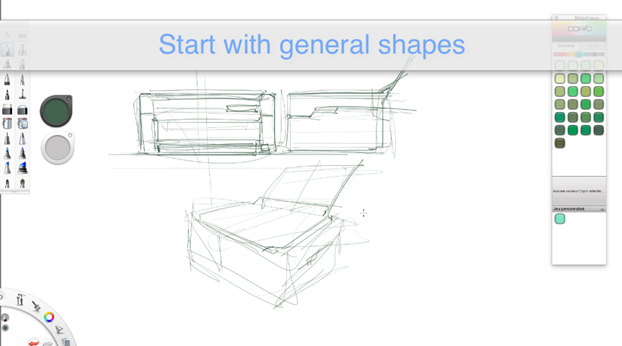
Understanding how your product works helps.
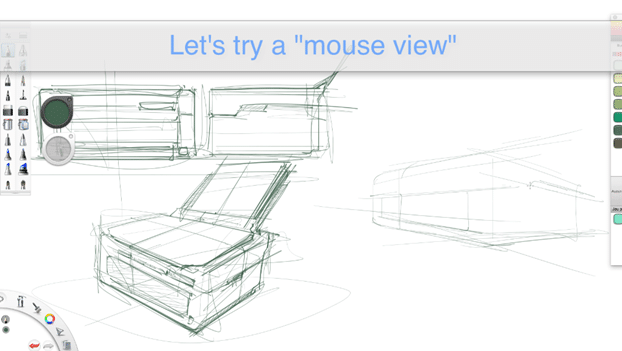
The viewpoint is purposely very low to give an appealing effect to your sketch. As you can see on the right, I started to draw the first main forms very light.
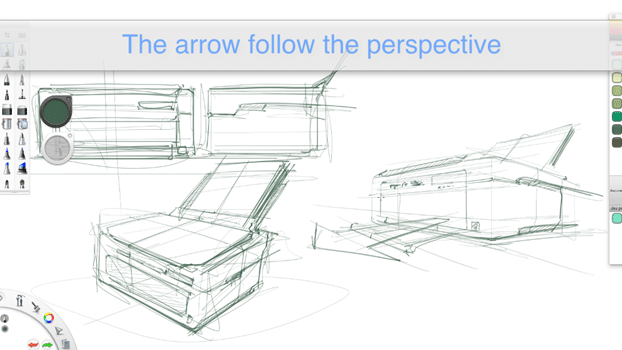
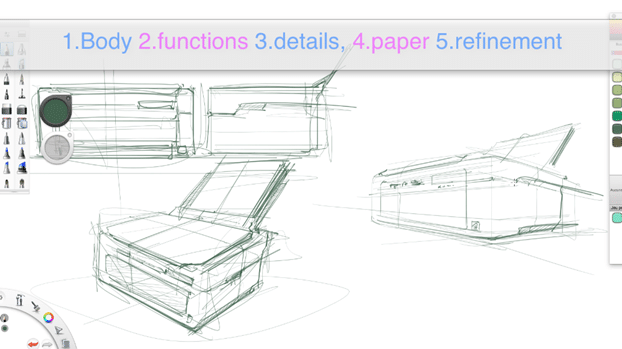
The drawing process I recommend is
- 1. Body shape
- 2. Main functions (Cover, Paper holder, Control panel…)
- 3. Details (buttons, light, grooves)
- 4. Paper (Accessories, props to give life to your printer)
- 5. Refinement
I definitely recommend you guys to try the Ugly Doodle from the start.
You can see more on this topic when I used this creative technique on my Coffee machine.
That’s it for today!
Feel free to see more articles and drawing tutorials on the blog.
Cheers,
Chou-Tac
If you want to take your first steps in drawing,
I invite you to download the Designer Starter Kit to start learning the basics of perspective step-by-step.
The Designer Starter Kit exercises in 6 videos:
- How to draw straight lines
- How to draw a perfect square
- How to draw awesome circles
- How to sharpen your sense of proportion
- How to draw a cube with 1 point perspective
- How to draw a cube with 2 points perspective
Once again, these videos are linked to the Designer Starter Kit.
To enjoy the series of tutorials better, I recommend you guys to download it first.


Add comment