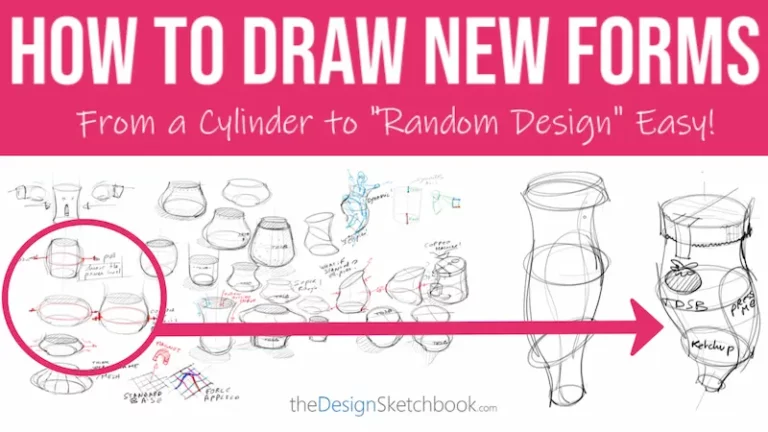
Learn how to draw organic forms with this helpful sketching tutorial.
Take on the challenge and learn the basics of product design sketching, using Philips electric shaver as your canvas!
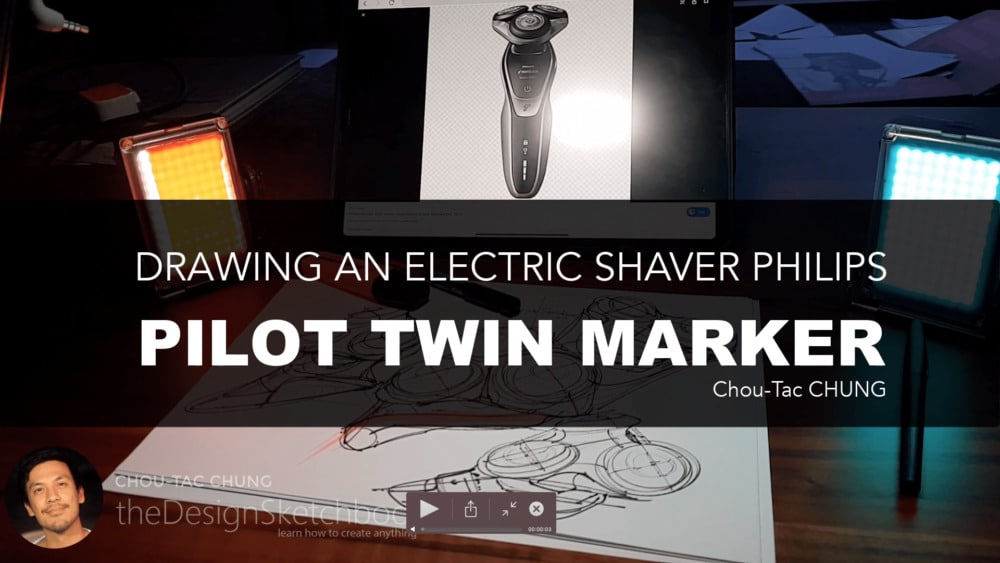
How to Draw an Electric Shaver Philips! (Pilot Twin Marker) in 17minutes!
Hello guys!
I am working on the release date of my course: Sketch Like The Pros. I will confirm it to you by email by this week! Make sure to register to the Waiting list to get the latest news.
Hello guys!
I’m Chou-Tac from The Design Sketchbook, and today we’re going to draw an electric shaver Philips using a Pilot Twin Marker.
I’m also working on the release date of my course Sketch Like The Pros — I’ll confirm it soon by email! Make sure to register for the waiting list to get the latest updates.
You can also download the Designer Starter Kit to make your first steps in perspective drawing. I’ll send you some free videos to practice as well.

Drawing the Electric Shaver

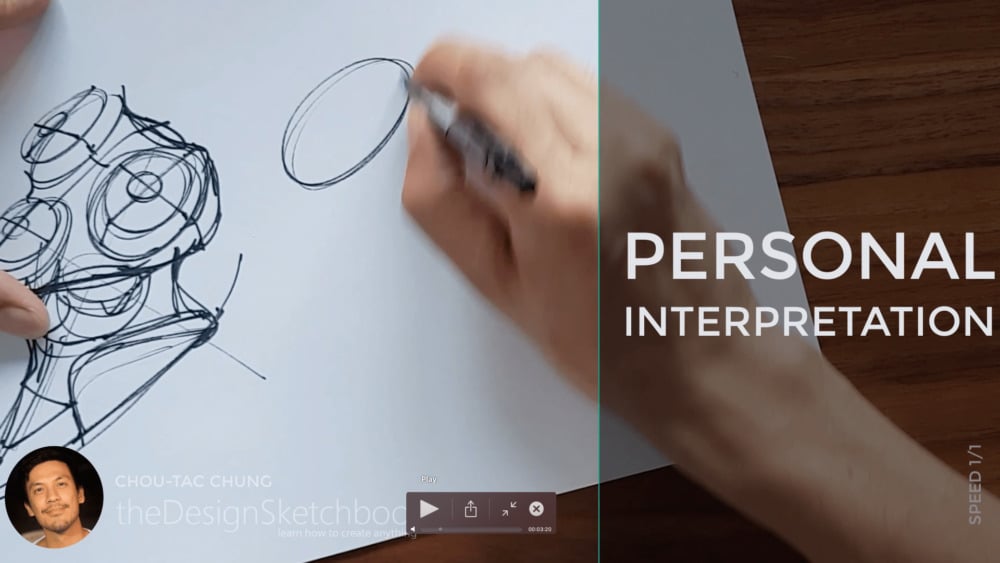
This video isn’t a strict “tutorial” — it’s more of a creative sharing session. I sketched the shaver in about 17 minutes and decided to keep it at normal speed (no time-lapse) so you can see the real process.
The goal is to show that even if sketching takes time, once you know the techniques, you can create clean and dynamic sketches quite quickly.

Finding Inspiration Using References
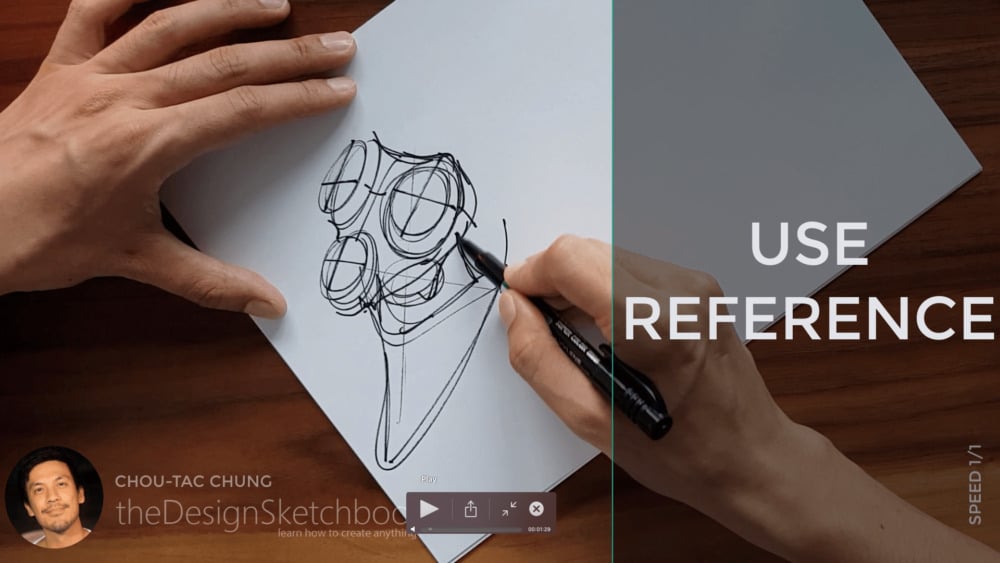
Before I start sketching, I like to collect references. I check out different electric shavers from brands like Philips in stores.
Even though I already own one, I enjoy analyzing their shapes — the organic handles, the mechanical precision, and their overall blend of technical and smooth surfaces.
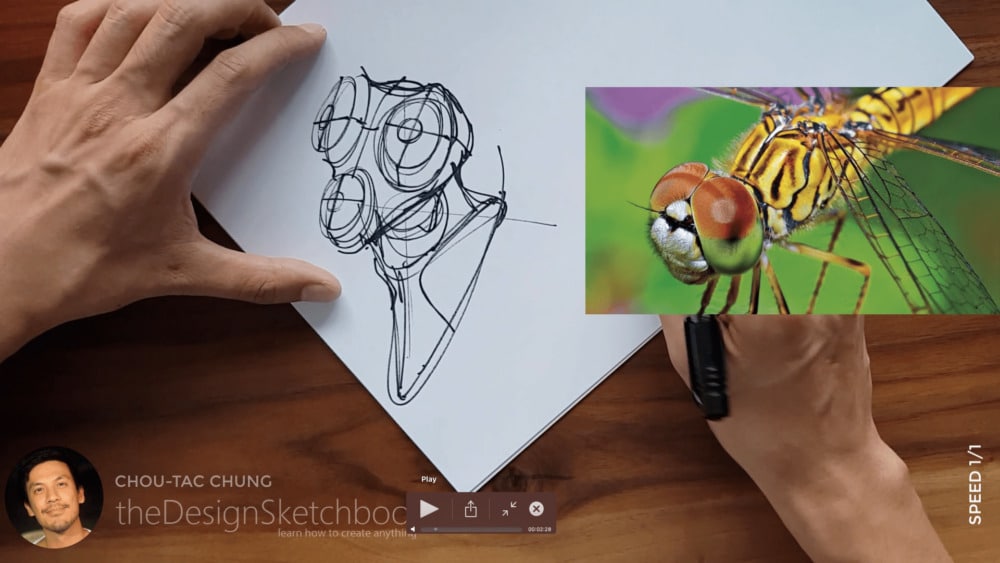
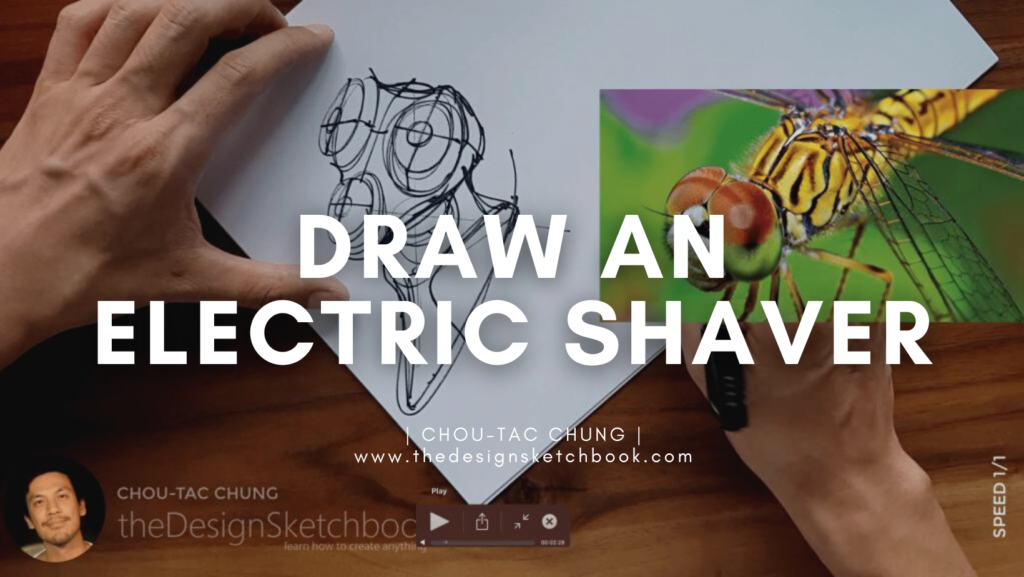
Sometimes, the design reminds me of insects — the front view of the shaver almost looks like it has two big eyes. That “insect-like” inspiration helps me imagine the organic curves and flow.
When you draw, it’s important to have this kind of emotional and visual “reference library.” It gives your sketch energy and meaning.
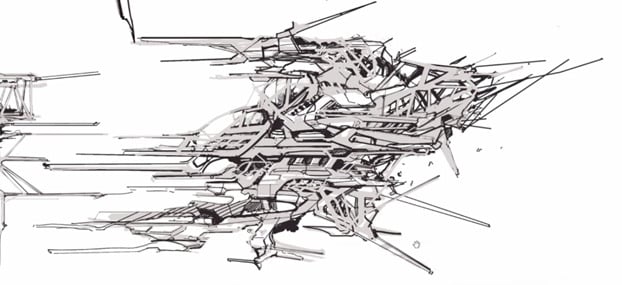
Let Your Lines Flow
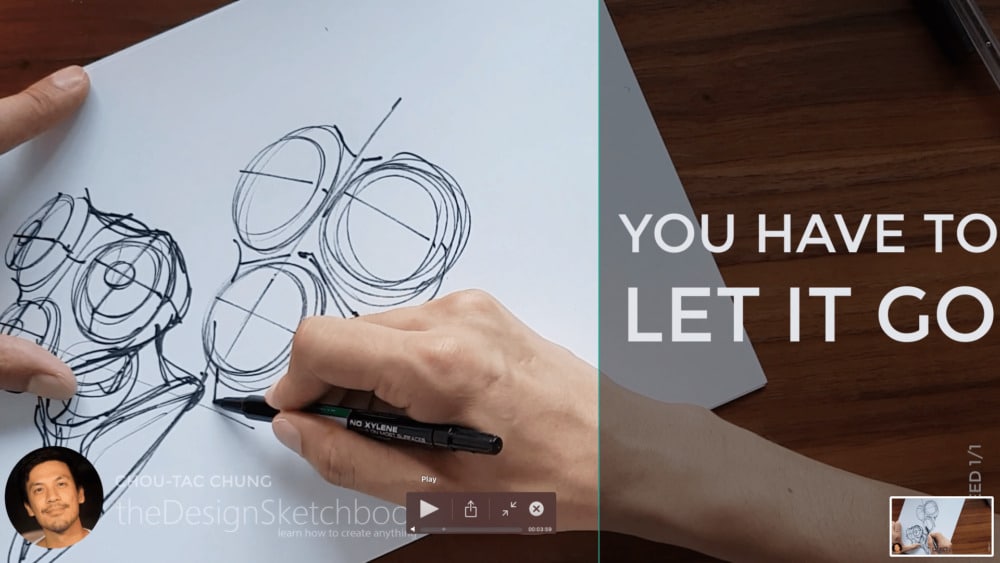
Don’t try to make everything perfect — let it flow!
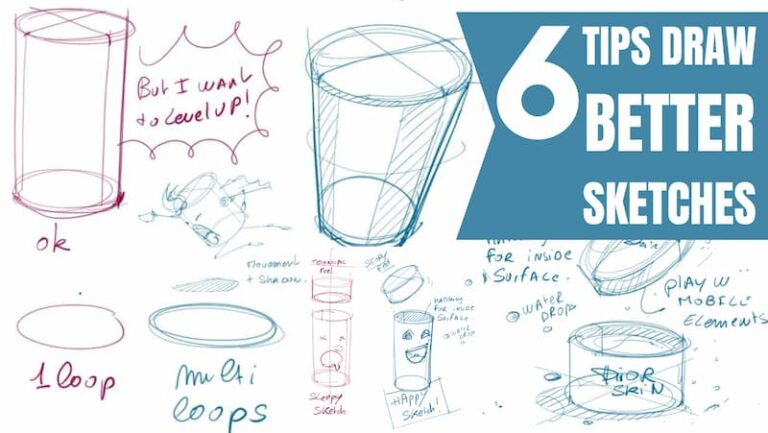
When sketching organic shapes, focus on movement and feeling, not perfection. Your understanding of perspective will act as an intuitive guide as you draw. The stronger your foundation in perspective, the easier it will be to create fluid and expressive sketches.
Even if your ellipses aren’t perfect — that’s fine! What matters is that your drawing feels right overall.
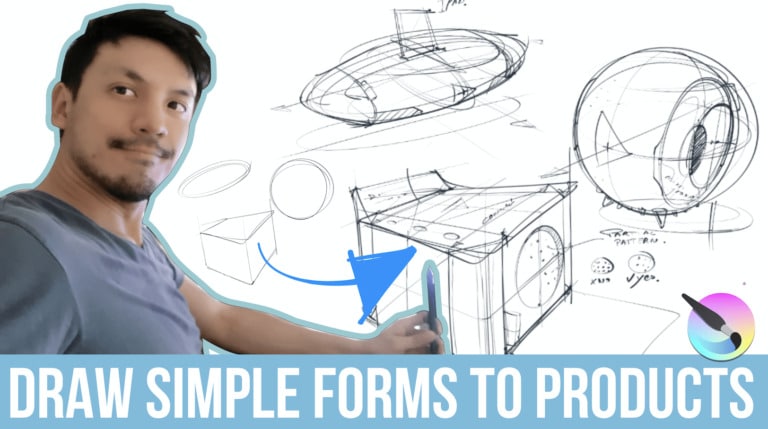
Building the Form
I like to think of sketching as building with LEGO bricks.
Each complex object is made of simple forms — circles, ellipses, cylinders, and so on. Once you understand the basic geometry, you just assemble them.
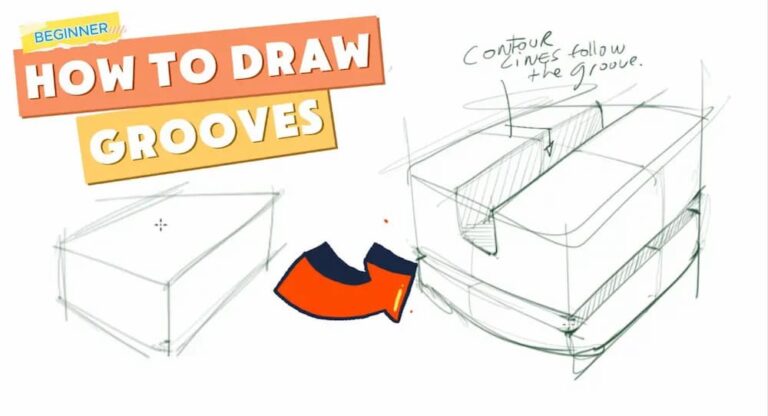
To structure your product, draw contour lines. They give volume, rhythm, and perspective to your design — especially for the triple-head shaver.
These lines help show the inclination and three-dimensional structure of the form.
Learn the Basics Before Breaking the Rules

Learning the fundamentals is essential.
Don’t try to skip the basics looking for shortcuts — it will only slow your progress. Once you understand the rules (like perspective, proportion, and rhythm), then you can break them creatively.
There’s a French expression that says, “Trying to cut water with a sword.”
It means that without a proper method, even hard work won’t bring results. But if you learn smartly, your progress will be exponential.
Motivation for Beginners
People often ask if learning to draw is hard.
On one hand — no, it’s not — as long as you learn step by step and stay committed. On the other, what truly matters is how much you want it.
When you’re passionate, obstacles turn into challenges. Every “failure” is just a step forward — just like losing a level in a game and learning how to win the next one.
Sketching is a lifelong skill — once you have it, it stays with you forever.
Adding Details and Flow
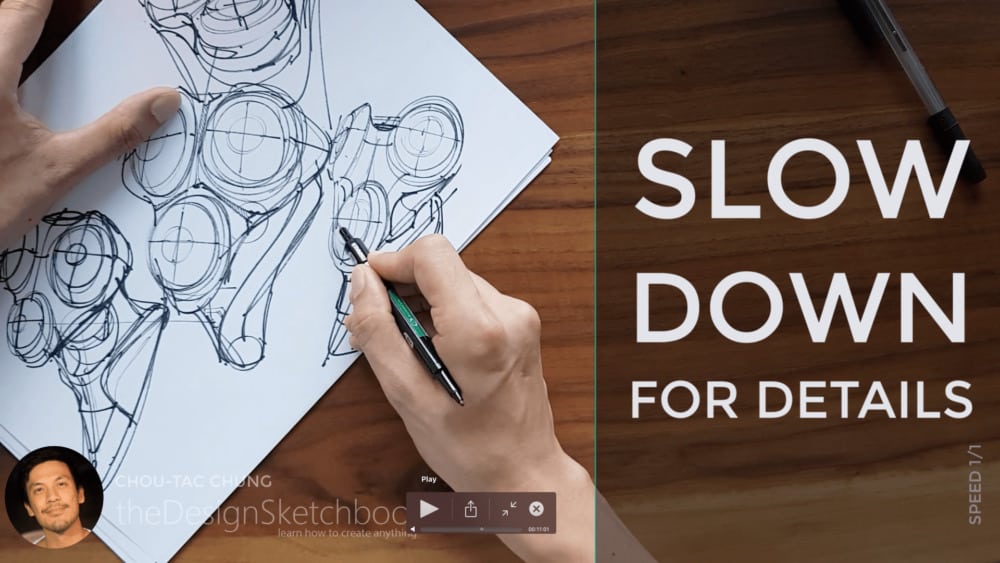
When I sketch the shaver, I first block out the general shape — that’s the fastest part.
Then, I slow down for the details: smaller, more precise strokes.
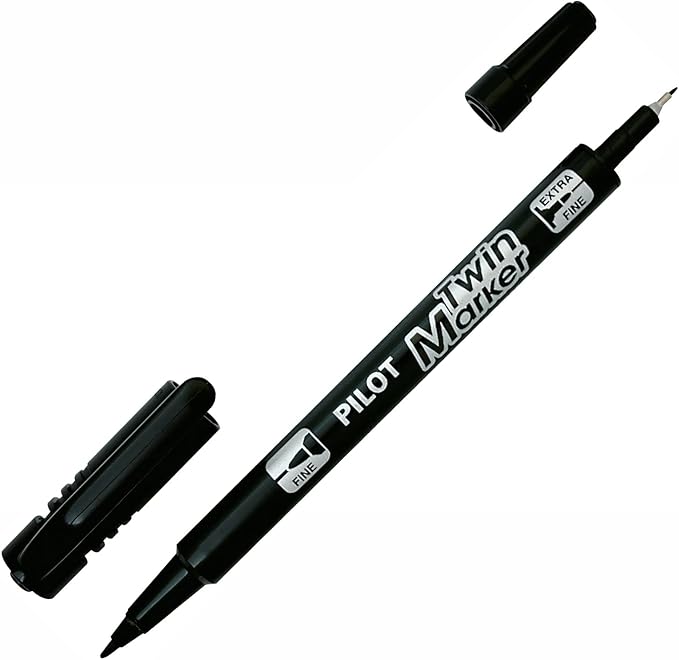
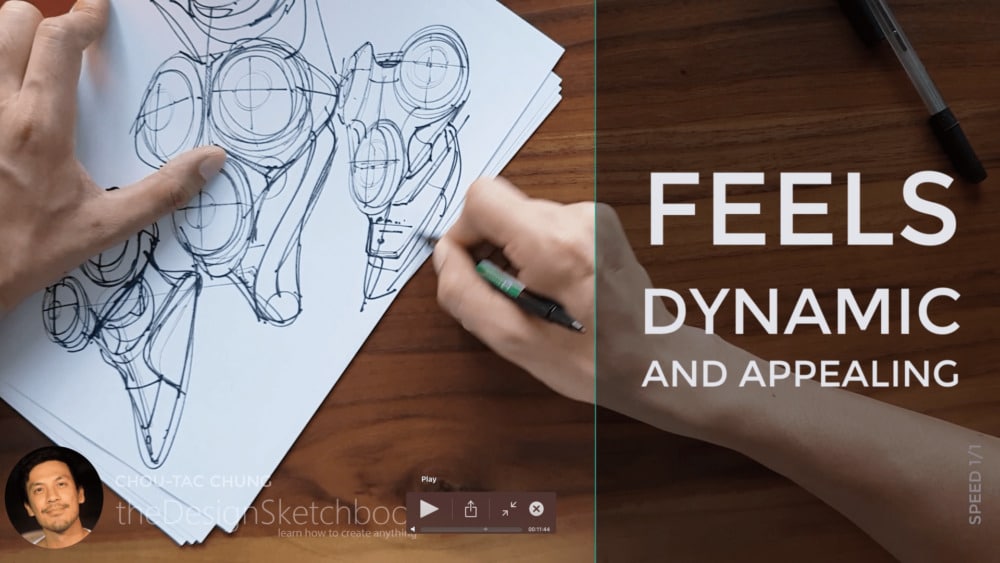
I use the Pilot Twin Marker because it gives a sensation of fluidity and energy. It’s especially good for drawing organic, dynamic forms — products that feel like they’re in motion.
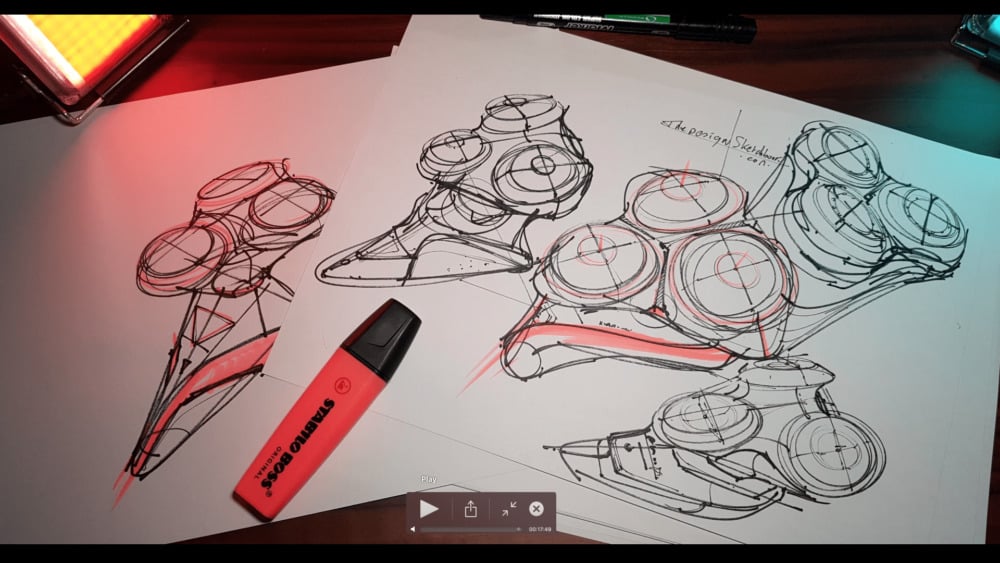
Adding Highlights and Color
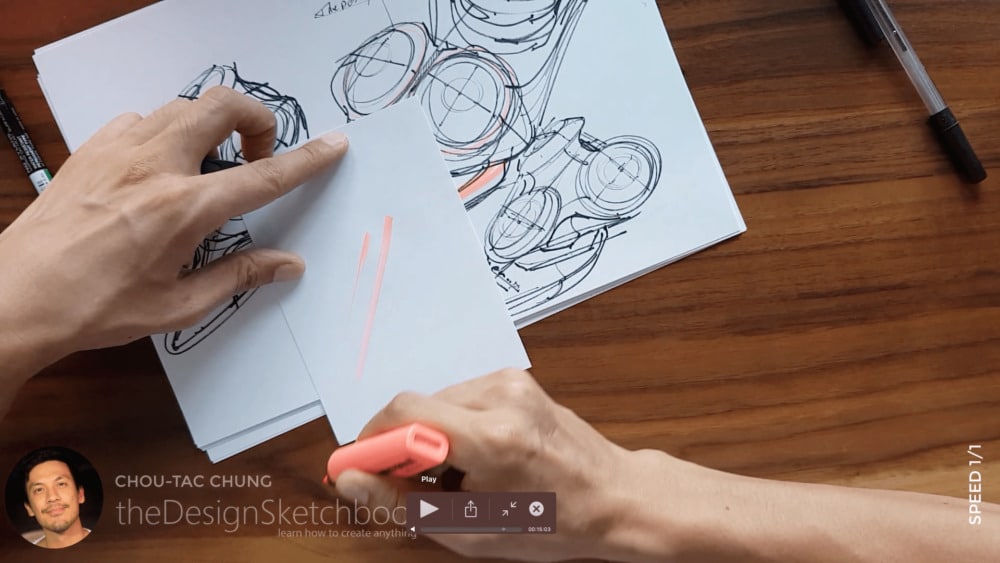
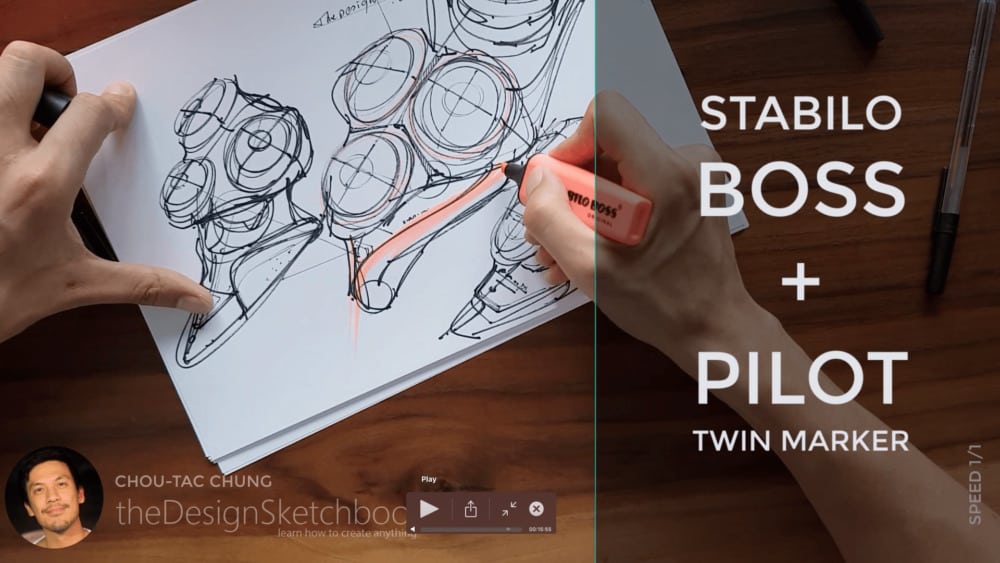
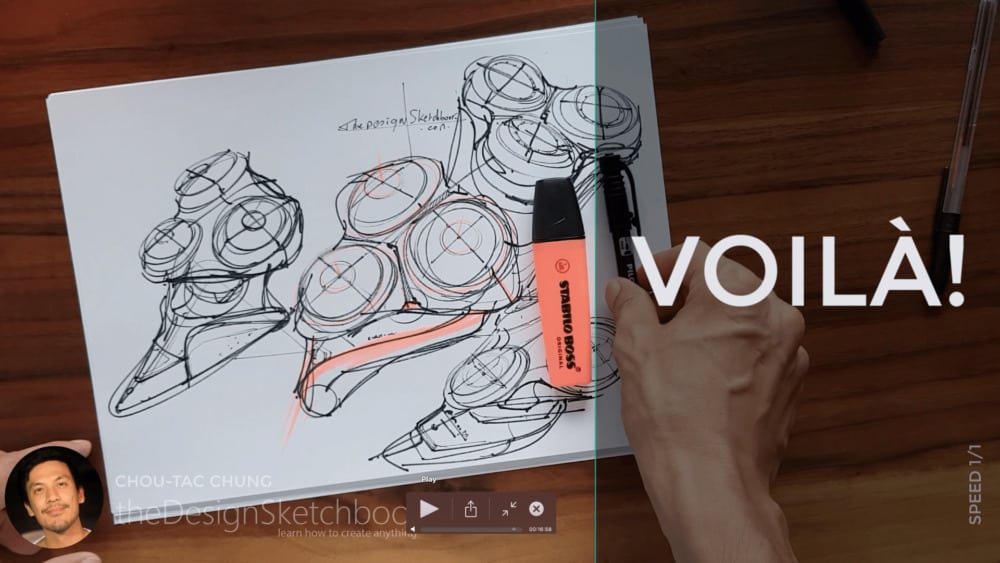
For highlights, I like to add a hint of color using the Stabilo Boss highlighter.
Experiment with the tilt and speed of your strokes to create vibrant “neon light” effects.
Some areas should be wider or thinner to give more dynamism and depth.
Keep exploring — the Pilot Twin Marker and Stabilo Boss complement each other perfectly.
Perspective and Final Touches
If you haven’t seen it yet, check out my video on the Y-Axis technique — it helps visualize form in 3D when sketching products like this.
Keep your colors minimal; sometimes just a few highlights are enough.
Don’t forget to always put the cap back on your marker after sketching! Otherwise, you might find it dried out the next day.
And with that… ET VOILÀ!
Conclusion
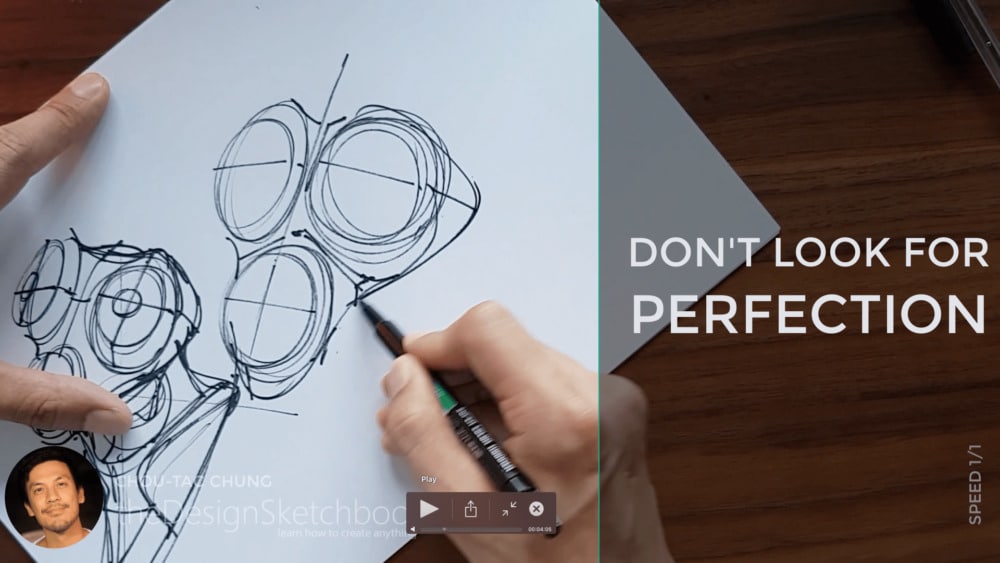
The key takeaway?
Don’t strive for perfection — focus on structure, rhythm, and emotion.
Learn your perspective neatly, and you’ll enjoy creating organic shapes with freedom and fun.
Take care of your tools, keep sketching, and enjoy the process.
See you in the next video or article.
Cheers,
Chou-Tac
Related Articles


Add comment