- 1. Introduction to Hatching in Design Sketching
- 2. Importance of Hatching for Product Designers
- 3. Basic Hatching Techniques: Direction, Spacing, and Pressure
- 4. How Hatching Can Speed Up Your Sketching Process
- 5. Practical Tips to Practice Hatching Effectively
- 6. Common Mistakes to Avoid When Hatching
- 7. Examples of Applying Hatching in Product Sketches
- My Student Testimonial (Sketch Like The Pros)
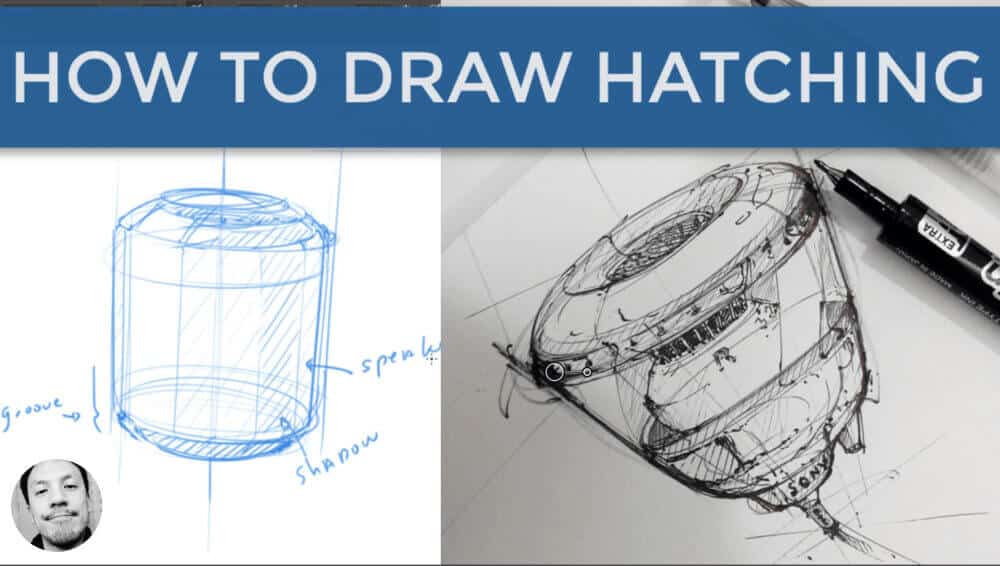
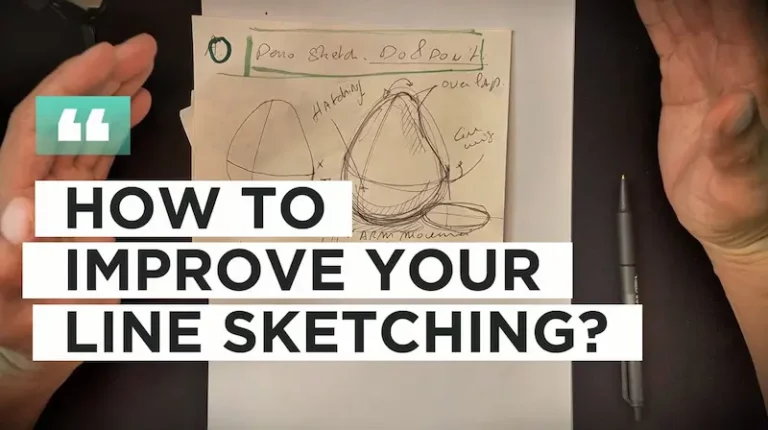
1. Introduction to Hatching in Design Sketching
Hatching is a fundamental shading technique used in design sketching to add depth, texture, and interest to your drawings. It involves drawing closely spaced parallel lines to imply shadow and form. For product designers, hatching is an essential skill to communicate ideas clearly and effectively.
“Drawing is the root of everything, and hatching is how you bring your sketches to life.” — Chou-Tac Chung
2. Importance of Hatching for Product Designers
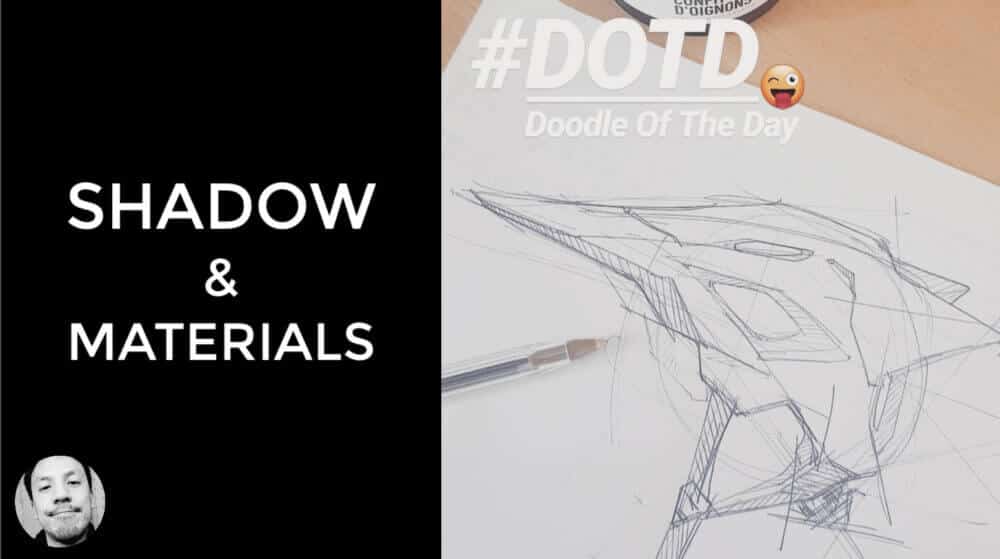
Hatching allows product designers to enhance their sketches with texture and volume without relying on color or digital effects. It speeds up visual communication, making sketches appear more professional and dynamic. Mastering hatching can significantly improve how your design concepts are understood.
“A quick hatch is often worth more than a perfect rendering—speed fuels creativity.” — Chou-Tac Chung
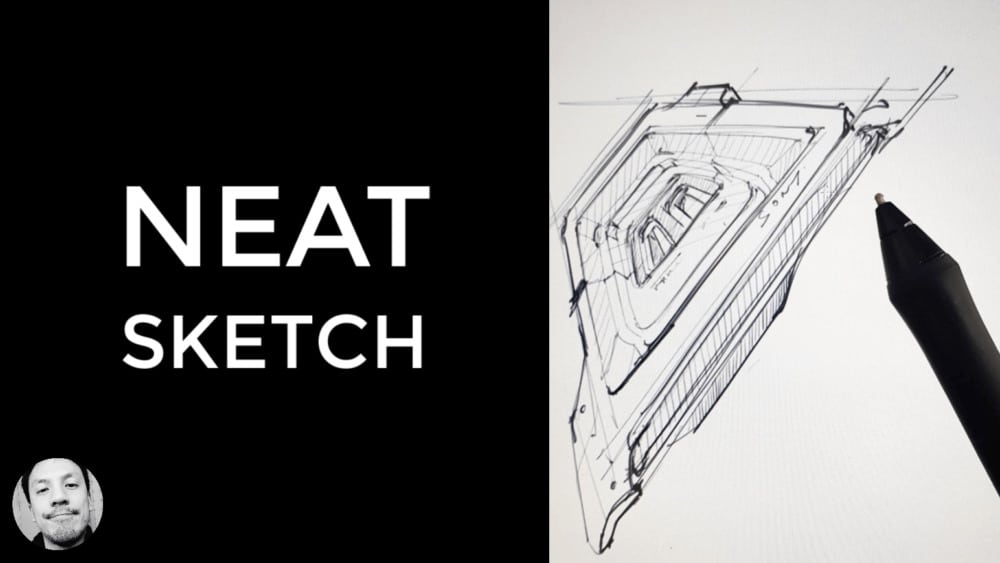
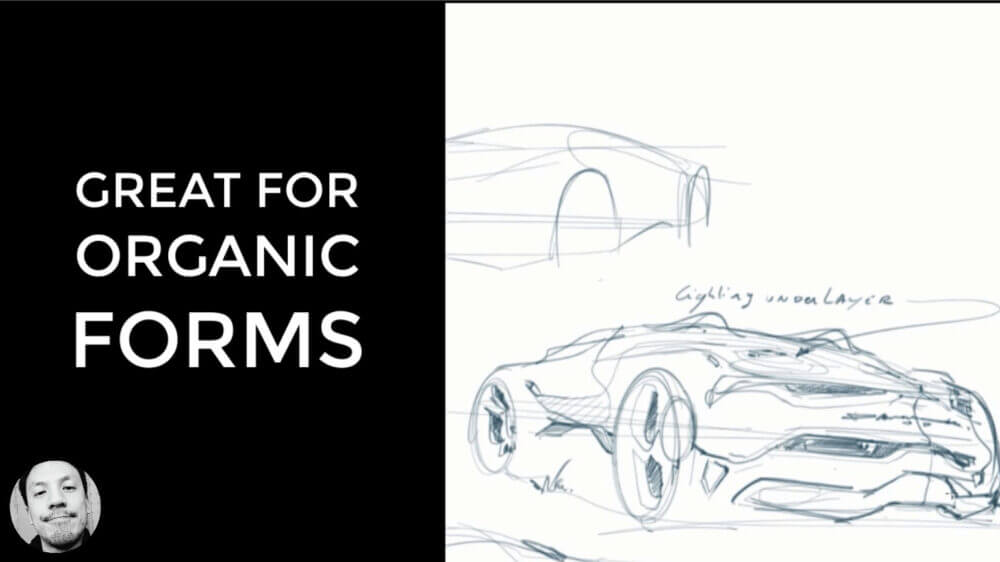
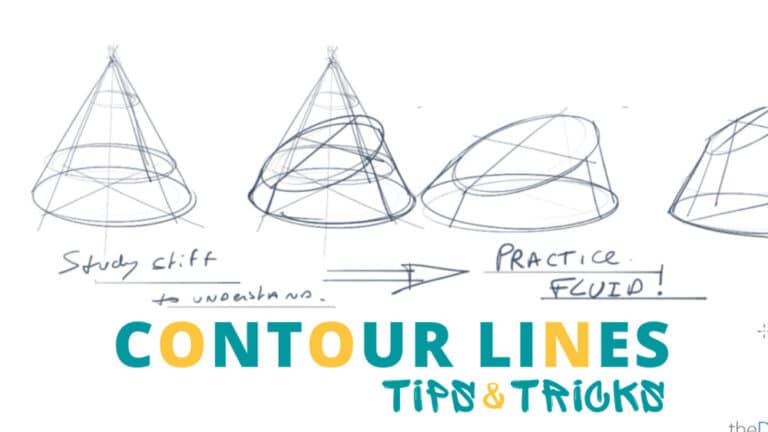
3. Basic Hatching Techniques: Direction, Spacing, and Pressure
When beginning, focus on the direction of your lines; they should follow the form of the object you are drawing. Spacing controls the darkness and lightness of shaded areas—closer lines create darker tones. Pressure on the pen or pencil can also affect line quality, allowing variation in texture.
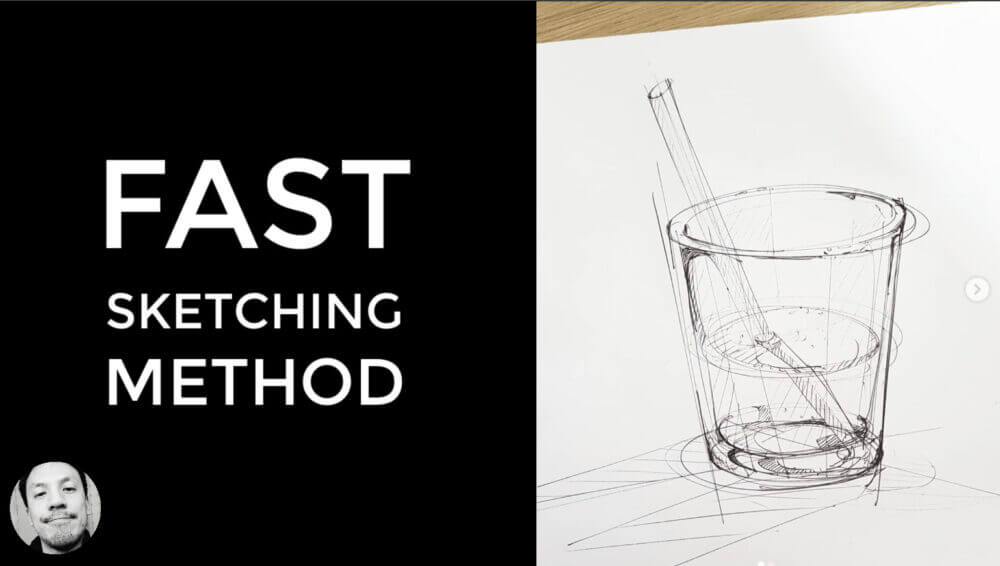
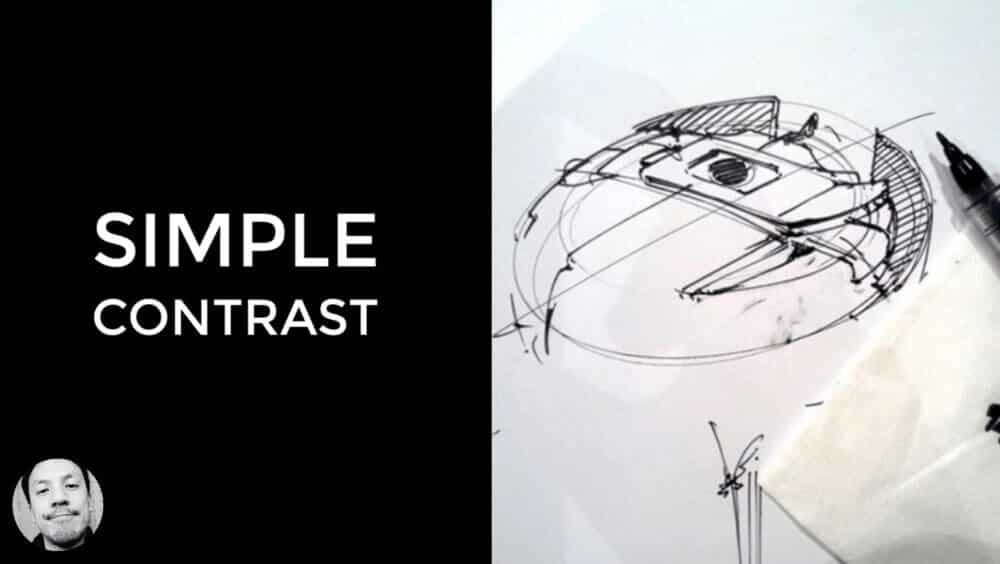
4. How Hatching Can Speed Up Your Sketching Process
Hatching is a quick way to imply shading and volume without detailed rendering. It saves time by simplifying the shading process and helps maintain the energy and flow of your sketch. By practicing efficient hatching, you can produce more sketches in less time.
“Speed is not just about rushing; it’s about learning tools like hatching to express fast and clear visual stories.” — Chou-Tac Chung
5. Practical Tips to Practice Hatching Effectively
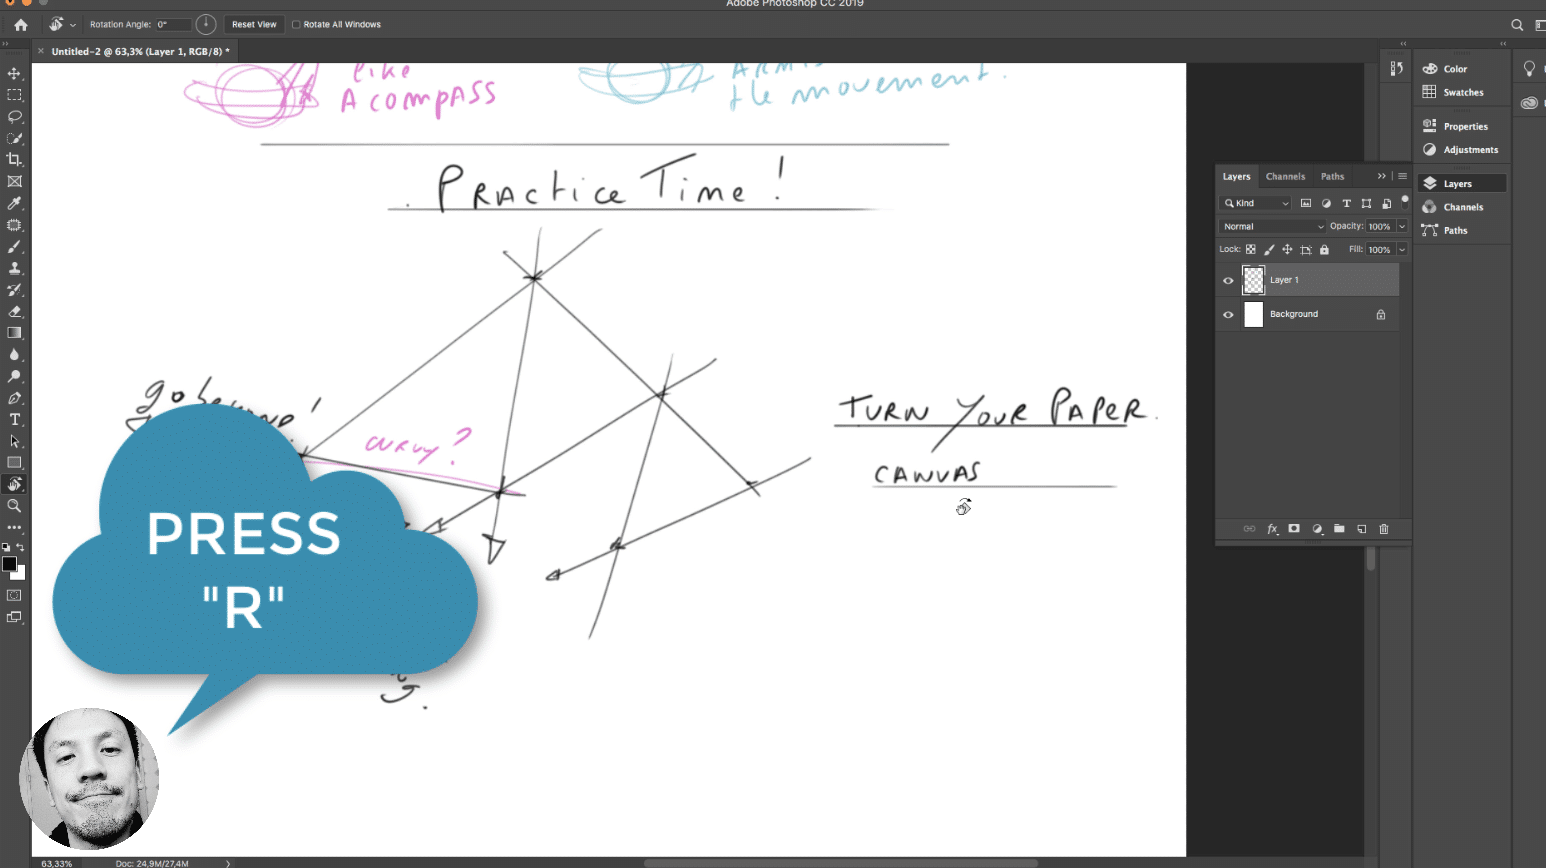
Practice drawing parallel lines and changing their spacing and direction. Use sketchbook warm-ups focusing on hatching. Observe real-life textures and try to replicate them with different hatching styles. Use varied pens or pencils to experiment with line weight and texture.
6. Common Mistakes to Avoid When Hatching
Avoid inconsistent line direction that confuses the form. Don’t make the lines too uniform—variation adds interest and realism. Avoid too heavy or dark shading that flattens the sketch. Practice control to keep your lines confident and intentional.
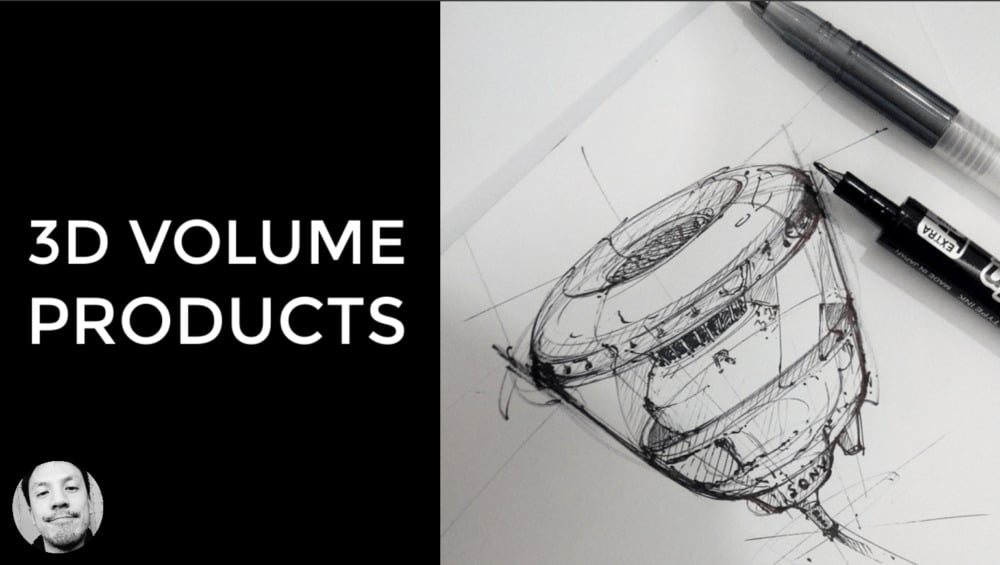
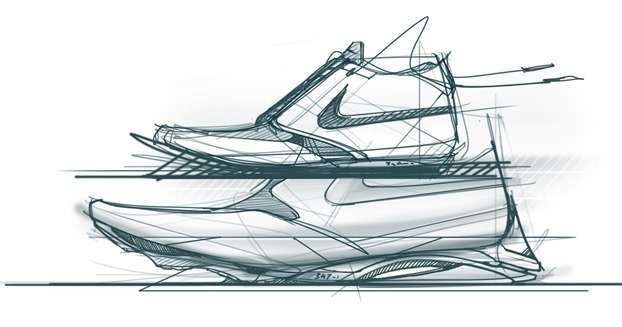
7. Examples of Applying Hatching in Product Sketches
In product sketches, use hatching to highlight curved surfaces, textures, and shadows. For example, hatching on a curved edge can suggest its roundness. Combining cross-hatching can indicate more complex textures and deeper shadows.
“Remember, every hatch line is a step closer to making your design visible, tactile, and memorable.” — Chou-Tac Chung
My Student Testimonial (Sketch Like The Pros)

Related Tutorials


[…] neat shadow using hatching. You don’t have to color the whole surface like you would do with regular color […]