![How to Draw Clean, Professional Lines [Designer Tips]](https://www.thedesignsketchbook.com/wp-content/uploads/2014/07/How-to-Draw-Clean-Professional-Lines-Designer-Tips.webp)
The properties of lines are the keystone of a professional designer’s style.
For example, you can find certain types of lines that are more likely to be associated with architecture, product design, or fashion. This is, however, merely a generalization, because part the magic of art and design is the mixture of infinite and contrasting styles.
We’re interested here in lines which are minimalist yet always “lively”.
These are used by a good number of product designers, myself included.
Why Drawing with Professional Lines Lively?
The product designer draws to express function, such as use, security, or ergonomics. They must show both the form and the “emotion” of a product. Therefore a designer strives to achieve beautiful lines that are precise, clean, and dynamic.
Remember that designers draw and create for humans, not for industrial machines*.
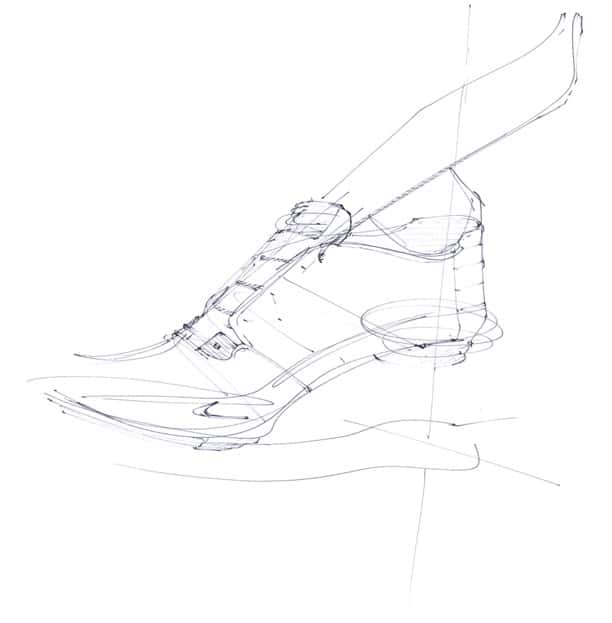
Remember: No ruler, no eraser. Just a black ballpoint pen.
Start simply by working on each of two goals :
Step 1- Obtaining fluid lines
Step 2- Mastering pen pressure
STEP 1 How to Draw Professional Lines in ID Sketching
At first, either people tend to lack confidence and draw too slowly, or attempt to imitate professionals and draw too fast. In the end, both will leave you with clumsy results.
In reality what will make you draw faster is your capacity to visualize quickly and methodically.
Your brain will be constantly working and predicting. As you make a pen stroke, your brain will already be thinking of your next move.
The hesitant line – BAD LINE
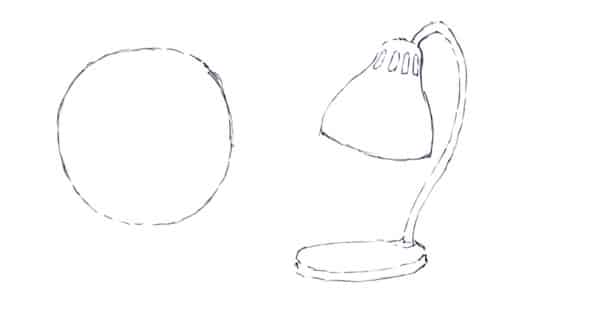
We all have a vague idea of how an artist draws.
As a beginner, we try to imitate pro artists, and we try to reproduce what we see.
We concentrate on the contours and outlines and draw section by section. Thus, we fumble incessantly and the result appears hesitant and flat.
The clumsy line – BAD LINE
We all draw like we’re children – a priori.
We know that we’re beginning to get it, and we draw slowly but surely. Our eyes fix on the contours of an object. We understand a minimum of perspective, but the result appears clumsy and flat.
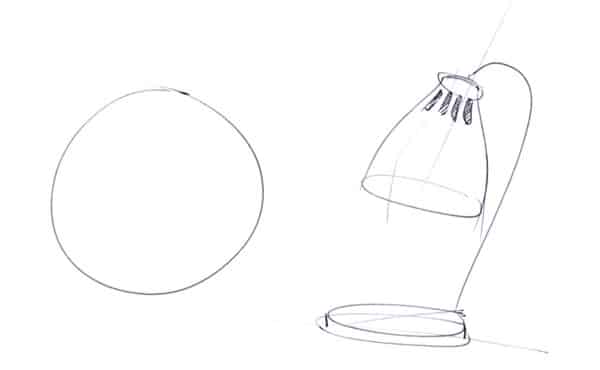
The confident line – GOOD LINE!
Our drawing encapsulates the subject’s volume and focuses on the dominant parts of the subject. The confident line that you see here is actually intimately dependent on pencil pressure.
The 3 stages of drawing with confidence:
- Comprehend the object’s volume, and simplify it into its basic forms.
- Draw with a slight pencil pressure, if needed re-tracing lines a second time.
- Consequently learn to draw contours with confidence and stronger pressure.
For a fluid pencil stroke, one must draw as fast as possible. False.
Fluidity and elegance reside above all in your regularity of movement. One can definitely draw fluidly at medium speed.
The sudden accelerations and the rapid drawing speed are optional. In general, they don’t offer a much different result (unless you haven’t quite mastered the technique, in which case your results will differ in that they’ll be decidedly worse).
The overconfident line – BAD LINE
We imitate the fluid style that we’d like to master to be able to draw fast – really fast. There’s nothing wrong with this in itself because it means we want to do well. But the result is very much approximate.
Try it yourself:
- At first, try not to over-do these particular experiments, or you’ll lose sight of your original goals.
- Identify which type of line fits you.
- Try out the “bad” lines to swiftly learn their limitations.
- To experiment and test yourself is part of the learning process.
Note that these “bad” lines can actually be good, correct lines, especially in illustration. However, that’s not the point of this particular exercise.
STEP 2 How to Master your Pen Pressure?
As beginners, we have a tendency not to concentrate on the form of a line – the very thing that really makes a pen-stroke uniform and thick. The majority of artists started out with a heavy drawing wrist, and thus a heavy pen. One of their first victories was to attain a stroke that’s both supple and light.
Why so many levels of pressure?
As you don’t have an eraser, you’re forced to approach drawing with a lighter touch.
You can then easily readjust your lines. The times that you do erase a line, you can readjust it no more than 3 times.
While in the research stage of a project a designer sketches many ideas on paper. To erase at that point will likely interrupt the “brain wave”. Draw fluidly and continue to keep your concentration, and participate actively in the flow of new ideas.
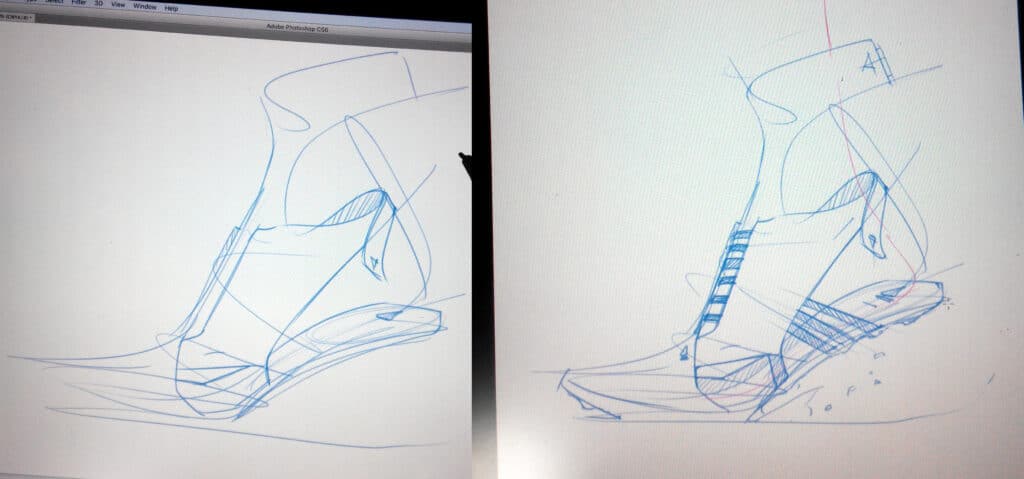
Differing pressure also involves lines that don’t exist in visible reality, such as lines denoting perspective, lines of symmetry, and those showing volume. These are indispensable to good preparation and comprehension of your drawings. At the moment the drawing is finished, some of these lines will purposefully remain barely visible.
How to raise the pressure level of a pencil?
Here we’ll focus on hatching and zigzags. If your forms aren’t yet particularly pleasing to the eye, no big deal. Concentrate instead on the pressure of the pencil tip, and on the flexibility of your pen strokes.
In a few dozen minutes, you have made enormous progress. To your pens!
Hatching
Even pressure
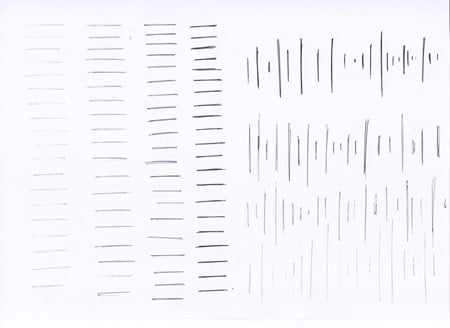
Right: the same pressure with differing lengths.
Gradients
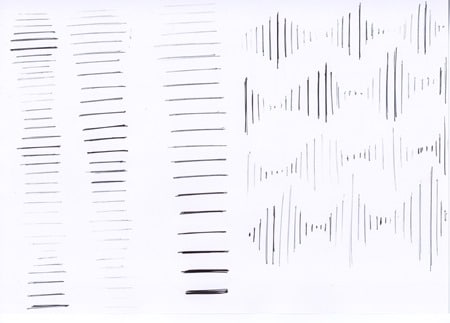
Right: differing pressures with differing lengths.
Zigzags
Even pressure
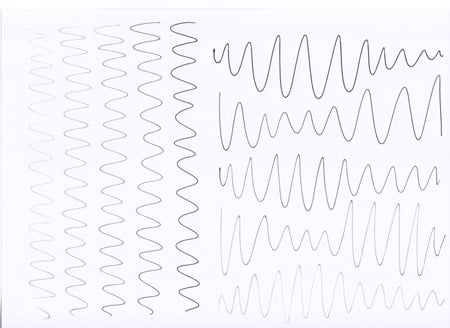
With gradients
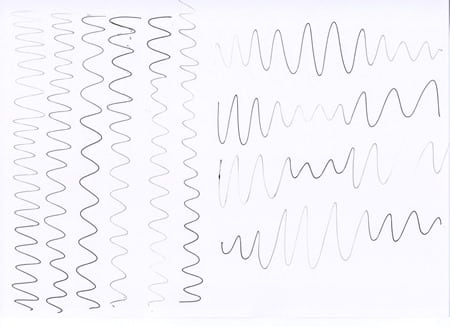
Right: Different pressures with differing amplitudes.
Medley
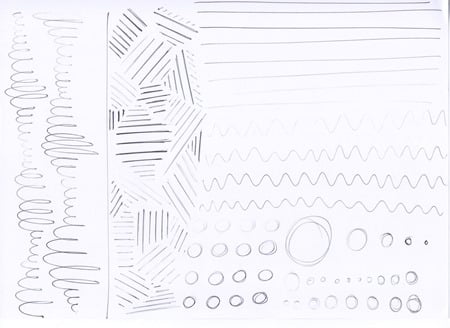
STEP 3 Practice your Lines Anywhere!
You’re going to consume a lot of paper to become professional.
Draw anywhere: in newspaper, on used magazines, on the back of recycled pages.
Redo these exercises on the subway, in waiting rooms, in cafes. Have fun with it!
These are simple exercises that bring much to your ongoing quest to master the pencil.
More than memorizing forms, your brain will intuitively divine the pressure exercised by your hand, and render your lines darker or lighter as needed.
Increasingly, you’ll master the degrees of pressure to use with a pen or pencil, and more of your drawings will gain sensitivity.
Therefore, take to enjoy drawing all sorts of forms!
If you want to make your first steps in drawing, I invite you to download the Designer Starter Kit to start learning with the basics of perspective step-by-step.
The Designer Starter Kit exercises in 6 videos:
- How to draw straight lines
- How to draw a perfect square
- How to draw awesome circles
- How to sharpen your sense of proportion
- How to draw a cube with 1 point perspective
- How to draw a cube with 2 points perspective
Once again, these videos are linked to the Designer Starter Kit.
To enjoy the series of tutorials better, I recommend you guys to download the sketching book for beginners first.
![How to Draw Clean, Professional Lines [Designer Tips]](https://www.thedesignsketchbook.com/wp-content/uploads/2014/07/How-to-Draw-Clean-Professional-Lines-Designer-Tips-1000x550.webp)
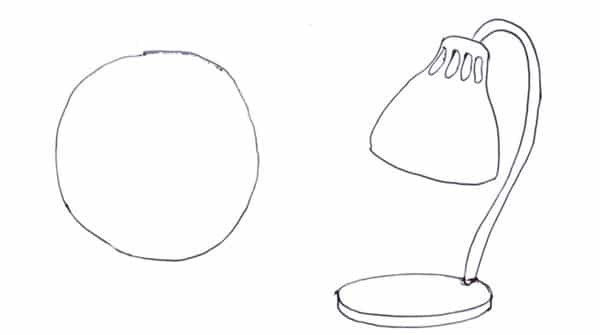
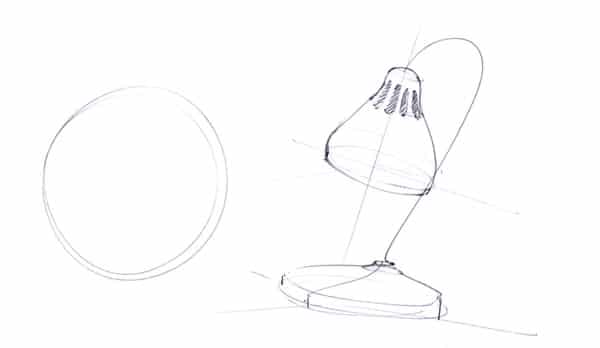
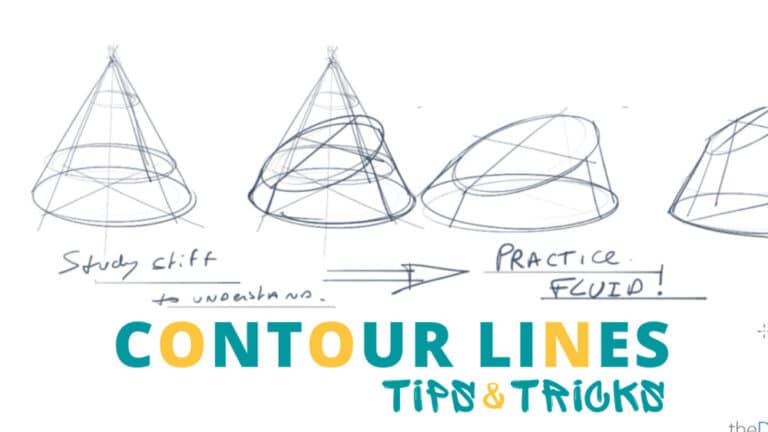
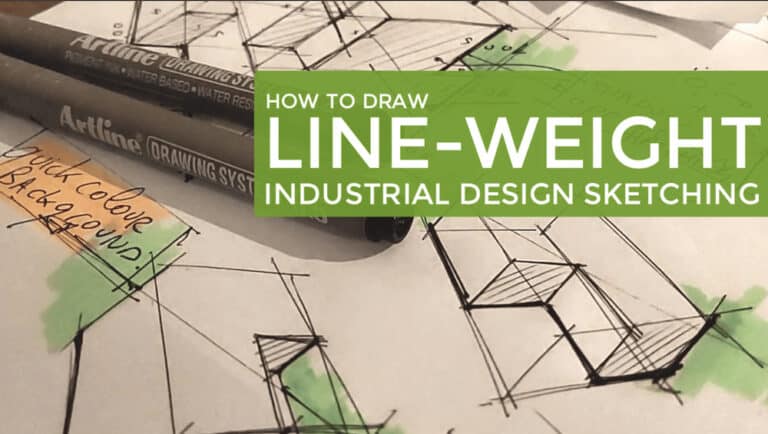









[…] We do not want to be realistic. We want to translate the beauty of minimal. That is something I try to inject in my design sketches. You can refer to the article on How to make Lively lines. […]
[…] How-to-draw-lively-lines […]
I really appreciate the clear and detailed guidance. Probably th most comprehensive resource I’ve encountered. Thanks for the time and energy you put into this site :)
Hello Rachel, I am always happy to know when the blog could help people :) Thanks !
This is the best material I’ve come across for beginning design sketching.
Awesome you liked it. Let me know along the way about your progress. I am now writing a guide for beginner to master drawing simple shapes. I will introduced how I recommend holding your pen as well. There will be other cool stuff.
It’s not ready yet so feel free to Subscribe at the newsletter. I will send the ebook to you when it is ready. See you. (I don’ tknow how to adress you Wkhr ahah)
Thank you!
how do you draw reflections and highlights? as in glass or windows of a building.using black ink fine tip pens?or pencil…