


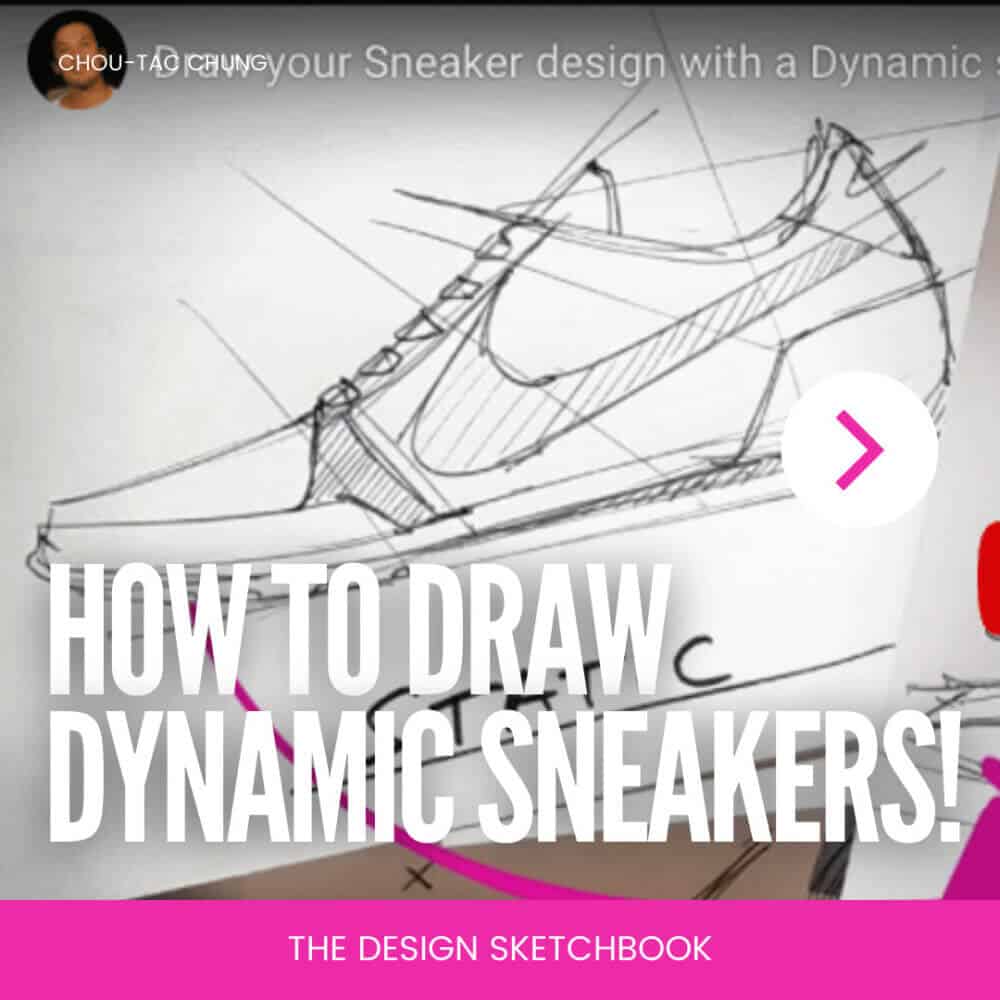
Get creative with sneaker designs!
This video teaches you how to take static sketches and turn them into dynamic masterpieces using ballpoint pen techniques. Check it out now!
Learn How to Create Stunning Sneaker Designs with These Tips
- From Static to dynamic Sneaker Sketch Design
- Draw Sneakers in 2 phases
- Know the basics of sneaker drawing
- Don’t look for perfection
- Make your design sketches attractive
- Create your own style
- Everyone can sketch. You included!
Transcript: How to draw from static to Dynamic Sneaker Sketch
Welcome to TheDesignSketchbook.com
Feel free to go on the blog to get some more free tutorials.
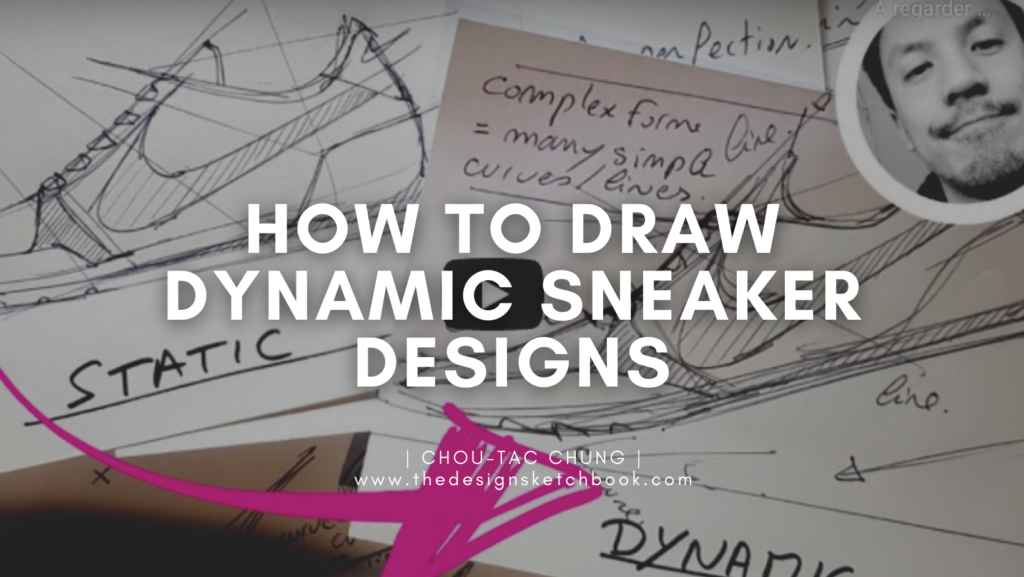
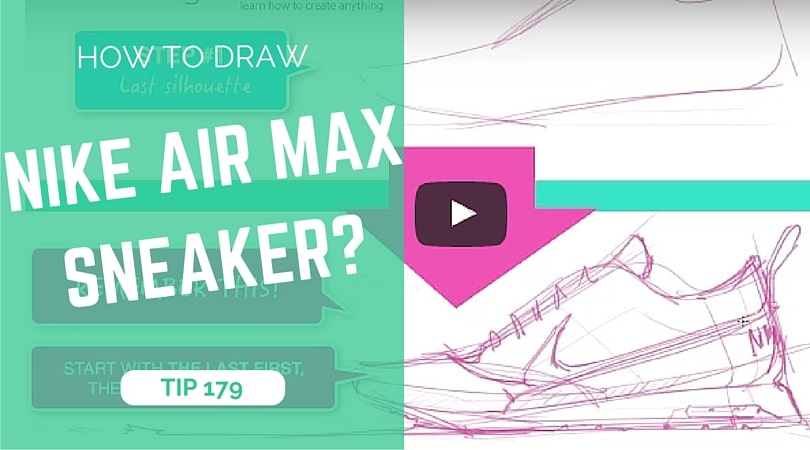
From Static to dynamic Sneaker Sketch Design
In today’s video,
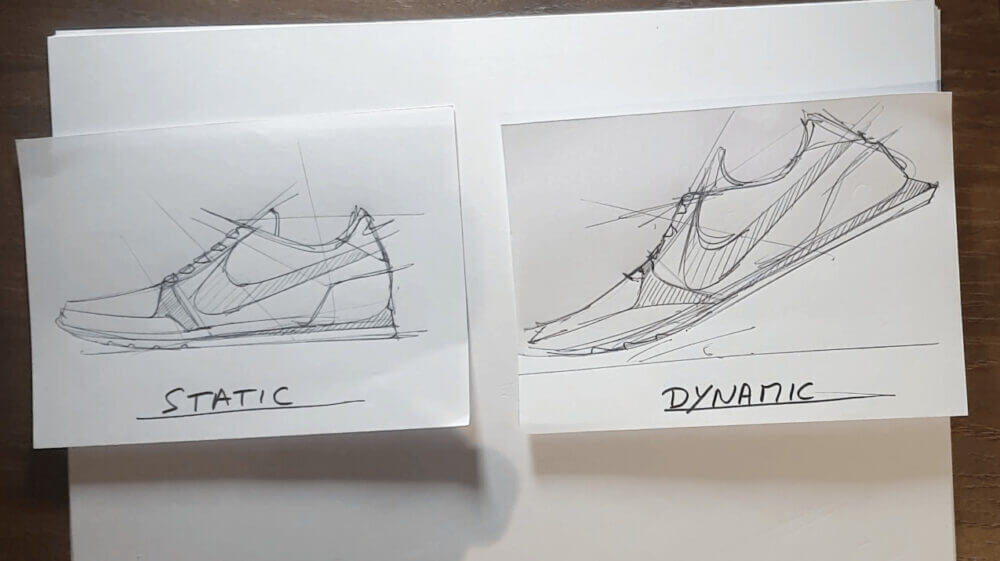
we are going to see how to draw sneakers from the left sketch (which is static) to the right one (which is dynamic) – to give you some astonishing skills for your sketches and your drawing styles.
And it’s something that we will be able also to use in your own product designs as well. And to do so I have also added some extra links below this video so you can get some more examples of drawing with dynamism in your product design sketches.
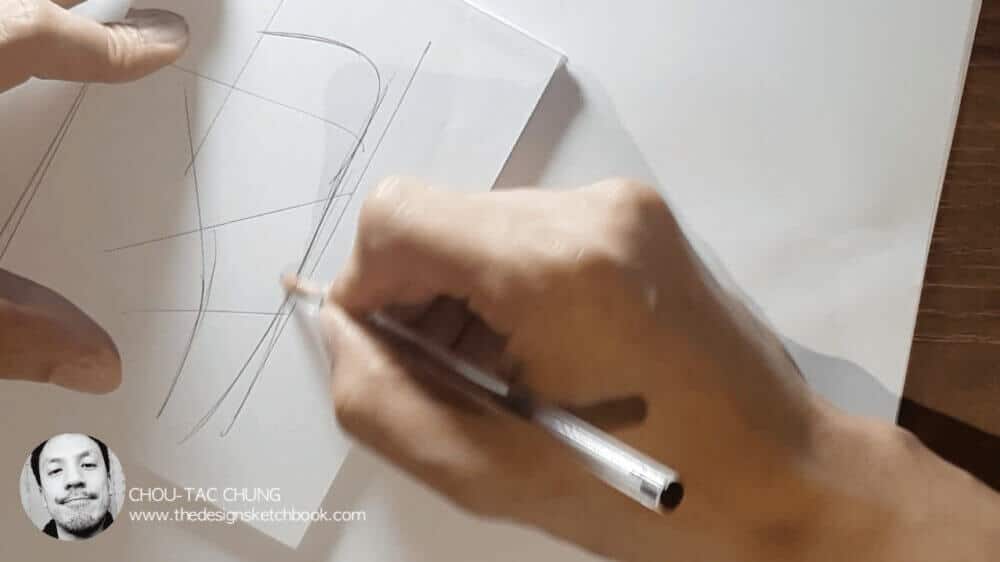
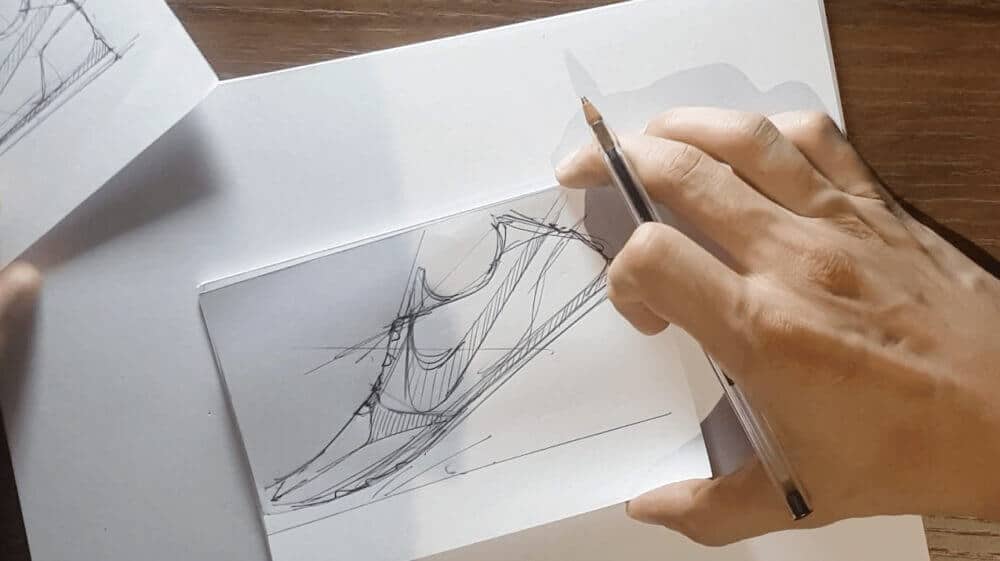
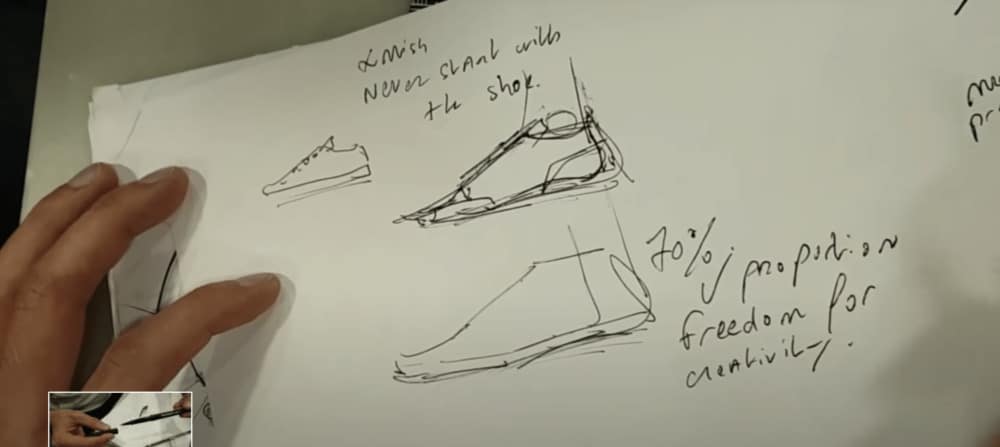
Okay, so let’s start so I can, as you can see, I’m using a ballpoint pen right here which is the BIC Cristal and I’m first starting with the shoe last when I want to draw a sneaker.
Basically, I’m starting by drawing the base, and then I will take care of the design.
Draw Sneakers in 2 phases
That’s the two-step which is primordial because allows me to draw the sneakers with a good proportion and also with more confidence.
If I would have started with the design of the sneakers from the start, it would have been too much information like handling proportions, the design, the way I want to draw it, the style I want to give it, and so on.
So this is why it is very important to split the design of the sneakers into 2 phases:
- The first phase is a shoe last which is a form of the traditional foot
- Phase two is going to be focusing on the design of the sneaker.
So this is how you can avoid being overwhelmed when you are drawing your sneaker.
All right, as you can see here is pretty fast actually when you do step-by-step the sneaker design right here which is very basic here and I want to show you that – You can actually take your time and when you know your basics on how to do a sneaker, everything goes move after that.
Know the basics of sneaker drawing

For now, it’s taking me less than two minutes to go to that result right here.
And the more you will draw some designs more the basics will become intuitive and the more, you will be able to focus on getting more style to it, more energy, more dynamism, and more ways to break the rules.
But for now, if you’re being started, I recommend you like you can go through – rewind back this video and draw step by step on the different lines.
And if you get more serious about learning how to draw sneakers at the professional level, with hand drawing, and hand sketching.
I’m going to add below also the waiting list for my Sneaker courses.
That I do have presently which the registration is now closed.
But you can feel free to send me some emails as well if you want to get more information about it. (choutac@thedesignsketchbook.com)
So now I’m now doing some hatching.
So I’m making sure that they’re hatching also very neat because it allows you to have a sketch of the Sneaker which is more professional as well.
So I’m not rushing my sketches.
Alright, so we got the basic one and now let’s jump on the more dynamic style of the sneaker. And the first thing that you can see I got tilted the ground line, more like the shoe is animated in movements.
Extend your lines for dynamism
As you can see as well, the way that I draw the lines is so much more extended.
The design of the sneakers or the shoe last is already more elongated to give it some more dynamism.
And then, when I draw the design of the shoe for the sneakers I get inspired by all these lines in trying to get on the flow.
Here is the swoosh of Nike.
Here we go!

And remember to rotate your paper when you draw.
So, it allows you to have the best angle for your arms to draw with confidence and to draw with the best motion – to take the best range of motions to be comfortable.
Like here you see this curve.
This is so much easier if I turn the paper at 180 degrees.
There we go. I draw some details.
This is also one of the principles of designing and sketching products that start with some general shape first and then go on to the details. Once again.
So and carry on with some neat hatching.
So the hatching is oblique. It also helps to see the dynamism of the overall.

Don’t look for perfection
So don’t look for perfection when you draw.
Just let the flow once again – the more you will know the basics easier that stage will be.
So, I recommend you start first by learning status A first, and when you master that one, jump on status B which is more dynamic. Okay?
So you will need to be able to master both skills. That will be best.
Here we go.

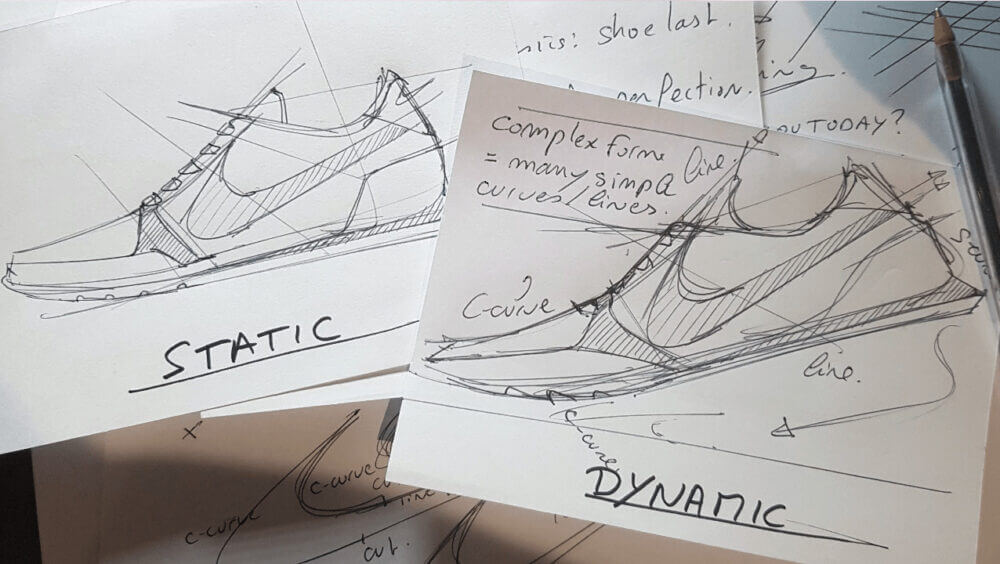
Make your design sketches attractive

And this is a comparison side by side of the A and the B.
And this is basically like in design sketching when you want to present your project you need to be attractive.
You need to be to seduce your audience from the start as quickly as possible.
So people want to feel an emotion when they will see your drawings. This is what will allow them to, have the willingness to know more about your project. Okay?
And some more when you draw with some more dynamic shape, this is something that so influenced the way that you’re going to design.
Alright?
Alright, so now it’s time to do some little bit of exercise and practice.
On improving your line style and confidence in your lines as well. Okay, so here we go.
We are going to start with some simple squares.
And here is the basis we are going to draw.
So you take your time you try to make it neat. And that’s okay.
It is just like static, there’s nothing wrong about it.
But then we want to make an evolution of it to make it dynamic. And can you see my handwriting is also changing to get the feel of it?
Draw beyond!
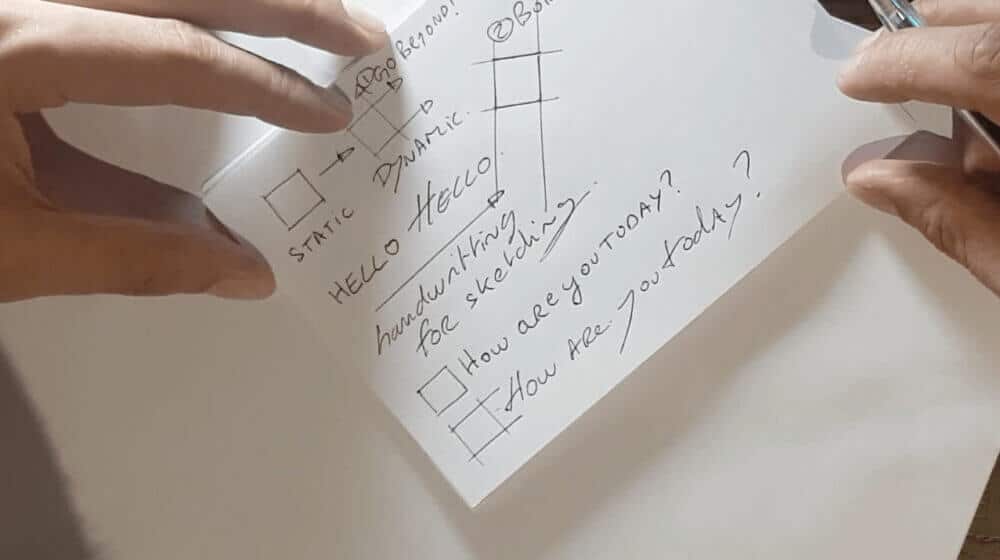
And what I do not hesitate to do is to go beyond the line. And you see that I trace the lines purposely longer.
Okay?
So don’t hesitate to go beyond. It’s totally okay in design sketching that if you trace longer because after that, you can be able to still bold the shoe that you want to keep.
So, as you can see here for the dynamic sketch, I do not hesitate to go beyond once again. All right?
So what you apply to your design is something that you will be able also to apply in these very simple forms here.
That’s why it’s very important to always learn from the start. From something very simple and then you can apply a much, much better for more complex sketches.
So first is to go beyond, and two is too bold.
So let’s do some practice also for your handwriting.
So let’s say you can draw “Hello” with a static style and “Hello” with a dynamic style.
Okay, so this is like when you draw and you write, you have this feeling like when the handwriting is also expressing personality.
Create your own style
This is also true for sketches where you have handwriting for your sketches. And this is how I recommend you also create your own style.
And this is why like my sketch, your sketch, your neighbors, get your colleague’s sketch, and so on are going to be different because each of you is going to have your own personality. Okay?
So “How are you today?” and something which is going to be more extended. “How are you today?” which is more oblique and also the way that I’ve framed the line and for each letter is much more expressive and natural I would say.
I do not refrain from myself.
I do not try to be perfect.
Remember the “Ghost drawing”
Carry on with some extra lines using the ghost drawing.
So the ghost drawing is about simulating the movement first.
And yeah, if you want to know more about the basics of lines, so I feel free to download the Designer Starter Kit on the blog, you just need to give me your email, and then I will send it to you guys by email.
And you will have a few weeks or a few days of programs to follow to make your first steps in perspective as well.
And let’s do here we practice with the swoosh of Nike. So the swoosh of Nike is something that is also the expression of the dynamism of speed of velocity.
And you see for the first one was clumsy and on the right, the secret is that when I draw the curves, I cut them. I split them into the movement.
It is all about simple curves and lines
Can you see how the cut I have drawn like one C-curve that another C-curve and then I got prolongated with some lines?
There we go. I’m not trying to draw the contours all perfectly. I divide this swoosh into small simple curves and then I connect them. Okay?
And remember to use the ghost drawing which is about simulating the movement once again. It is something that needs to be really intuitive when you draw.
So feel free also to go and back on your curve to get more confident as well. So let’s draw again this so go and back…. on the curve. Go and back, go and back and you extend. Okay?
Draw with emotion
So whenever you draw, try to feel the emotion so here Think dynamics when you draw.
It is like a comic artist who is drawing a new character is creating it.
If the character is someone sad, gloomy and so on, you have to fill in that if it’s someone happy this is someone joy is going to have different criteria and so on.
That’s what you need to do so for your product design sketches.
So here we go back to the swoosh. So remember to cut into multi-simple curves.
And here are two C-curves. And if you want to learn more about how to practice drawing C-curves.
Okay, let me add. Let me add the extra link to it as well. It’s kind of many, many links. But it is great if you can have some extra content to go deeper into your learning journey.
So here’s an example I have lines. Here is the C-curve. Here as well, the C-curve, the small one.
So basically if you know how to do C-curves, S-curves, and some straight lines, your hand is able to try anything.
If your hand is about to draw some, or all the letters of the alphabet, there’s no reason you can’t draw.
Do you see what I mean?
Everyone can sketch. You included.
Everyone has the ability to learn, to know how to sketch.
And it’s a mix of Knowledge, a mix of Practice, and a mix of Emotion of what you’re going to put inside to create your own style.
Okay, so this is why it’s very fascinating to learn how to sketch.
Because every sketch of every designer is unique.
Remember, complex form is equal to many, many, many simple curves, or lines, and lines.
It’s as basic as that.
Cheers,
Chou-Tac
PS: To learn more about sneaker drawing, I made a video Sneaker Sketching Challenge of 7m! Sharing with you plenty of design tips!
roxr5f
amazing content, keep it up, you gained a fan! I hope you create more content like this. We are a sneaker store that is gaining notoriety on the internet, check it out, you won’t regret it