Stop struggling with aches and pains when drawing outside!
Learn professional techniques on how to maintain proper standing posture for hours of comfortable outdoor artwork.
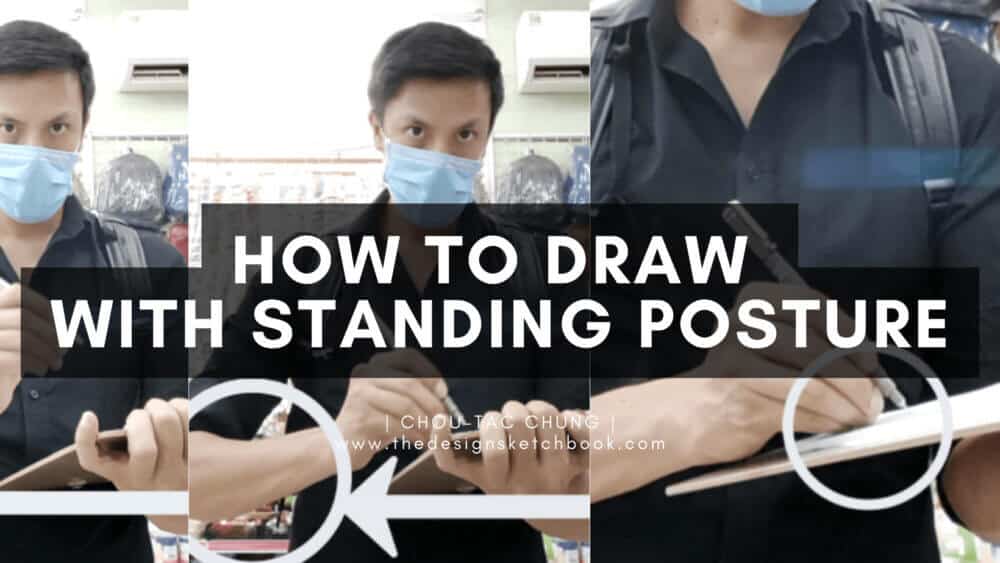
How to Draw with Proper Standing Posture
You love going out drawing urban sketching, statues in a museum, people in the street, do product observation in shops…
But you struggle to draw on the go?
To solve this, I found a great accessory to make drawing outside fun and comfortable. So you can draw anything you see standing on the spot!
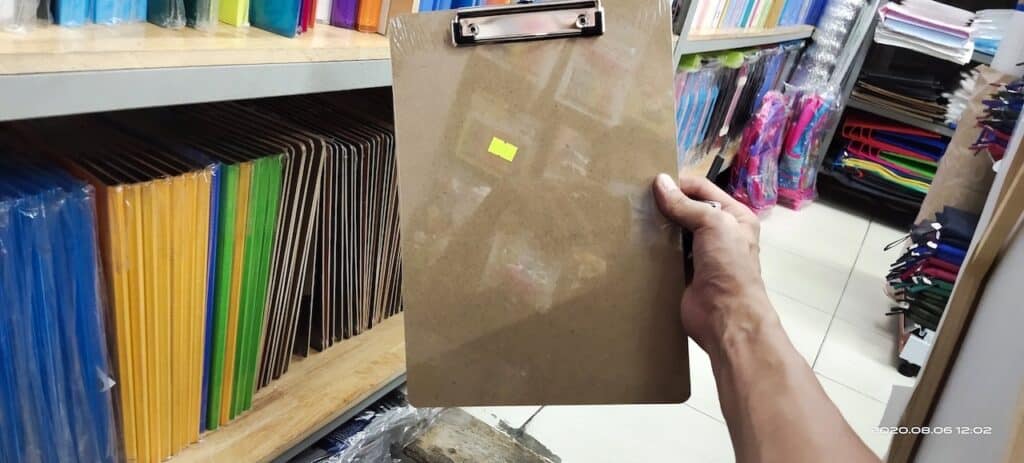
It’s a simple writing pad with a paper clip.
However:
- if you don’t hold your pad well,
- or if your standing posture is poor, your sketches won’t look good.
- How to Draw with Proper Standing Posture
- AT A PEN STORE
- I FOUND A WRITING PAD!
- LET'S DRAW WITH THE PAD!
- CLIP YOUR PAPER HERE
- Which pen to use?
- TEST THE LINE WEIGHT
- LET'S DRAW SOMETHING!
- PART1: MEMORIZE THE FORMS
- PART 2: DRAW FROM MEMORY!
- CHECK YOUR STANDING POSTURE
- LAST LOOK ON THE PRODUCT
- HOLD FIRMLY THE PAD
- SIDE VIEW
- BE AWARE OF YOUR ELBOW
- ROTATE YOUR BOARD
- Drawing confidence
- DRAW SMOOTH WITH PALM LIFTED
- FAST SKETCHING
- FROM MEMORY TO FLUIDITY
- "SILVER-LEAD PENCIL"
- THICK LEAD MECHANICAL PENCIL
- Conclusion
- Drawing Standing with an iPad
AT A PEN STORE
I tested some pens for drawing on draft paper while standing.
So today, I show you how to improve your standing posture!
It will be essential to use it for a session of Urban sketching for example.
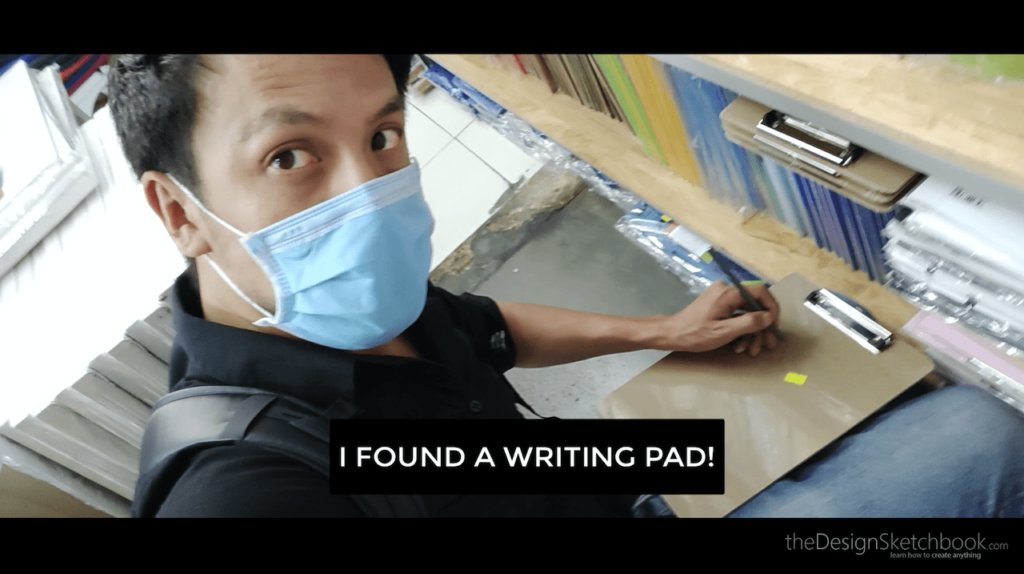
I FOUND A WRITING PAD!
I always thought about getting one of these writing pads to use as a portable drawing board.
- Drawing with a writing pad allows you to practice outside without shaking and without using any random book (too soft, too small, or thick book…).
- I also like the A4 writing pad format as it is easy to fit in your bag.
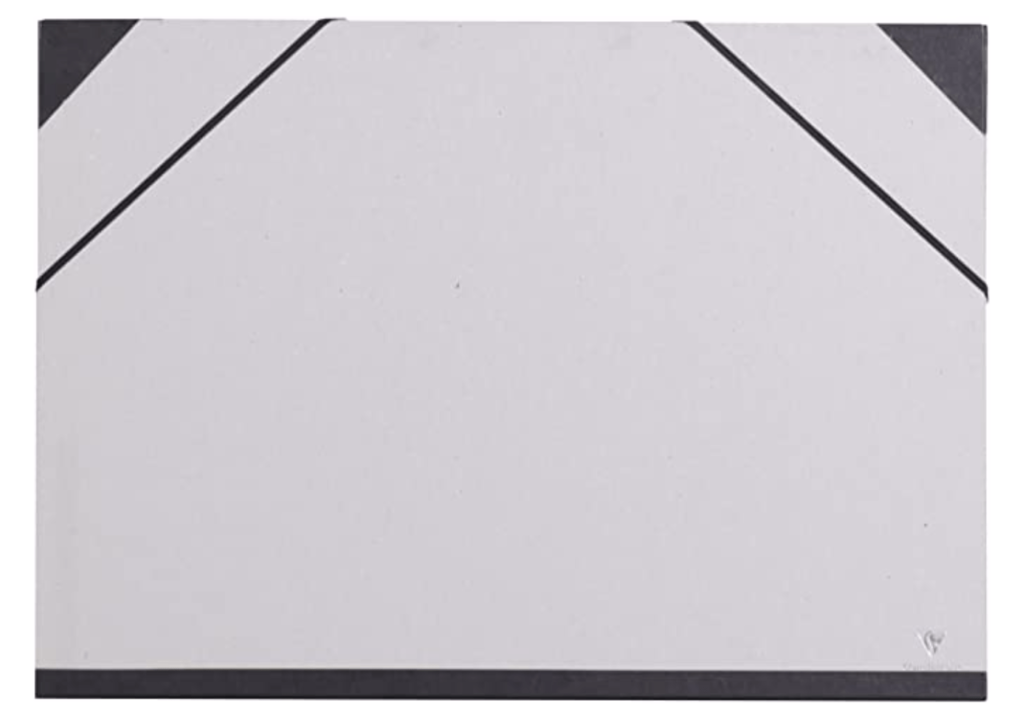
- As a student, every Thursday afternoon was my favorite moment. We went outside exploring Paris to draw notorious art places and monuments.
- I remember drawing sitting on the floor or standing for hours to draw using this XXL portfolio below. That was too big for doing “instant sketches” with a standing position.
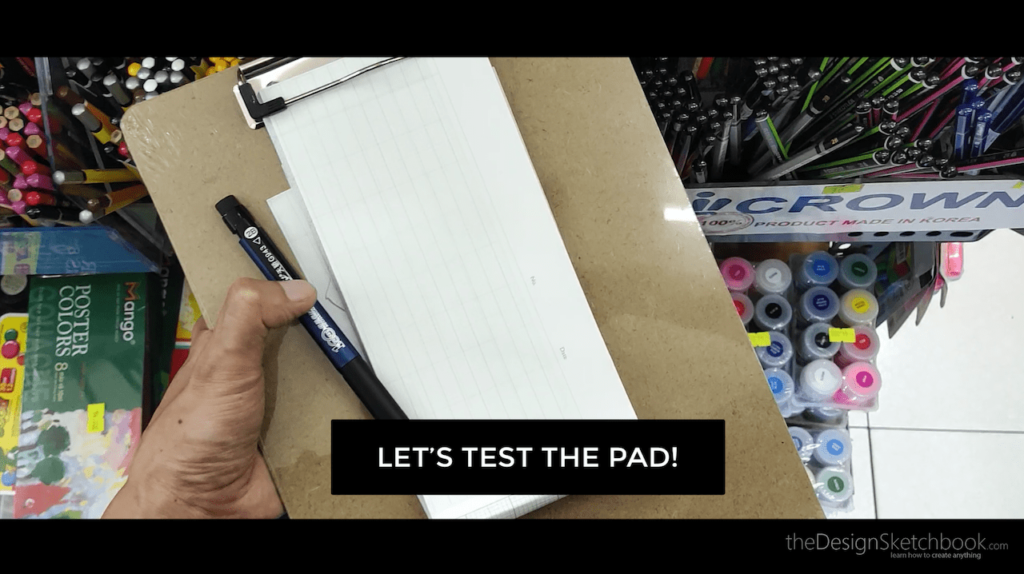
LET’S DRAW WITH THE PAD!
I clip a draft paper notebook the art shop let customers test the pen.
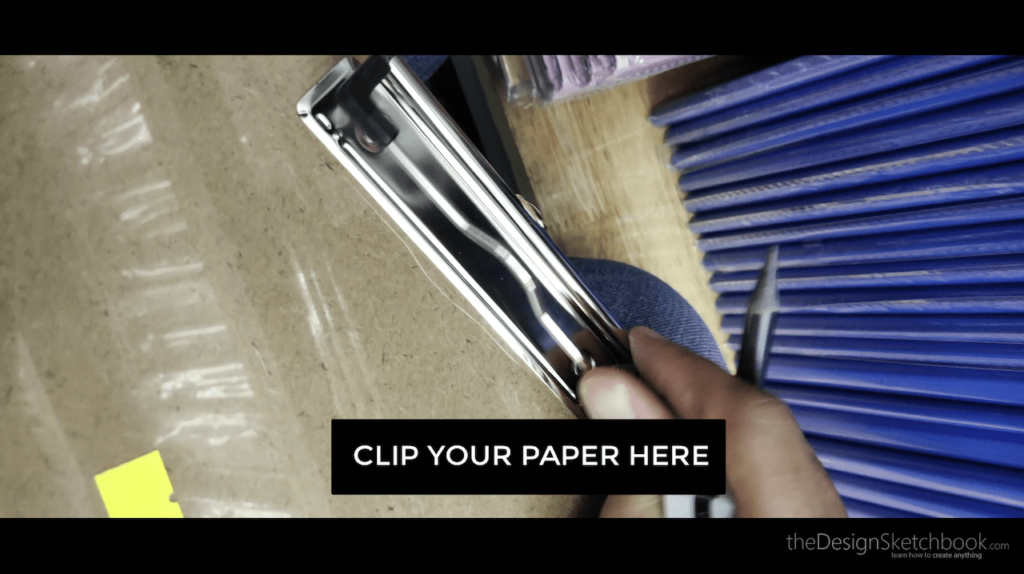
CLIP YOUR PAPER HERE
In the case of strong wind, your paper won’t fly.
If you want to draw using underlays, your papers won’t move.
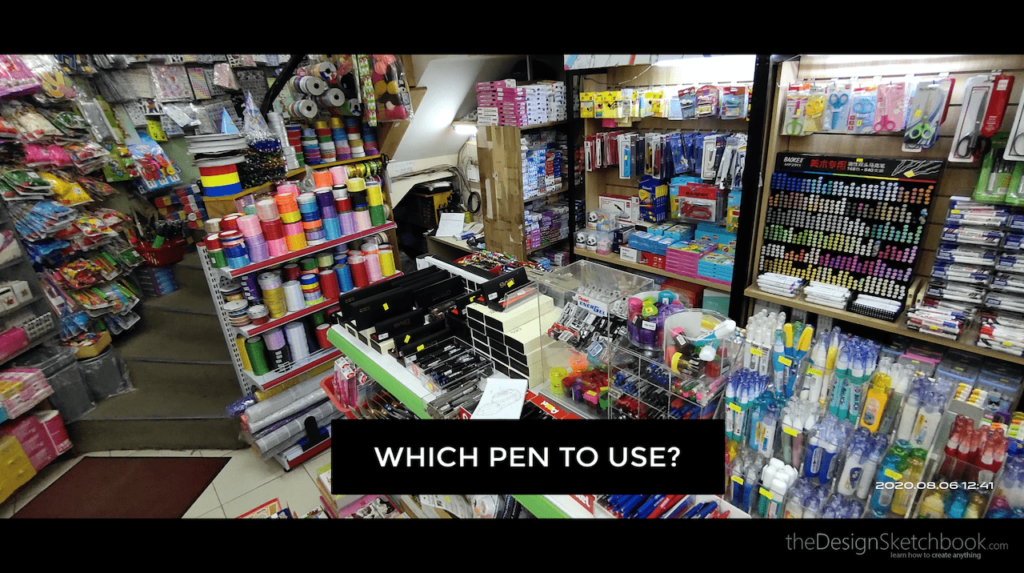
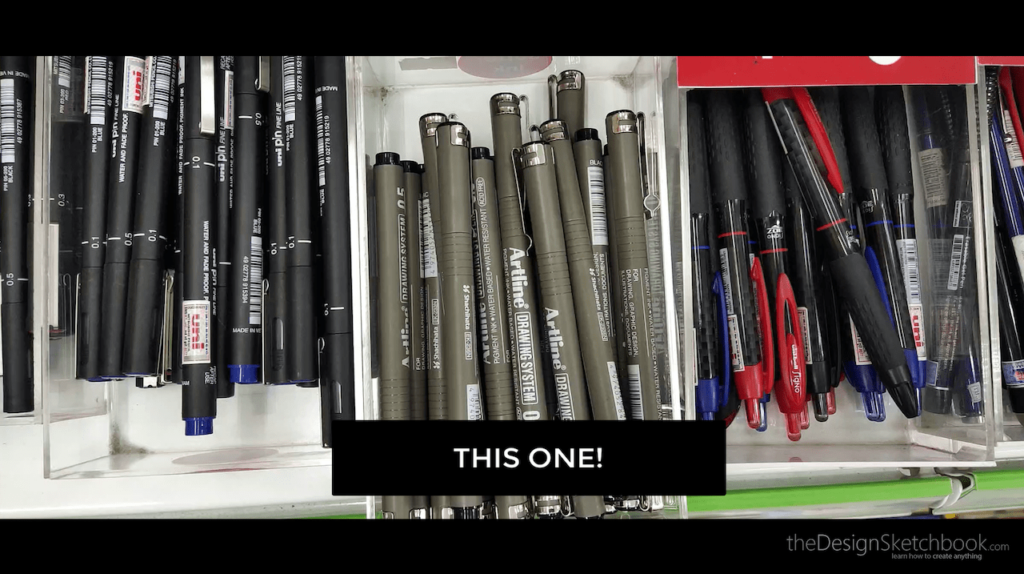
Which pen to use?
There are thousands of available pens here.
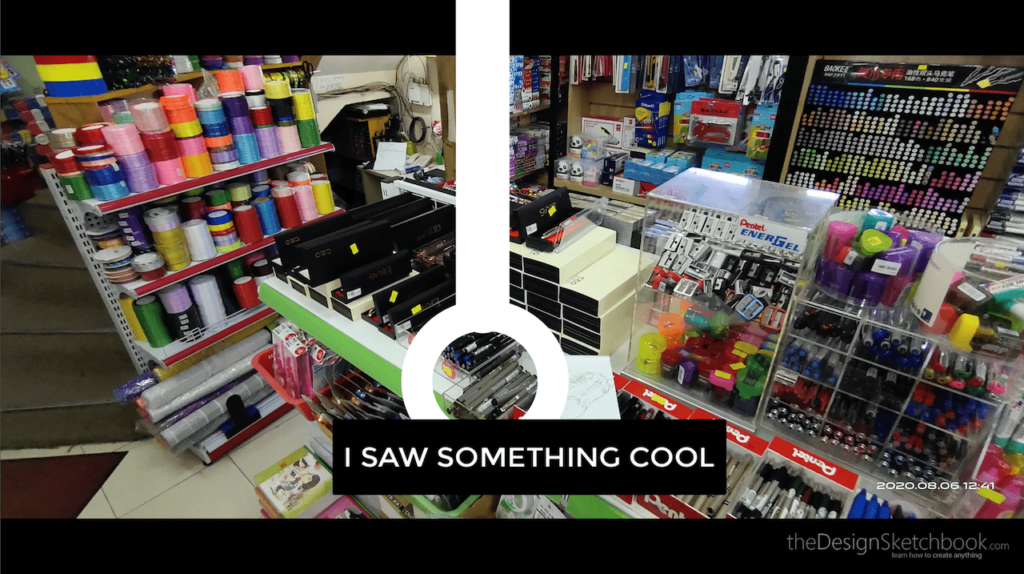
Let’s come closer to find something cool to do the drawing test.
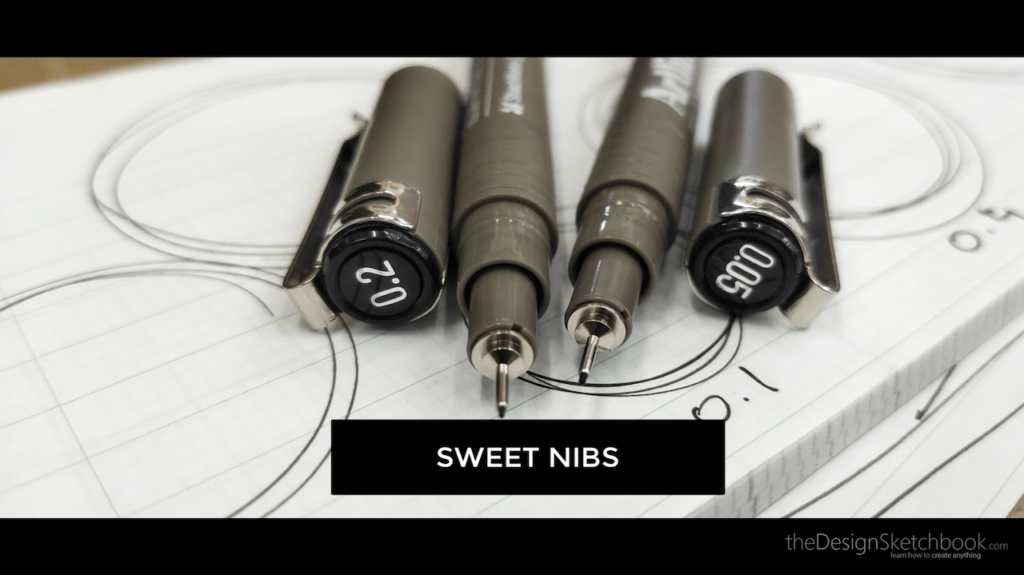
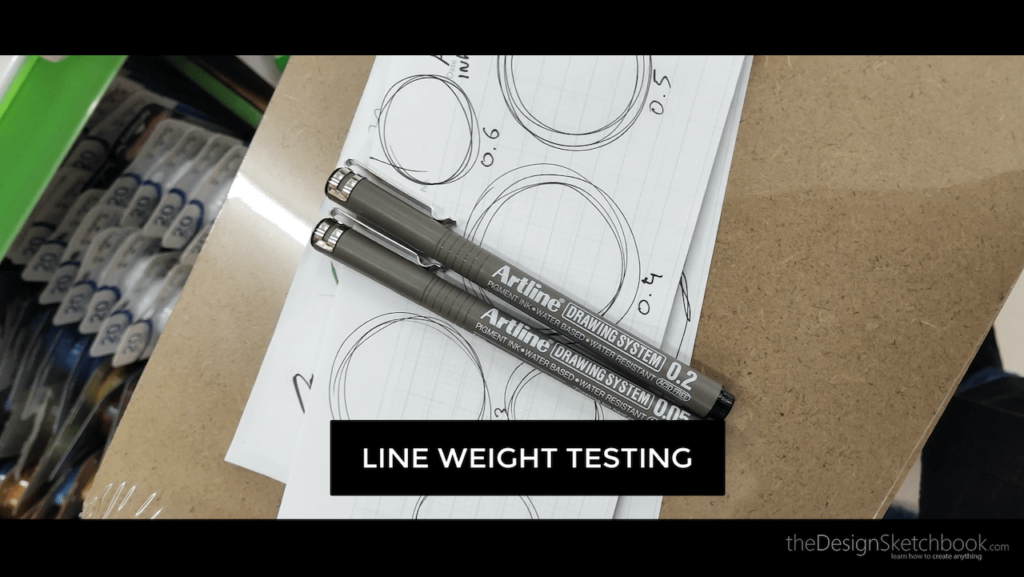
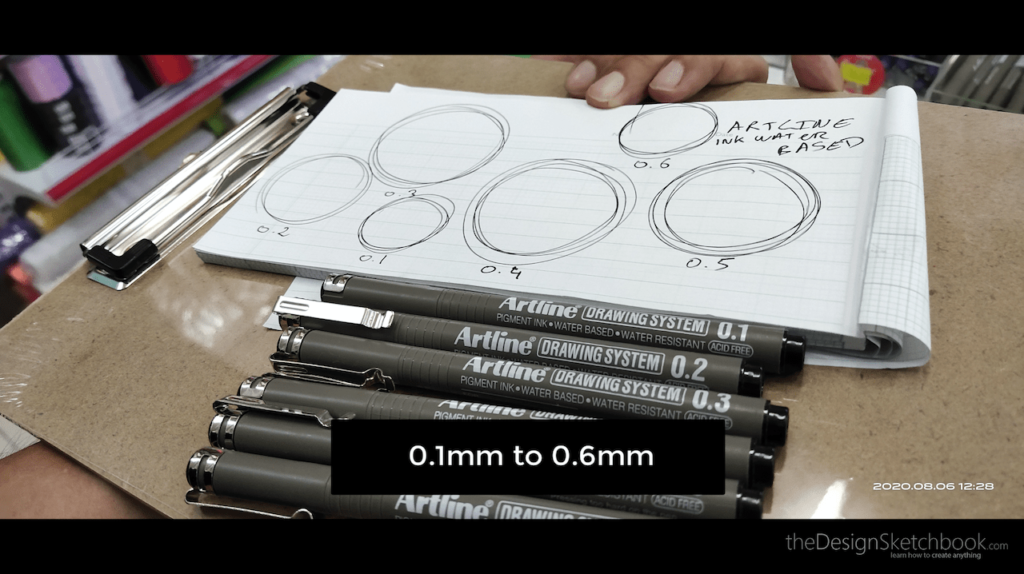
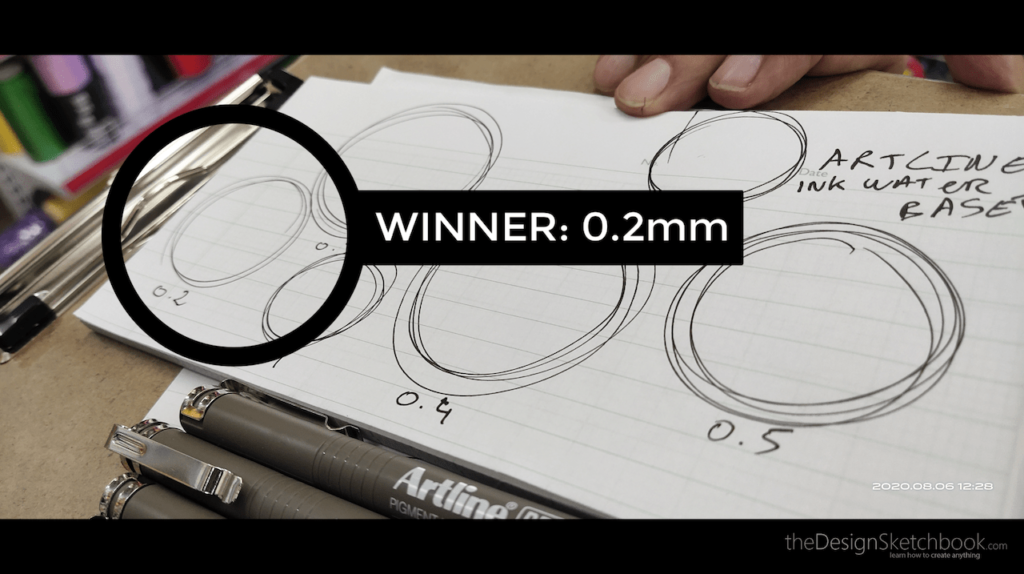
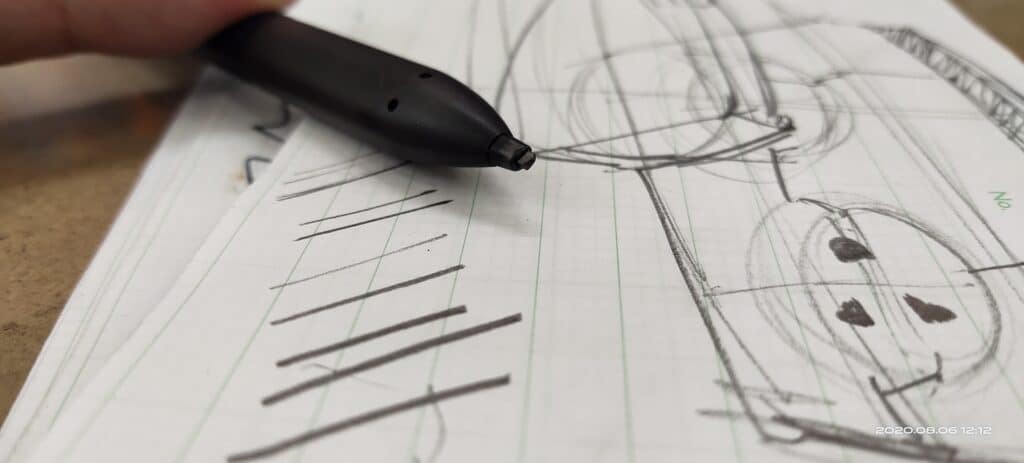
TEST THE LINE WEIGHT
For each pen, I draw 1 circle with the same intensity for each.
I try to find the quality of lines I feel the most comfortable with for smoothness, thickness, and precision.
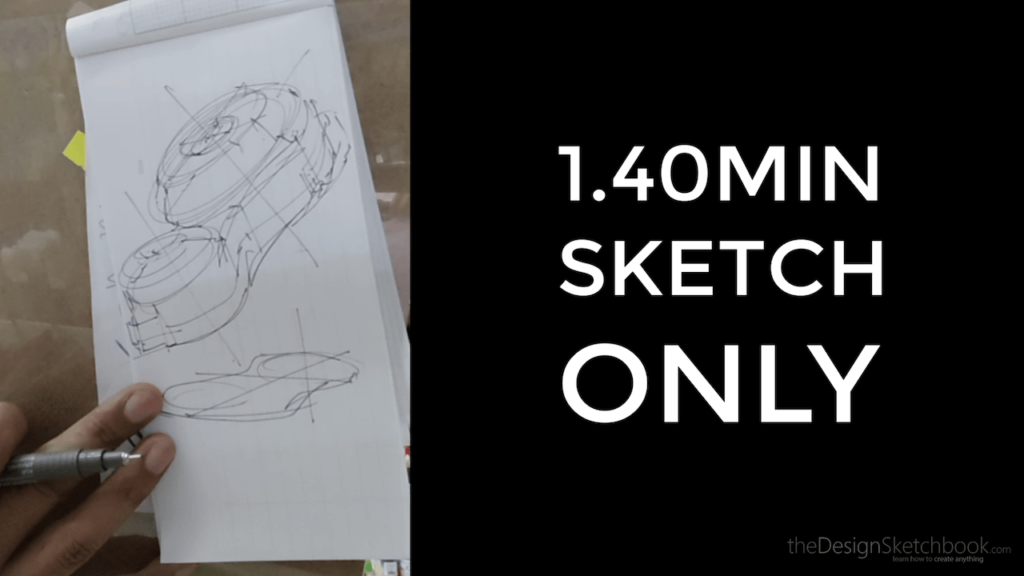
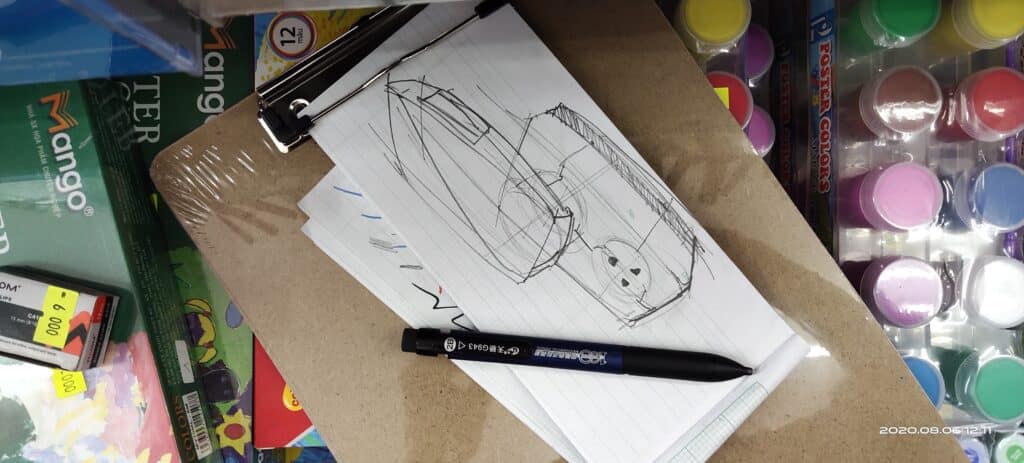
LET’S DRAW SOMETHING!
Remember that design sketching is about strategy.
In this case, you need to train your observation skills to plan the drawing steps in your mind before starting.
- I pick up this eraser tape to practice on.
- I spend a few seconds to analyze how I will draw it.

PART1: MEMORIZE THE FORMS
I don’t want to do a great sketch in one shot.
I plan at least 2 attempts.
The first one is to:
- Memorize the forms in 3 dimensions
- Practice the drawing steps I’ve in mind.

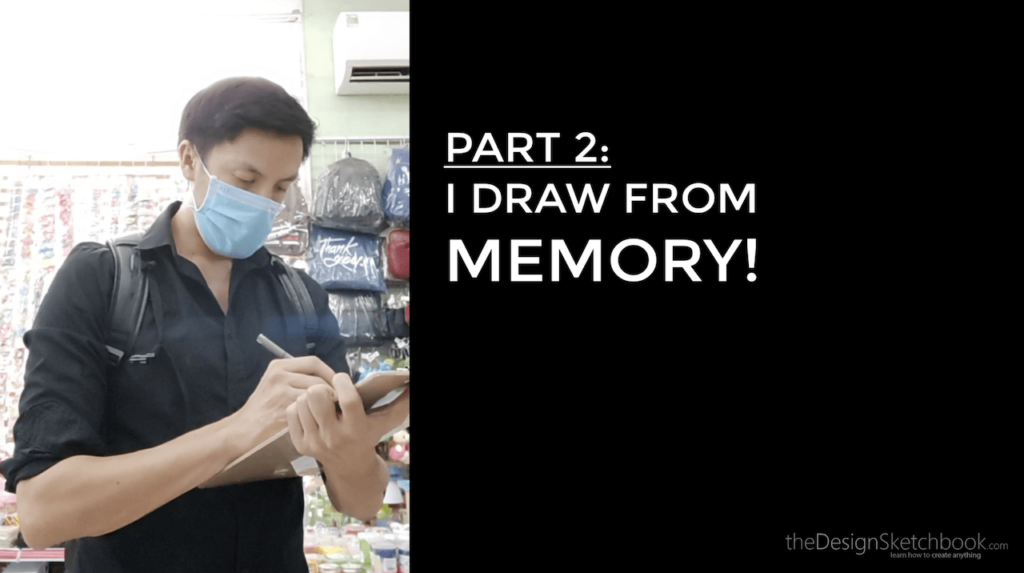
PART 2: DRAW FROM MEMORY!
Strategy and forms in mind, I am able to reproduce it from memory.
Potentially I could draw it from any angle.
CHECK YOUR STANDING POSTURE
A proper body posture allows you to draw better and longer with a standing position. You will not always find a comfy chair where you can sit comfortably each time you spot a great subject to draw.
Let’s see today how you can draw faster anywhere with the pad.

LAST LOOK ON THE PRODUCT

- For the second sketch, try to draw from memory only.
- It will help you improve your sense of observation.
- Thus you will draw faster.
- It is powerful for drawing moving people in streets or doodle note ideas in daily life.
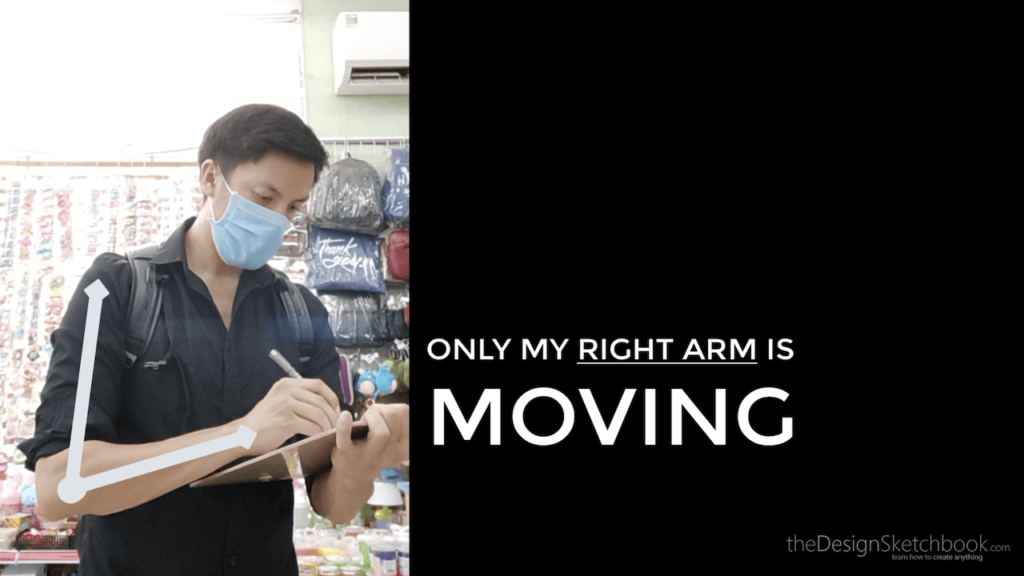
HOLD FIRMLY THE PAD

- Your body is both strong and relax.
- Make sure your body supports the pad using your left arm to hold it.
- Only my right arm is moving to draw while my body stands strong.
Remember: Don’t draw with your wrist. Your whole arm is moving.

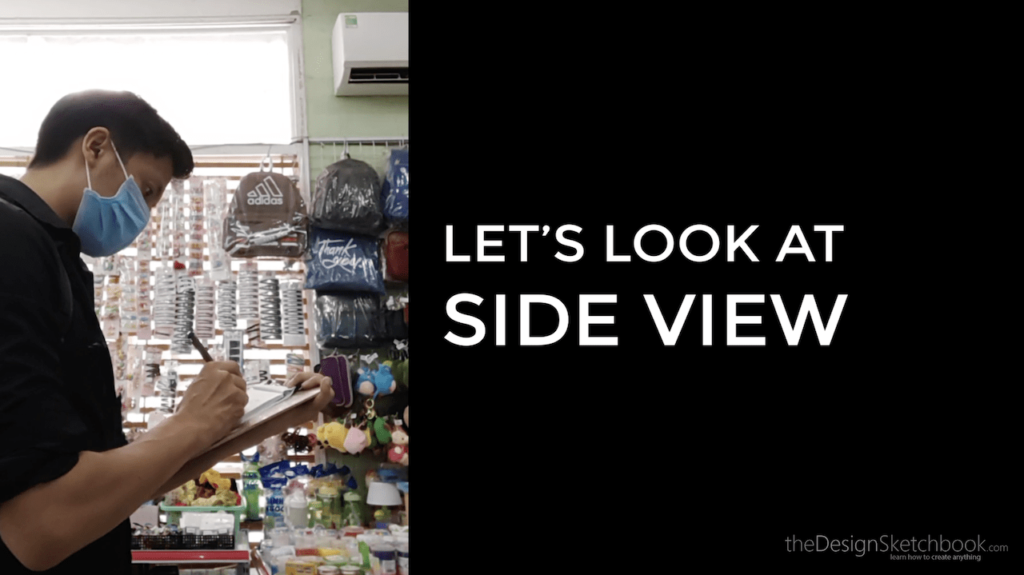
SIDE VIEW
Same observation as previous.


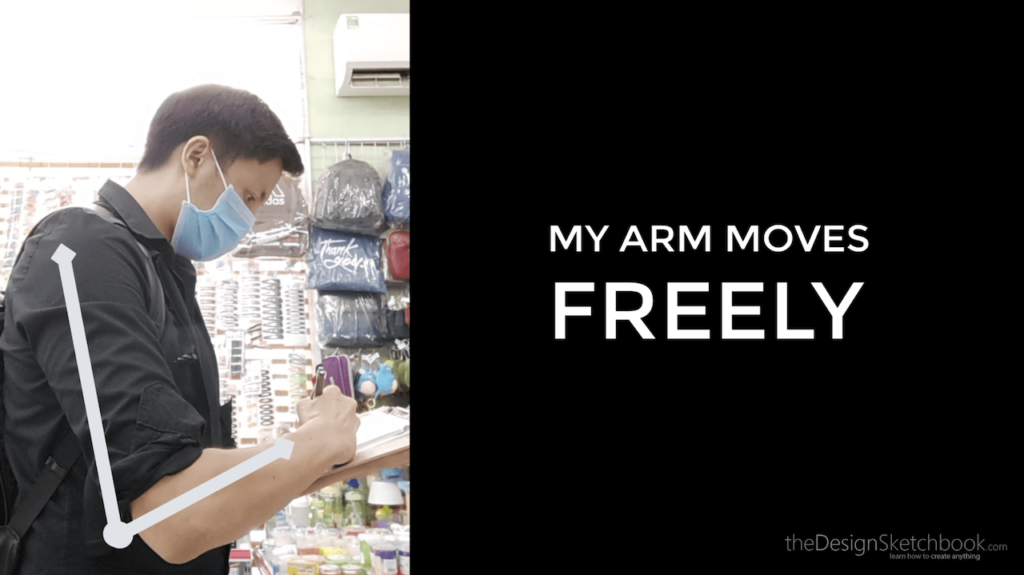
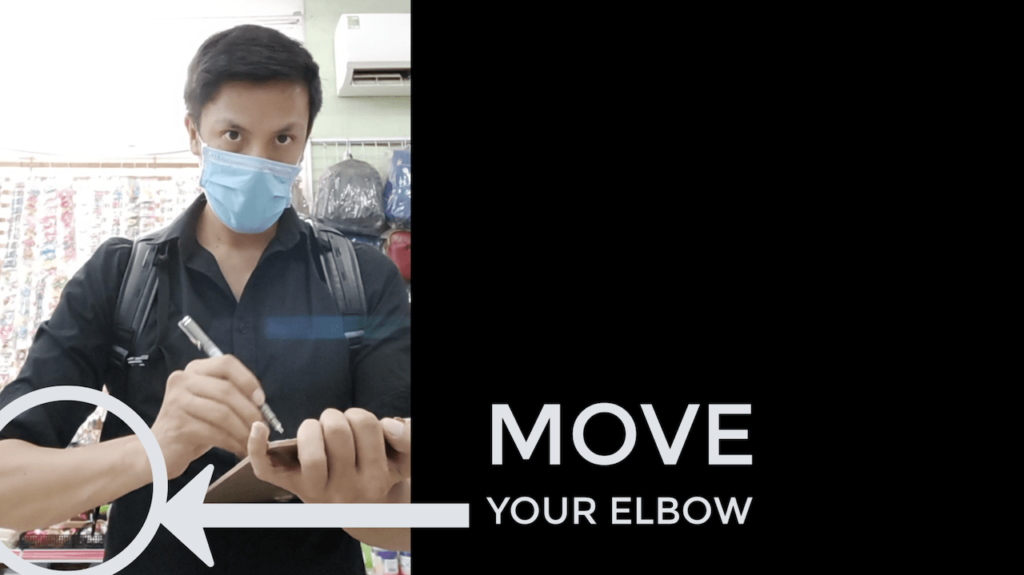
BE AWARE OF YOUR ELBOW
A beginner mistake is to draw with a stiff arm. But if your pad is well supported, your drawing arm will be free to move and draw any lines and curves.

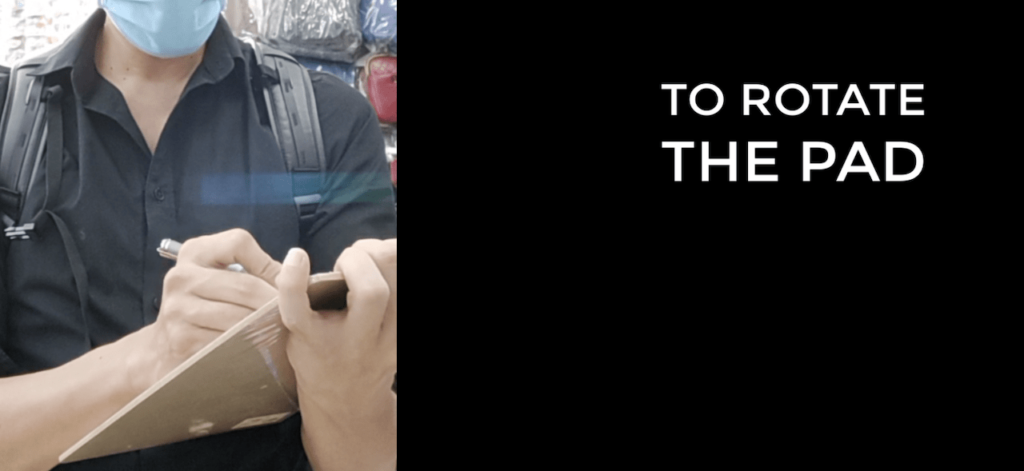
ROTATE YOUR BOARD
- I often mention the importance to rotate your paper like I do for my Wacom Cintiq 13HD or also iPad Pro’s sketches.
- About the writing pad, we also rotate it too!
- The pinky finger at the corner gives me great control.

Drawing confidence
- If you lines are shaky, learn to hold your pen the right way.
- My 3 fingertips below are sliding the paper. They are somehow like a moving tripod.


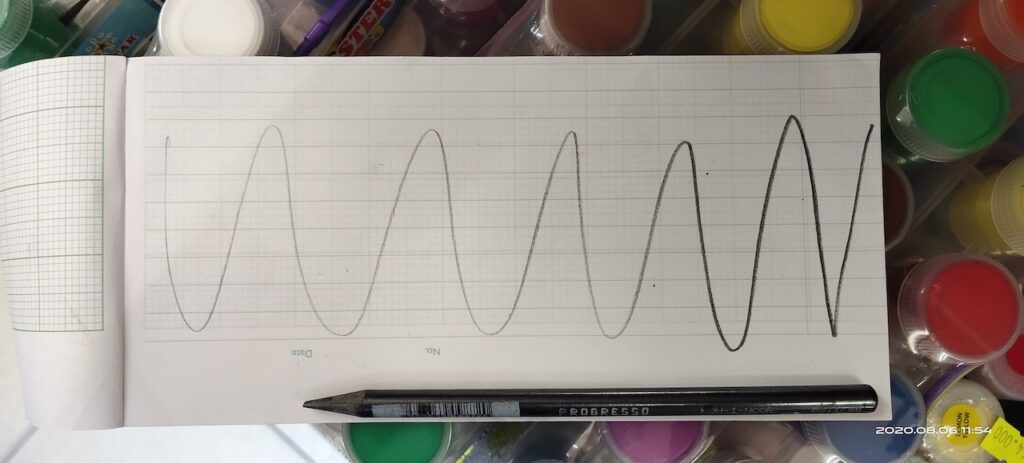
DRAW SMOOTH WITH PALM LIFTED
- A technique I like to use for fast sketching is to draw with my palm lifted.
- I avoid friction on paper.

For small details, I can rest my hand on the pad and draw doing micro-movements.

FAST SKETCHING
- In product design, it is essential to sketch fast.
- Why? Because as a designer you have timelines and deadlines to follow.
- Drawing fast helps you multiply your ideas from start, and select the best ideas for the next phases (marketing, engineering, prototype…
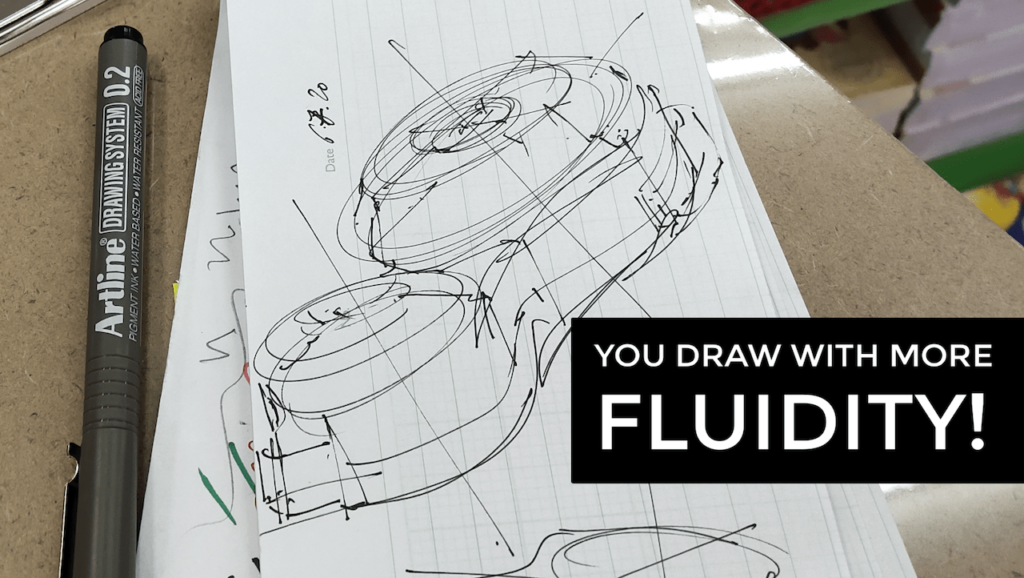
FROM MEMORY TO FLUIDITY
Memorizing the steps and forms during the first sketch allows you to focus on the line expression on the second one.


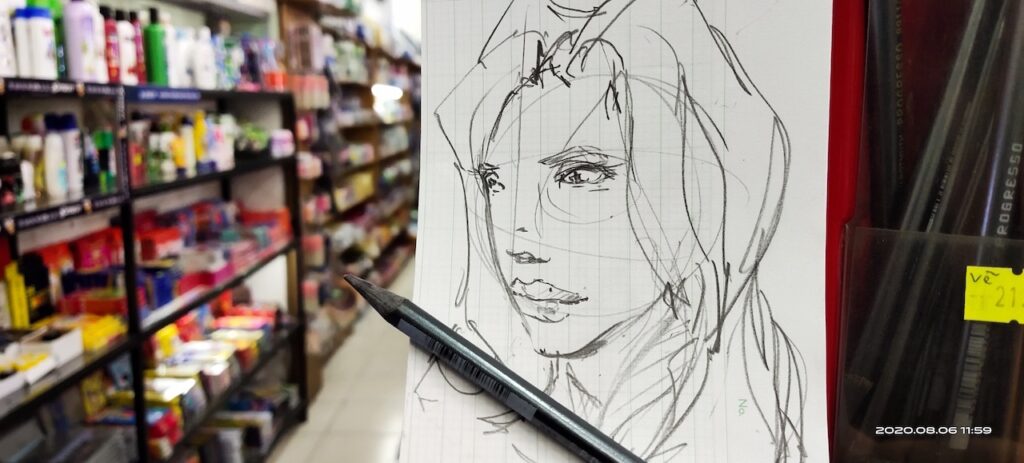
“SILVER-LEAD PENCIL”
I went around the shop to test various pens and pencils. The last time I used this one was long ago for sketching people. It is great to draw anything organic (portrait/face, people posture, fruits…)


THICK LEAD MECHANICAL PENCIL
This thick nib looks interesting to play with. You benefit from a wide range of thickness depending on the angle you draw with the lead.

Conclusion
In conclusion, drawing outdoors in a standing posture provides a unique and refreshing way to engage with your art, offering a multitude of benefits for both your sketching skills and overall well-being:
- Embrace Your Environment: By choosing to sketch outdoors, you’re not just drawing; you’re immersing yourself in the beauty of nature or the vibrancy of urban life. This setting provides endless inspiration for your sketches.
- Stay Comfortable: Remember to find a spot where you can stand comfortably. Consider the ground’s slope, the sun’s position, and the wind. A brief walk to find the perfect spot can enhance your sketching experience.
- Use Your Body: Standing allows you to use your full body to draw, adding dynamism to your lines. Keeping your arm loose and letting your body move with your strokes can lead to more expressive and confident sketches.
- Keep Your Materials Handy: Make sure your sketchbook, pens, and other tools are easily accessible. Having them in your back pocket or a portable pouch ensures you can focus on sketching without fumbling for supplies.
- Embrace the Challenge: Sketching outdoors in a standing posture might present challenges like changing light conditions or distractions. However, these challenges can push you to adapt, innovate, and develop a more intuitive sketching approach.
- Enjoy the Process: Remember, the journey of learning to draw is filled with joy and exploration. Whether you’re sketching a simple scene or a complex landscape, the process itself is an adventure.
So, next time you feel the urge to sketch, consider stepping outside, standing tall, and letting your creativity flow. Keep practicing, keep iterating, and most importantly, enjoy every moment of this artistic journey. Happy sketching!
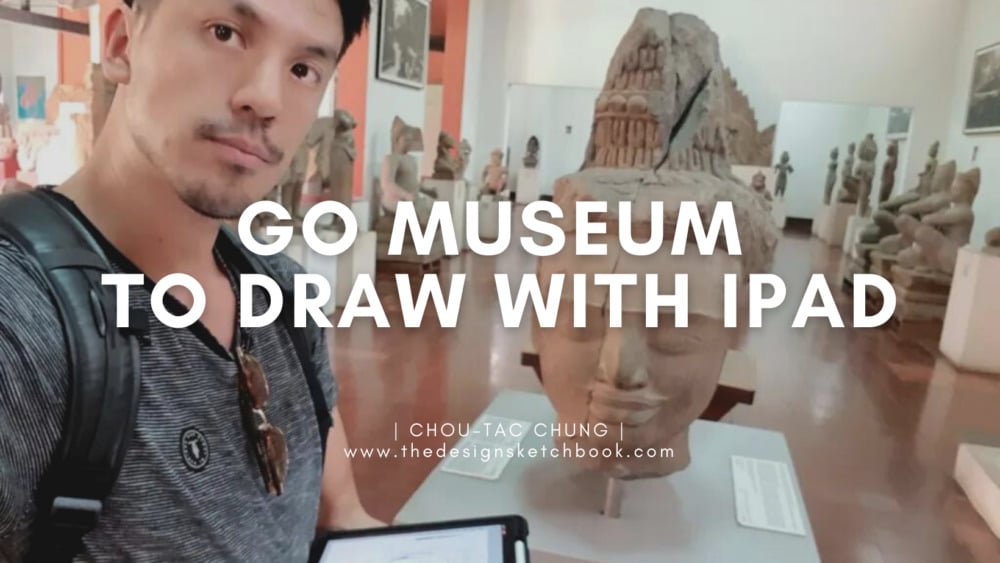
Drawing Standing with an iPad
Below, I went to a museum in Cambodia drawing with my iPad! :)
The same rule applies about how to draw standing.
If you want to make your first steps in drawing, I invite you to download the Designer Starter Kit to start learning with the basics of perspective step-by-step.
The Designer Starter Kit exercises in 6 videos:
- How to draw straight lines
- How to draw a perfect square
- How to draw awesome circles
- How to sharpen your sense of proportion
- How to draw a cube with 1 point perspective
- How to draw a cube with 2 points perspective
Once again, these videos are linked to the Designer Starter Kit.
To enjoy the series of tutorials better, I recommend you guys to download the sketching book for beginners first.


[…] chair to sit? Just stand and draw! Or like Urban sketchers, simply sit on the floor to […]