This tutorial walks you through sketching a super-hero character in Photoshop, from rough shapes and pose to costume and props. Learn effective use of the Wacom tablet, layering, mini previews, proportion adjustments, and creative experimentation to bring your hero to life.

Hey today is a sketch of a Super-hero made with Photoshop. Actually, I did that video just for myself and for fun. But I thought I could add some Tips to share with you through this sketch.
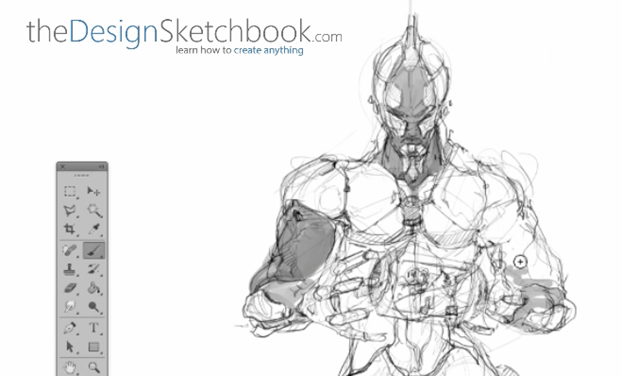
Feature Super hero

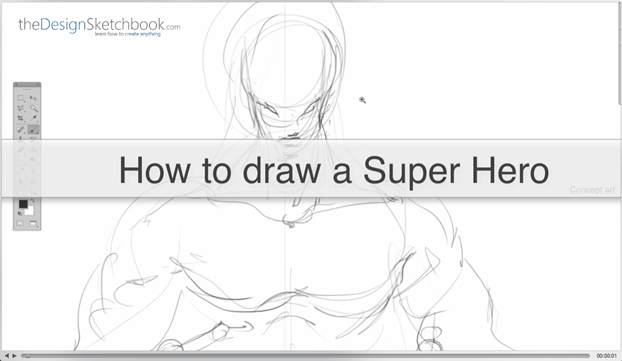
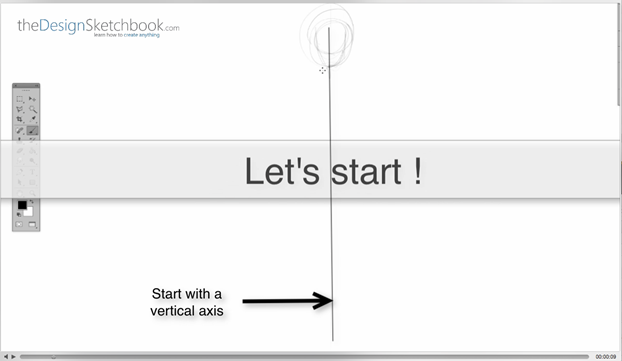
1 How to draw a Super Hero - Concept art2 Start with a vertical axis - Concept art
1- The vertical axis here is here a symmetry axis of reference of the body. I want my character to be standing, seen from the front view. I make sure the head, neck pecs, abs and legs are all well aligned. Remember to draw this axis with a very light pen pressure. It serves you as a guide.
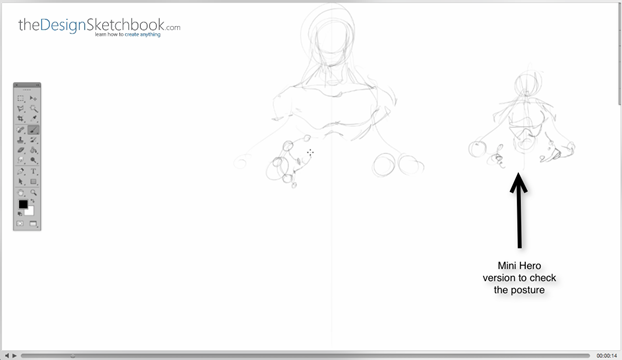
3 Use a mini hero as a quick preview - Concept art 2- I like to have a mini preview beside the main sketch. It helps me to make some quick test on it without altering the main drawing. I can “prefeel” the curves and dynamics of the lines and body through the mini version. So my gesture can gain in precision for the bigger one.
This is not compulsory, but very helpful.
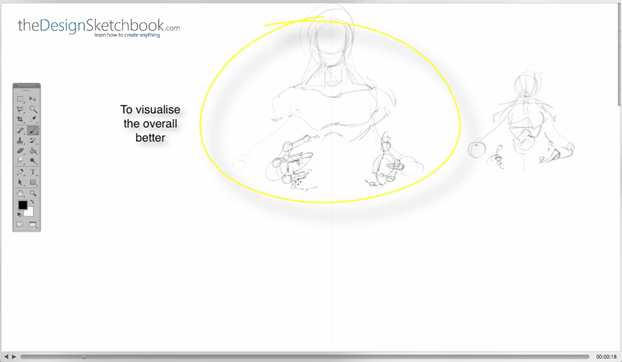
4 To visualise the overall better - Concept art
3- I duplicate the mini preview to the big one. Of course the big one as a bit more of details. But not much yet.
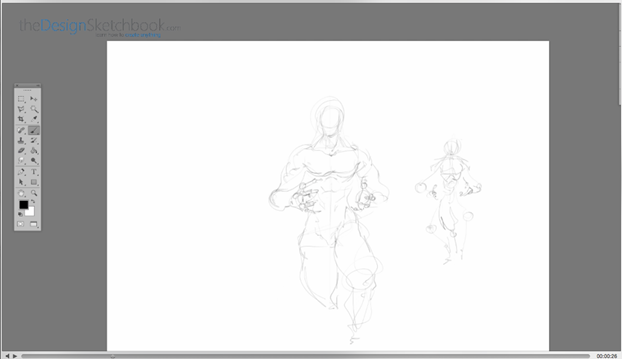
5 Overall done - Concept art
4- To get the pose, I only need to draw the general shapes of the whole body.
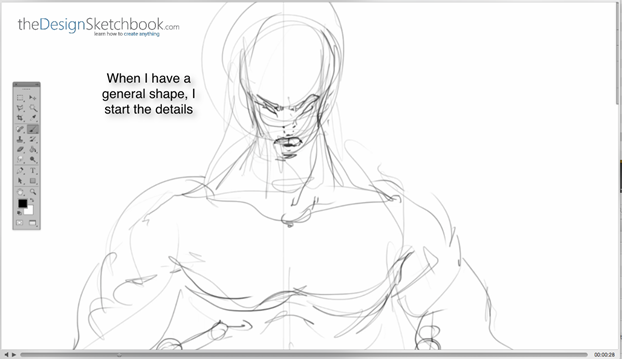
6 I can start the details - Concetp art
5- I am ready to zoom in and start detailing. Note that the initial lines are very rough, and not perfect at all ! They also serve me as a guide. I will refine these lines later.
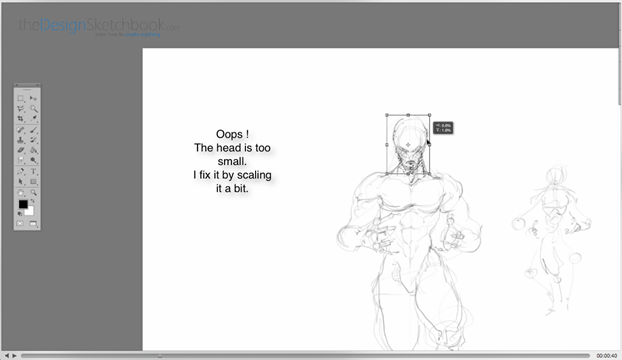
7 Oops I realise the head is too small - Concept art
6- The head is too small ! So I select it and resize it a bit bigger. Many lines of the neck will be disconnected. But it’s ok because I still draw with a light pressure of pen. Remember to zoom out one time in a while to check the overall proportion.
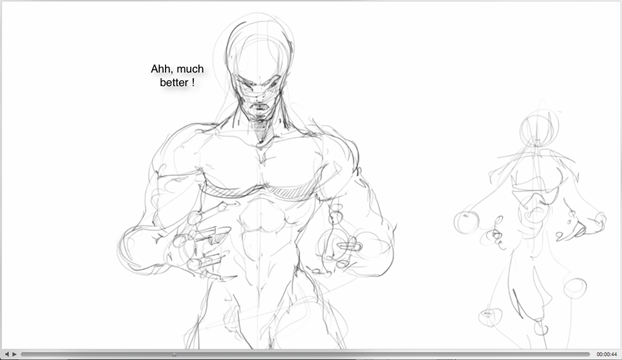
8 I resize it bigger - Concept art
Much better right ?

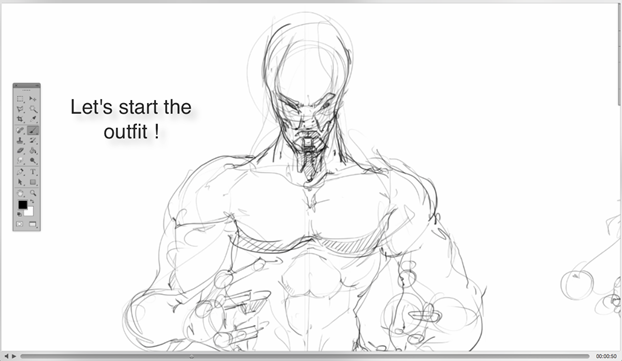
9 Lets start the outfit - Concept art
7- I have the head, body and face. The character is naked. A super hero can’t be naked. He needs a super costume. So now let’s start the outfit !
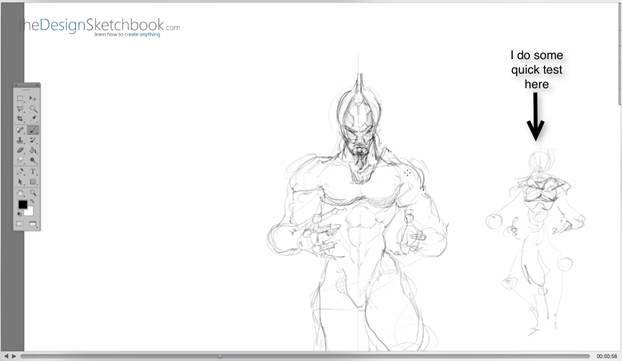
10 Make some quick test with the mini hero preview - Concept art

8- The mini hero is here for me to make some experiment on it.

9- I often see beginner’s’ drawing characters with the hands hidden in the pocket, or on the back, or having just no hands! There is a arm, but no hands (Or invisible hands maybe). When the sketch has been drawn on paper with a pencil, I may see that the hands has been erased 100 times !
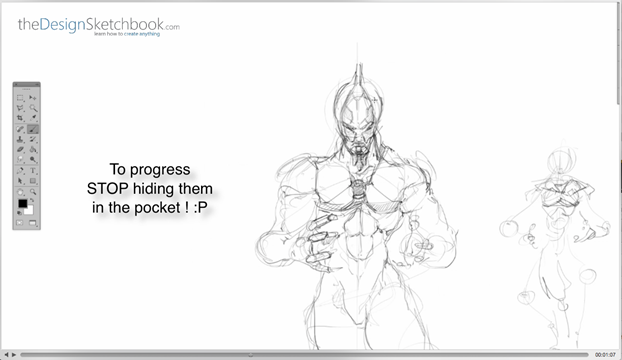
12 Stop hiding hands - Draw them - Concept art
10- Don’t give up, and stop hidding them. Dare trying again and fail. Hands are in my opinion the most difficult part of the body to draw. The day you can make it, you can open the Champagne !
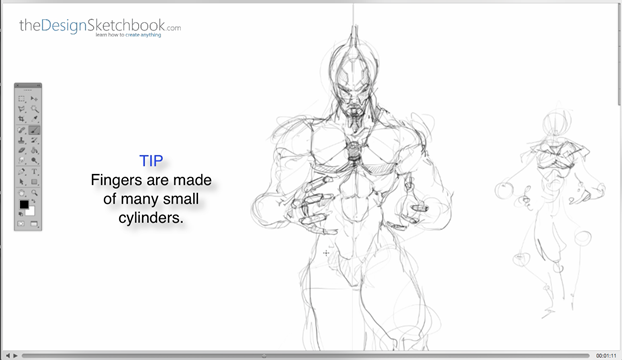
13 TIP Fingers are made of many small cylinders - Concept art

11- Remember to always simplify a complexe shape in multiple simple one. Fingers are made of many small cylinders.
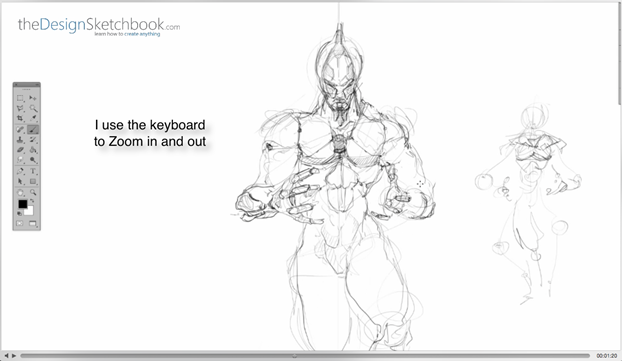
14 Use keyboard to zoom in and out - Concept art

12- To draw fast, my body posture has a specific position to zoom in and out.
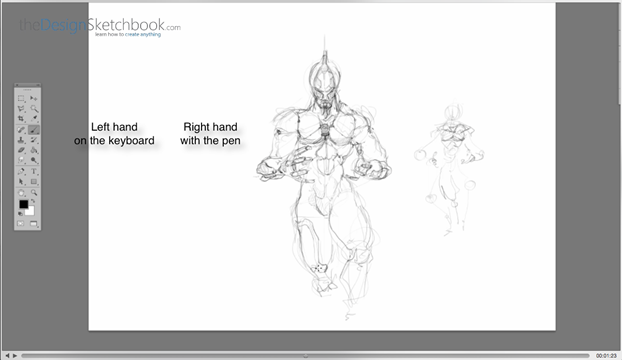
15 Left hand on keyboard - Right hand sketching with the pen - Concept art

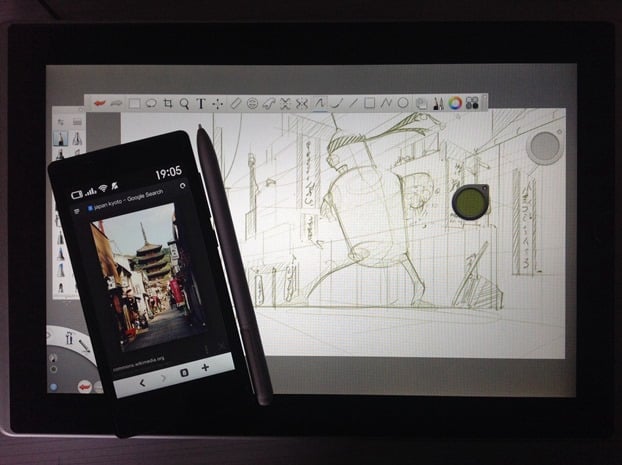
13- Basically, I use my left hand to use the keyboard shortcut to zoom in [Cmd –] and zoom out [Cmd +].  My right hand draw on my Wacom tablet holding the pen.
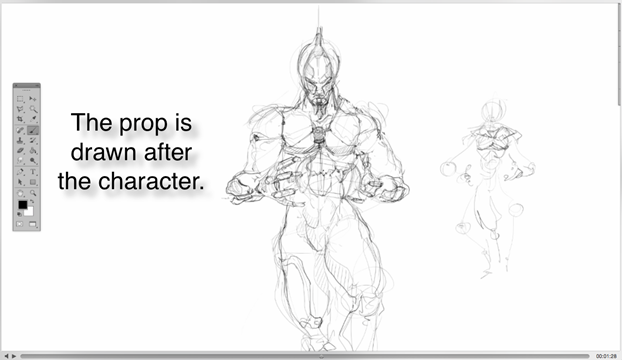
16 The prop is drawn after the character - Concept art

14- I want my super hero to hold a prop. I start drawing it only after the character has been set up.

Never start a Super hero with his props. Eg. his sword, axe, shield… Order matter.

I added a small creature in that capsule.
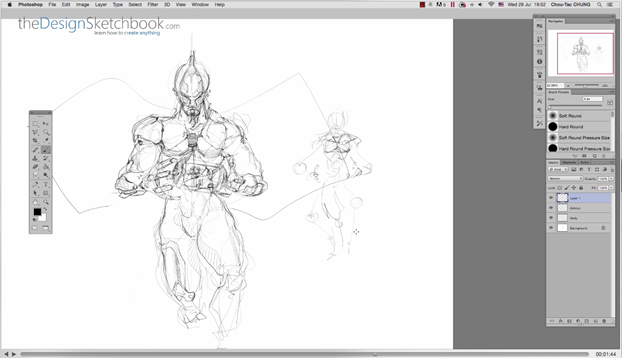
19 Trying some wings quickly - COncept art
15- A quick preview of wings I did in a second. I can roughly see if I want to add wings or not drawing these 2 abstract shapes.

16- My left hand often use the [Cmd Z] to undo. I do some quick test of helmet here. If I am not satisfied I undo, and redraw something else.
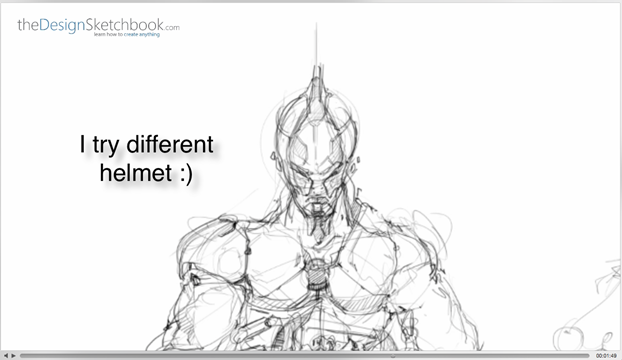
21Trying different helmet - Concept art bis
I prefer that version.

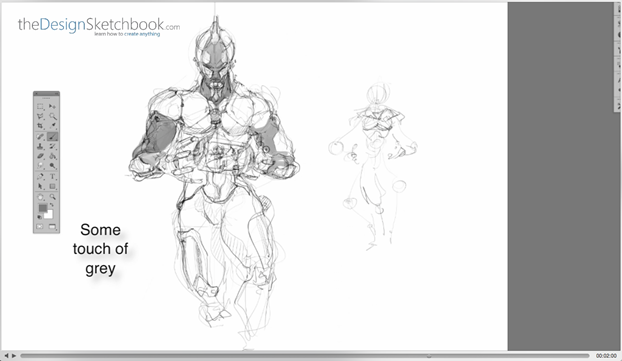
22 Add some touch of grey - Concept art
17- To make it pop out more, I add a bit of grey. I contrast the body skin with the armour.
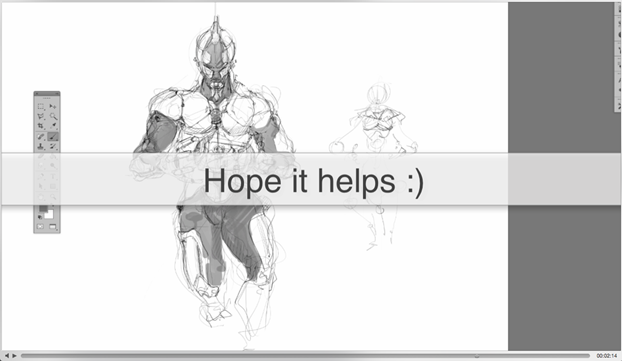
24 Hope it helps

Feel free to leave a comment or any question !
See you for the next tip.


Related Articles

How to draw a female character
Discover a step-by-step tutorial to design a girl tribal character combining history, anatomy, and fashion. Chou-Tac Chung walks you through …
the incredibles character design research from Pixar
Want to create characters that captivate? This article guides you on defining clear attributes, personalities, and weaknesses for your characters, …
TIP 27 | Draw a Creative Background For Your Character
Want to bring your characters to life with great backgrounds? Find quick inspiration from iconic real-world elements and use perspective …
Fed up giving up on drawing Change Identity - Atomic Habits from James Clear
How do you stay motivated to draw every day? The secret lies in a powerful mind hack—changing your identity. Inspired …
Learn young Industrial Design Sketching as a Teenager
Start your Industrial Design journey young and unlock the secret to exponential growth in sketching skills! Discover fun ways to …
TIP 403 The 7 Habits Highly Effective Designer Should Know to Boost Productivity and Creativity
Feeling stuck in your design journey? The secret isn’t just talent—it’s mindset. Learn how the 7 Habits of Highly Effective …

Chou-Tac

Hello! I'm Chou-Tac, a Product Designer from France.

If the sketching methods I’ve acquired aid me in my life and in my industrial design career, I believe that they can also help you reach your dream goal as a student or professional designer.

Leave a comment in the blog or send me an email at choutac@thedesignsketchbook.com : )

Chou-Tac

View all posts

1 comment

Leave a Reply to Lisa Maria Cancel reply

Your email address will not be published. Required fields are marked *

Get The Designer Starter Kit

Get The Designer Starter Kit
Click to Receive It

Get The Sneaker Book

How to draw sneakers - book
Click to Receive It

Recent Comments

  • Chou-Tac: “Hello Serneels, Hope you find inspiring content for your class. I do have teachers who print the Designer Starter Kit…Nov 6, 23:03
  • Chou-Tac: “Hello Edward, welcome on board :))Nov 6, 23:02
  • Edward Stynes: “I am from dublin Ireland, I’m 77 years of age, I want to be better at drawing as I am…Nov 6, 20:08
  • Serneels Katrin: “I’m a interior architect from Brussels and teach drawing. I’m always curious how designer structure a course. And I’m always…Nov 6, 13:58
  • Walter: “1. Phoenix az, 75 2. Keep learning mind active 3. Received an Email Alzheimers Keep getting new ideas for mind…Nov 5, 23:05
close-link
Start Sketching Today Step-by-step!

GET YOUR DESIGNER STARTER KIT NOW!

The
close-link
The
SEND ME THE BOOK NOW
Send me The Book
close-image

Don't Miss New SKetching Tutorials!

Subscribe
LEARN 1-TIP-A-DAY TO BOOST YOUR LEVEL!
SUBSCRIBE!
Yes! I want to follow
The Design Sketchbook Youtube CHannel!
close-link
Click Me