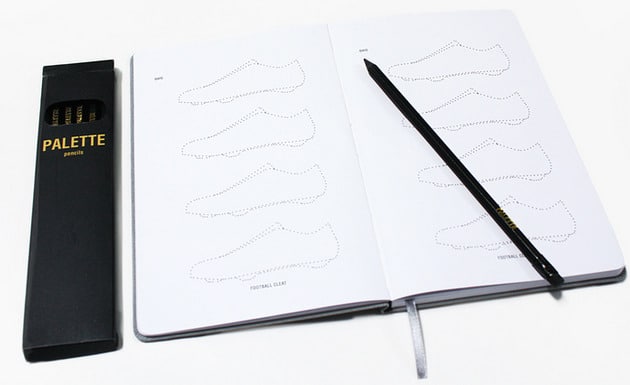
- Tip 1: Use a Bic Marker for smooth lines and expressive sketches.
- Tip 2: Start sketching the shoe last with the insole for accurate perspective.
- Tip 3: Draw the instep to define the main shape of the shoe last.
- Tip 4: Mastering the shoe last is 80% of the sketching job.
- Tip 5: Draw the quarter (wider surface) to give form to the shoe design.
- Tip 6: Draw the medial quarter in perspective for balance.
- Tip 7: Use the instep middle line as reference to draw the tongue accurately.
- Tip 8: Focus on the main shoe shape before detailing.
- Tip 9: Turn your paper for better posture and accurate lines.
- Tip 10: Accept imperfections as part of sketch beauty.
- Tip 11: Use hatching to block sneaker parts simply and show materials.
- Tip 12: Divide space evenly between lace holes for accuracy.
- Tip 13: Draw laces in movement to add dynamism.
- Tip 14: Add a distant shadow below the shoe to give lightness.
- Tip 15: Use ghost drawing for fluid line impression.
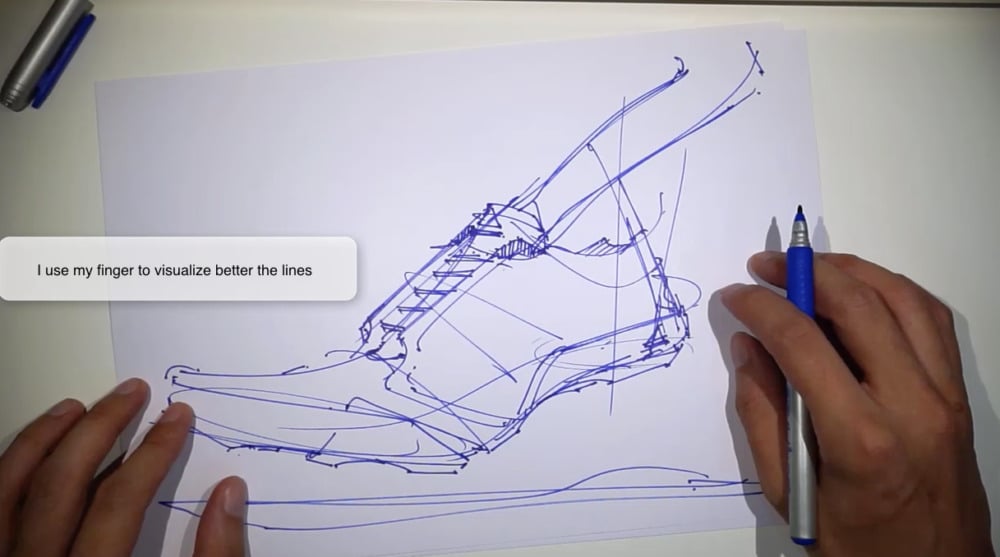
- Tip 16: Use your finger to visualize invisible lines or curves better.
Following the TIP 57 How to make your sketch stand out with a simple shadow,
I am publishing this extra video tutorial on shoe drawing.
We draw together an Adidas sneaker design taking inspiration
from my working experience when I used to work there as a footwear designer.
I have prepared 16 TIPS on How to draw a sneaker.
Tip 1: Use a Bic Marker for smooth lines and expressive sketches.
Markers like the Bic offer smooth ink flow and bold lines that encourage confident, fluid strokes.
Unlike pencil, markers don’t let you erase, so embracing imperfection boosts your drawing intuition and expression. It’s ideal for fast sketches where you keep the energy alive and don’t get stuck in details.
Tip 2: Start sketching the shoe last with the insole for accurate perspective.
Begin by drawing the insole shape to anchor your shoe sketch in correct perspective.
The insole forms the base that determines the shoe’s volume and orientation. Visualizing the shoe’s interior in transparency helps you maintain proportions and structure consistent throughout your design.
Tip 3: Draw the instep to define the main shape of the shoe last.
The instep is the curved part connecting the insole to the shoe’s upper surface.
Drawing the instep early sets the fundamental shape of the shoe last, guiding subsequent elements. A well-observed instep captures the foot’s natural anatomy, lending feminity or masculinity to your design.
Tip 4: Mastering the shoe last is 80% of the sketching job.
Getting the shoe last right means your shoe will look natural and well-proportioned.
Regardless of style, the last’s shape governs comfort and aesthetics. Investing time here saves endless fixes later and builds a credible foundation for your creativity.
Tip 5: Draw the quarter (wider surface) to give form to the shoe design.
The quarter covers the side of the shoe that surrounds the heel and extends towards the toe.
Sketching this part early fleshes out the shoe’s volume and silhouette. Treat it as the primary surface on which design details will rest, helping you position panels and seams accurately.
Tip 6: Draw the medial quarter in perspective for balance.
To harmonize your sketch visually, draw the inner medial side of the quarter as well, keeping perspective consistent. This transparency technique conveys depth and balance, reinforcing the shoe’s three-dimensional form on a flat page.
Tip 7: Use the instep middle line as reference to draw the tongue accurately.
The middle line across the instep acts like a guide to align the tongue and other central shoe elements. Using centerlines ensures symmetry and helps you position lace holes, seams, and overlays precisely, keeping the design elegant and functional.
Tip 8: Focus on the main shoe shape before detailing.
Before diving into textures or small parts, lock in the overall shape and mass of the shoe. This macro view maintains your sketch’s clarity and prevents detail overload. Once the silhouette reads well, you can layer in finer materials, stitches, and logos confidently.
Tip 9: Turn your paper for better posture and accurate lines.
Adjusting your paper orientation lets you draw long, smooth lines with natural hand movement. Proper posture and paper rotation reduce strain and improve line quality, making your sketch neater and preventing awkward angles or shaky strokes.
Tip 10: Accept imperfections as part of sketch beauty.
Flaws or shaky lines add character and warmth to your sketches, reflecting a human touch.
Instead of aiming for perfect accuracy, embrace iterative drawing and organic shapes. This mindset keeps your creativity flowing without hesitation.
Tip 11: Use hatching to block sneaker parts simply and show materials.
Hatching with parallel lines communicates shadows and texture without overworking details. Use varied hatching density to indicate different materials or depth planes, enhancing dimension while keeping the sketch minimal and readable.
Tip 12: Divide space evenly between lace holes for accuracy.
The lace holes’ spacing affects the shoe’s balance and wearer experience. Evenly dividing this space visually anchors the laces well and maintains harmony. Small care here improves the shoe’s functional realism and aesthetic appeal.
Tip 13: Draw laces in movement to add dynamism.
Adding slight curves and levitating loops in laces suggests motion and airiness.
This subtle dynamic element enlivens the sketch and guides the viewer’s eye around the shoe, injecting life and personality into your design.
Tip 14: Add a distant shadow below the shoe to give lightness.
A small shadow a few centimeters below the shoe conveys its relationship to the ground, creating a sensation of lightness and suspension. This visual cue adds realism and depth, making the sketch pop off the page.
Tip 15: Use ghost drawing for fluid line impression.
Ghost drawing involves lightly sketching repeated lines before committing to a definitive stroke. This practice builds confidence in your hand and creates flowing line quality that appears natural and intentional, enhancing the sketch’s elegance.
Tip 16: Use your finger to visualize invisible lines or curves better.
Tracing invisible lines or imagined curves with your finger before drawing helps internalize the form and flow. This physical interaction supports spatial understanding and improves accuracy when transferring shapes onto paper.
What’s next?
If you are interested in sports accessories design,
I interviewed Noah Sussman.
He was a colleague of mine at Adidas, who is now working for UVEX SPORTS.
By the way,
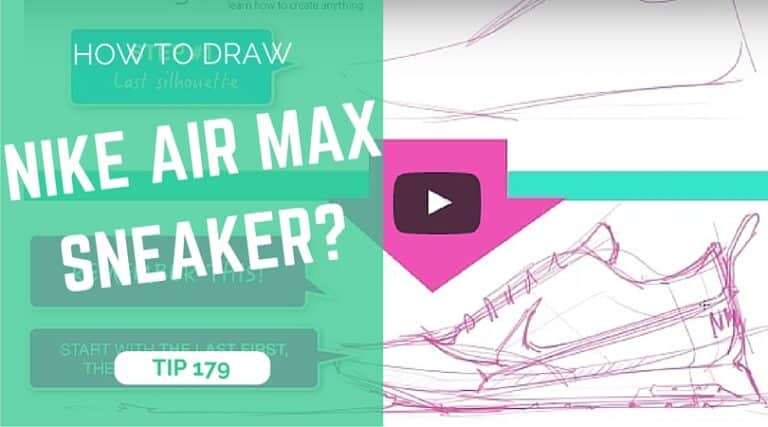
for a super easy shoe drawing, I created a video tutorial on How to draw a Nike shoe Air Max! in 1 minute!
Let me know your impression in the comment box
See you guys for the Next TIP of the day!
Related Articles


[…] had fun drawing an Adidas sneaker and for the first time render the colours with […]
[…] I was chillin’ in front of my Wacom Cintiq 13HD tablet and decided to draw something on it: A sneaker design for Adidas. […]
[…] you notice the hidden 3 stripes of Adidas? I actually like it when it’s not that obvious, yet […]
Hello Tabasam,
I represented it at second 13. However I took a shortcut, as I skipped the inner line.
I apologise if I can’t see it, but where is the drawing of the sole?