Not sure how to draw ellipses freehand?
Follow this easy video tutorial and learn the steps for drawing perfect ellipses fast and great!
“I fear not the man who has practiced 10,000 kicks once,
but I fear the man who has practiced one kick 10,000 times.”
– Bruce Lee
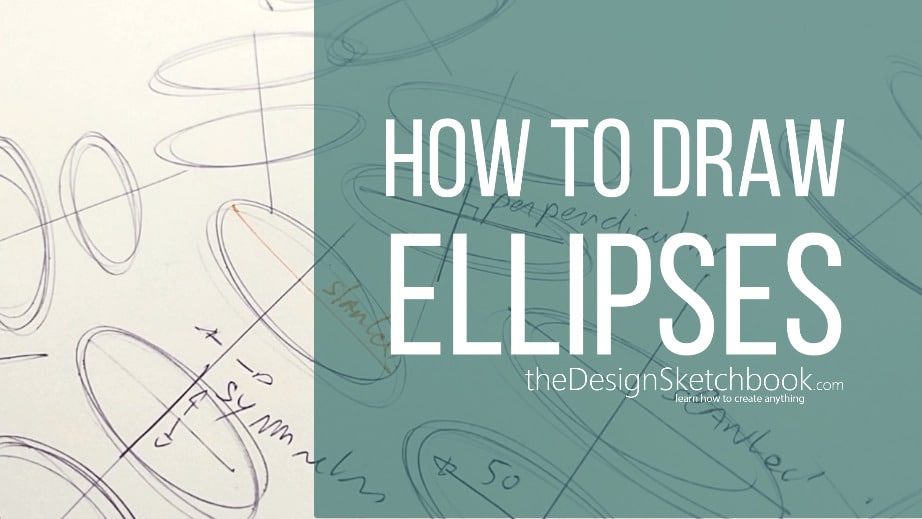
How to Draw an Ellipse Freehand
In today’s video tutorial, we cover:
- The 5 common beginner mistakes.
- The 8 easy techniques to succeed in your ellipses by today!
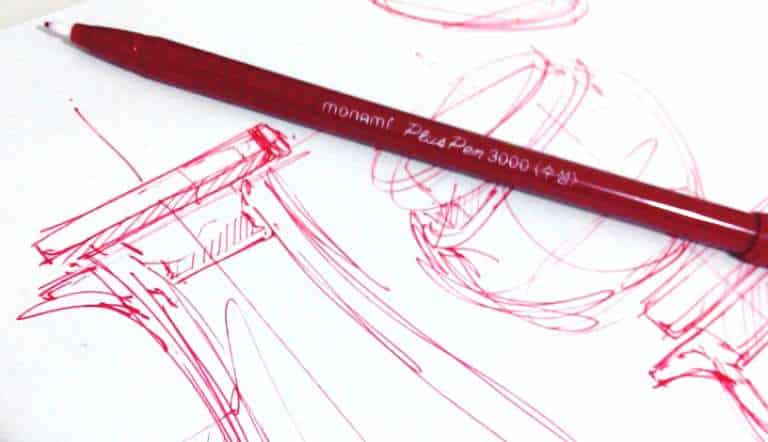
Take a ballpoint pen, and paper,
and let’s draw 10000 ellipses together! 😀
How today’s Ellipse video tutorial helped Sam:
The 5 Mistakes to Fail Drawing Ellipses
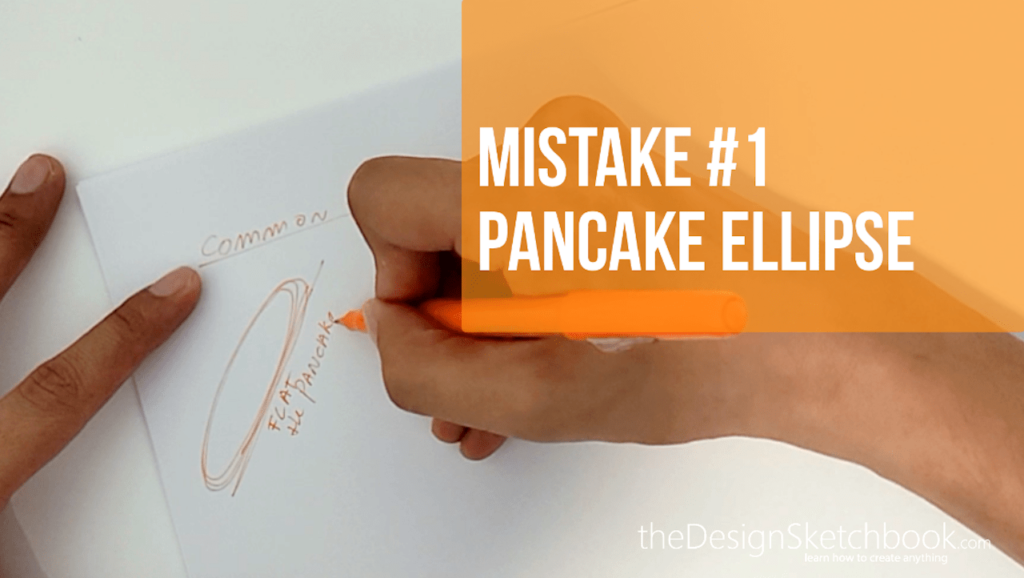
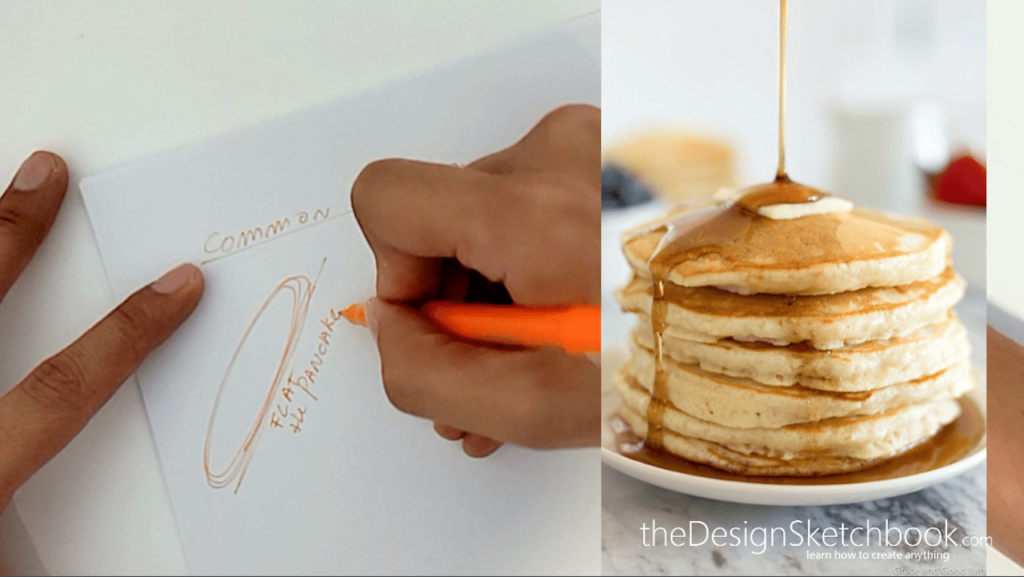
01:01 MISTAKE #1 PANCAKE ELLIPSE
The most common mistake is the ellipse that looks flat at the bottom.
You try to draw many of them, but this flat surface keeps coming back.
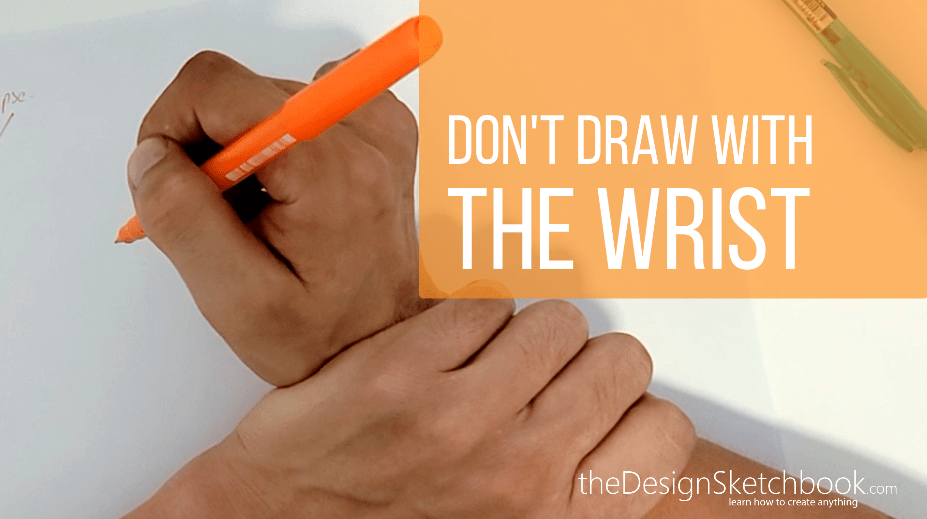
Why? Because of an improper body posture.
Make sure your elbow is free of movement.
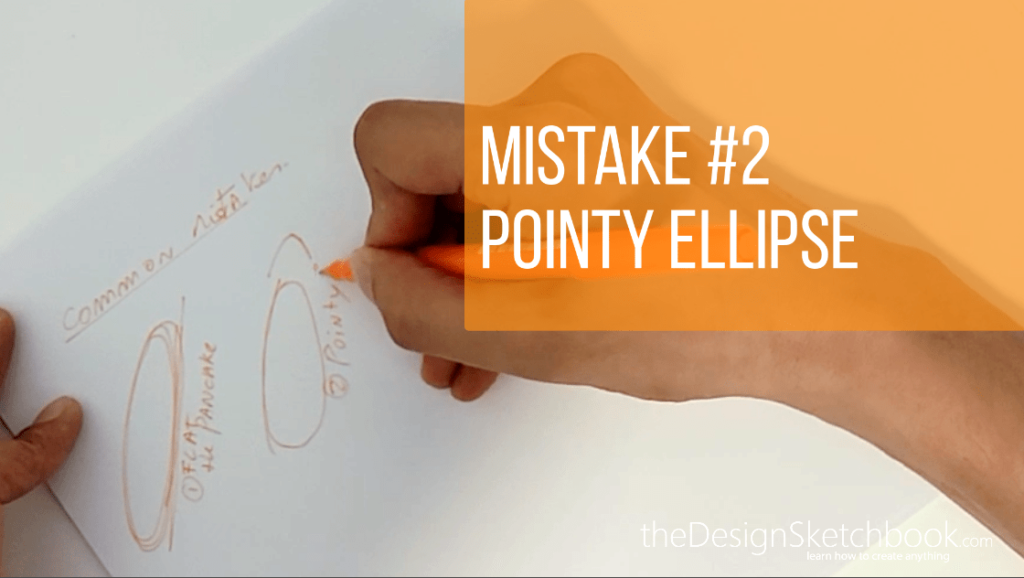
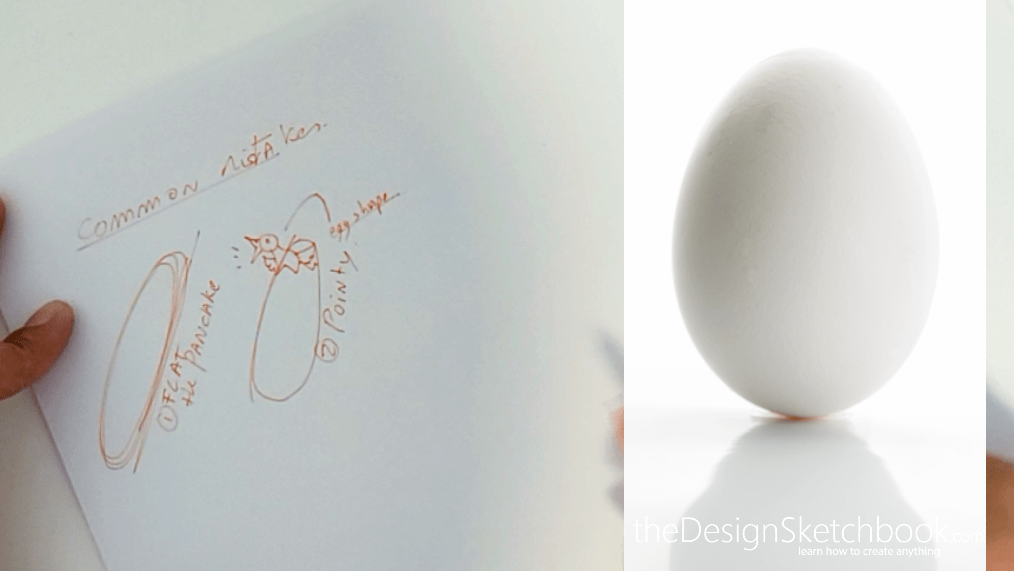
01:23 MISTAKE #2 POINTY ELLIPSE
The shape of the ellipse becomes an “egg”.
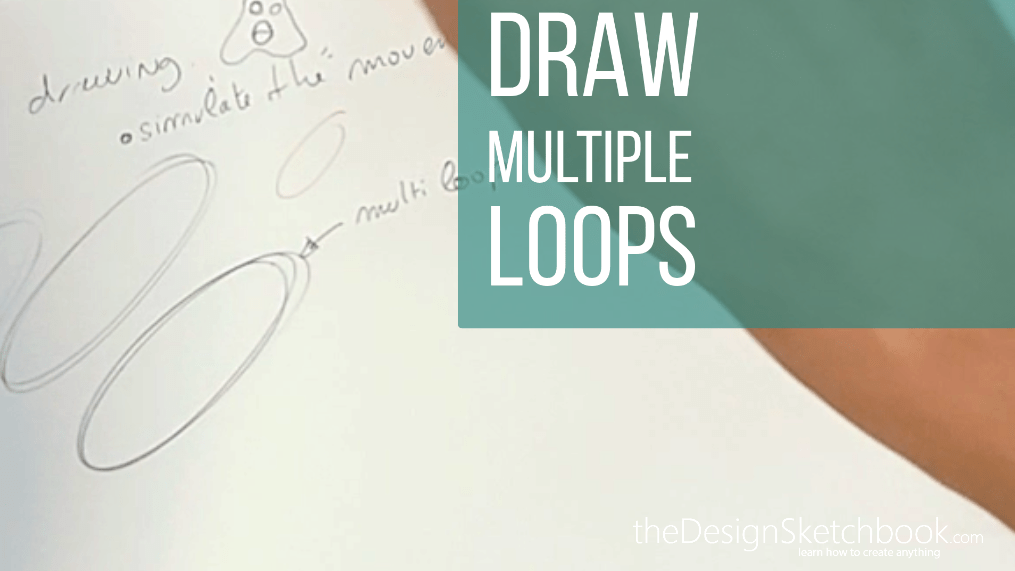
This egg shape is asymmetrical and is easy to fix by drawing multiple loops instead of one.
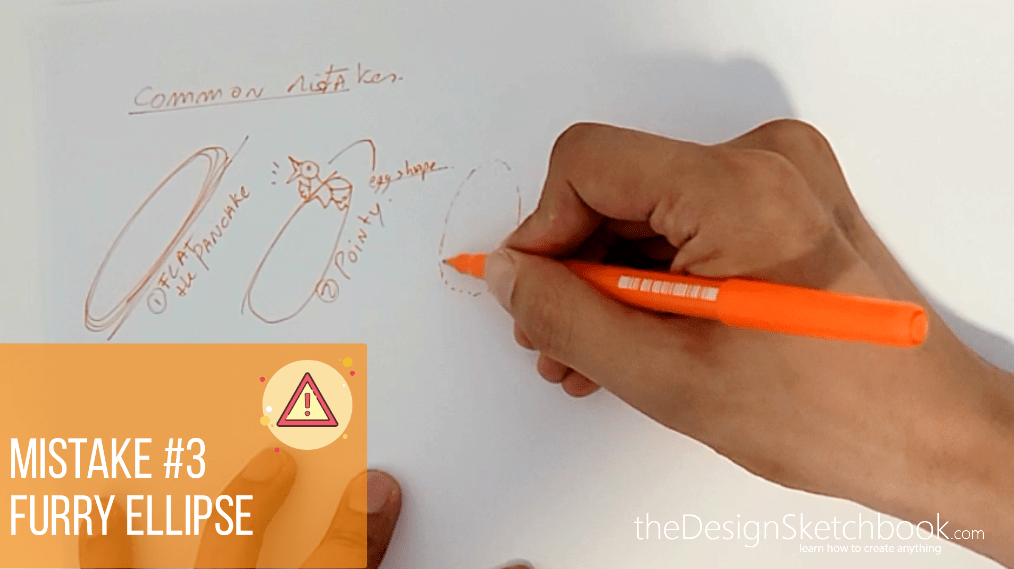
01:58 MISTAKE #3 FURRY ELLIPSE
Lacking confidence, you trace many small lines one after another.
But the outcome looks amateur and hesitant.
You have to practice your line quality itself.
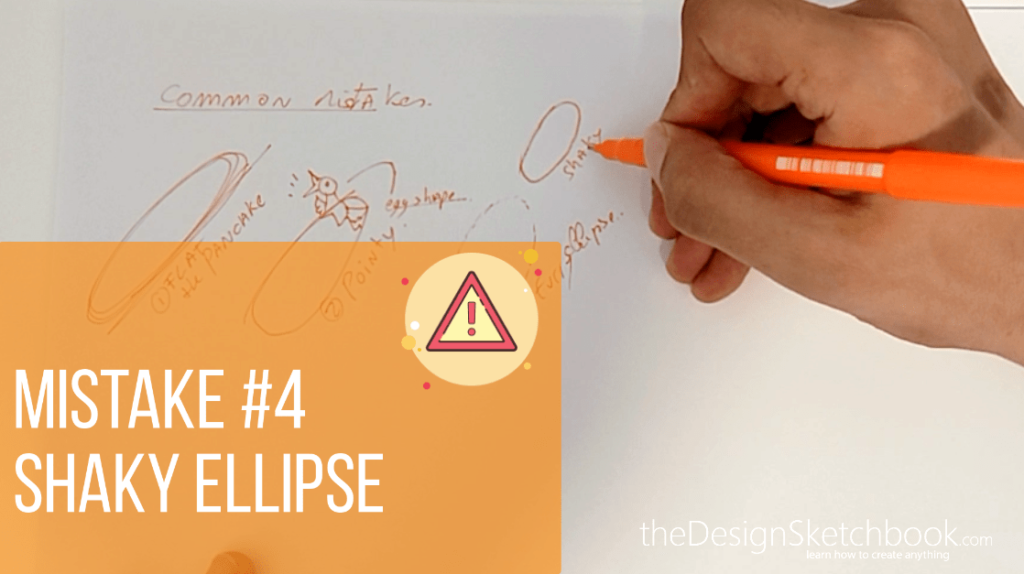
02:27 MISTAKE #4 SHAKY ELLIPSE
Lacking confidence, your hand is shaking.
You feel a bit of fear when you draw.
It is often linked to trying to draw with perfection, but you end with an amateur quality of line.
02:35 MISTAKE #5 OVERCONFIDENT ELLIPSE
On the opposite, you want to imitate professional design sketchers.
You draw fast and your lines express speed.
But… you can’t achieve drawing any ellipse properly.
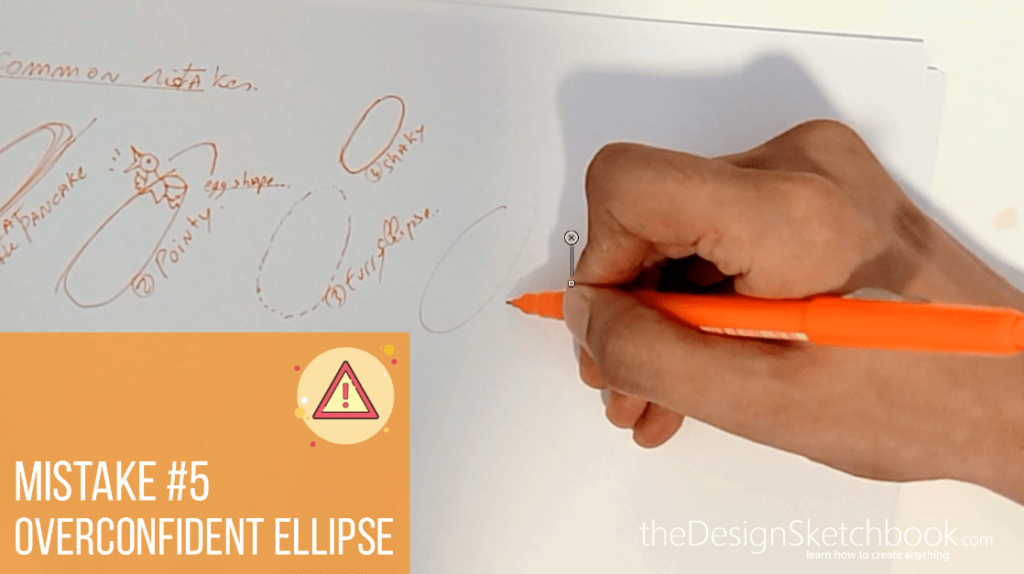
Drawing with overconfidence
is like trying to drive a sports car that is too fast for you.
You need training on the basics first.

The 8 Solutions to Succeed in Drawing Professional Ellipses
03:25 HOW TO SOLVE THE 5 ELLIPSE MISTAKES
We saw the 5 beginner common mistakes.
Now let’s see the 8 complementary techniques to master freehand ellipses with confidence!
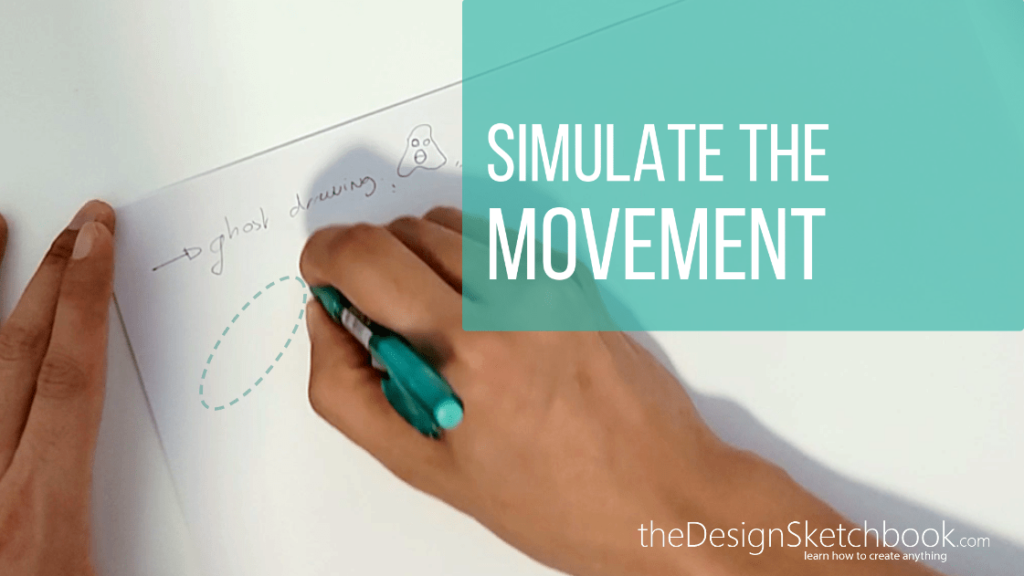
03:41 SOLUTION #1 GHOST DRAWING
If you want to learn how to draw like the professionals,
this technique is the most important to master early (for drawing “perfect” lines, circles, and curves)

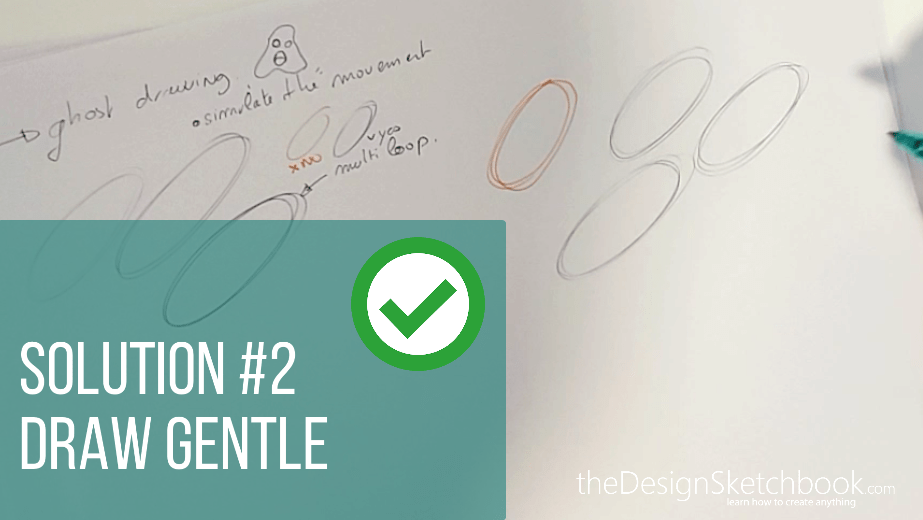
5:00 SOLUTION #2 DRAW GENTLE
If you have a heavy wrist,
it is time to be gentle with your pen.
Use the ghost drawing, and let your ballpoint pen nib touch progressively the surface of the paper. Then bold along the way if needed.
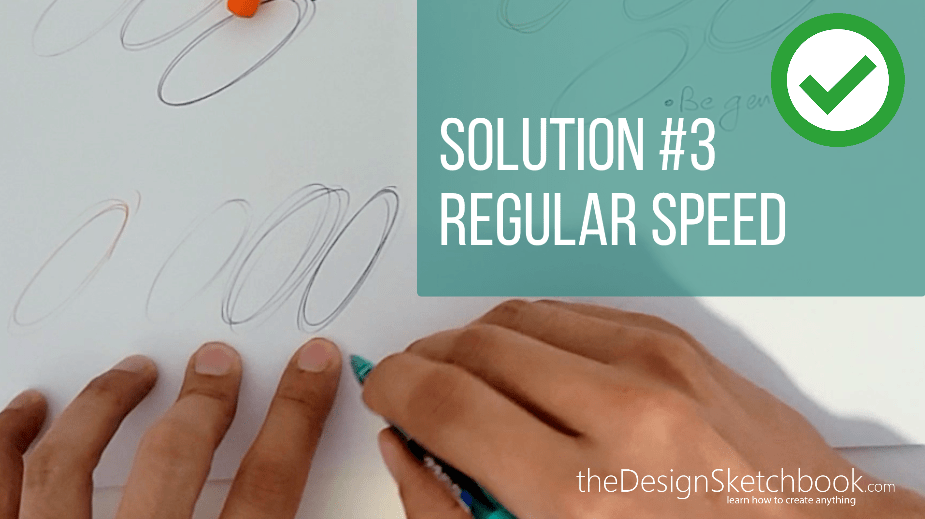
05:53 SOLUTION #3 REGULAR SPEED
If you start sketching, avoid making acceleration to show fluidity.
You also don’t need speed to draw dynamic lines.
Take your time.
What matters is the momentum you create during the ghost drawing, not the speed.
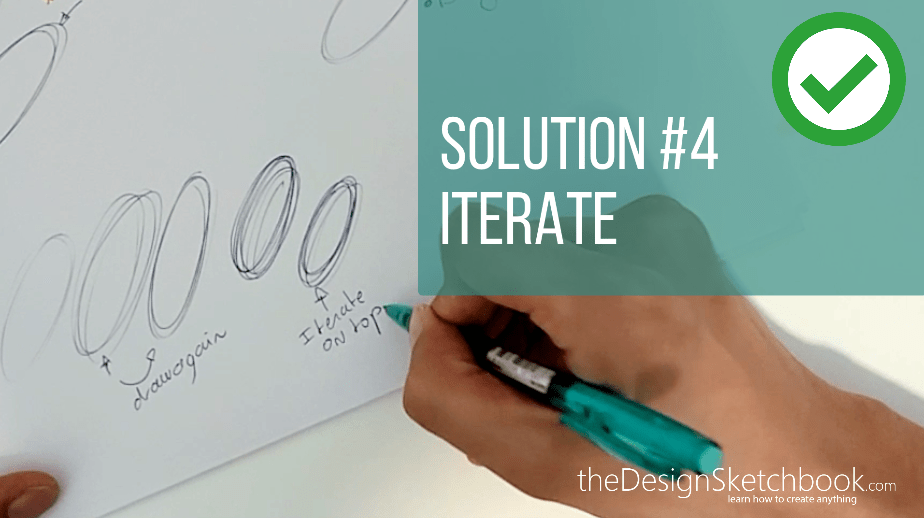
06:30 SOLUTION #4 ITERATE
If you feel that you start drawing a bad ellipse, don’t stop!
Continue and iterate on top of it. If it is not satisfying yet, draw another one!
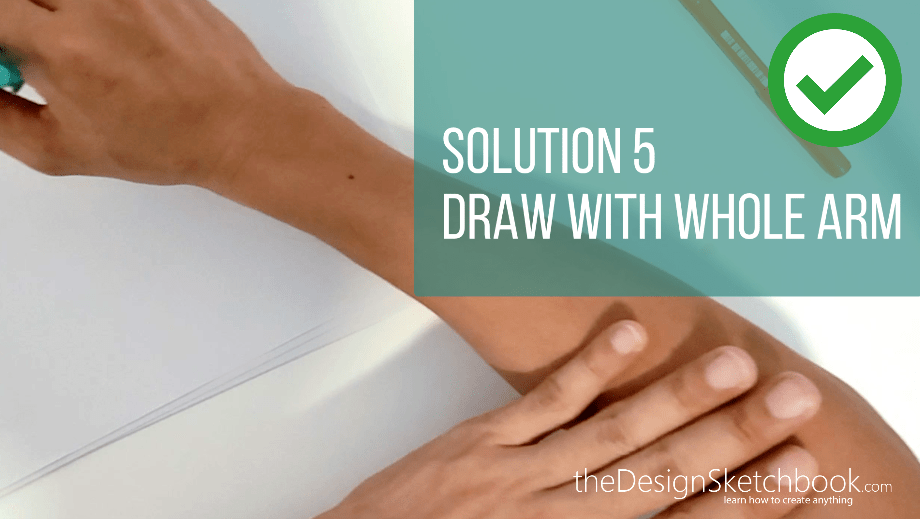
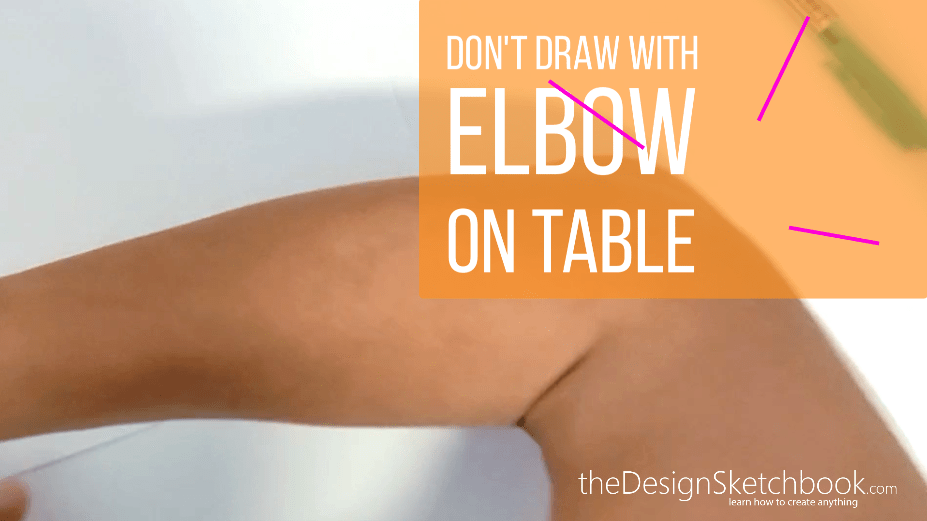
08:52 SOLUTION #5 WHOLE ARM DRAWING
Do you draw with your elbow resting on the table?
If yes, get ready to make big progress by starting drawing with your whole arm.
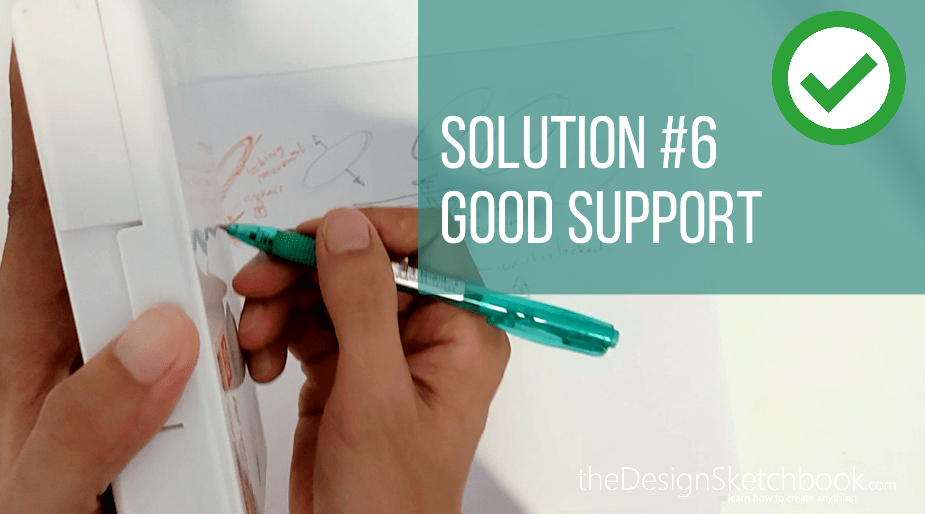
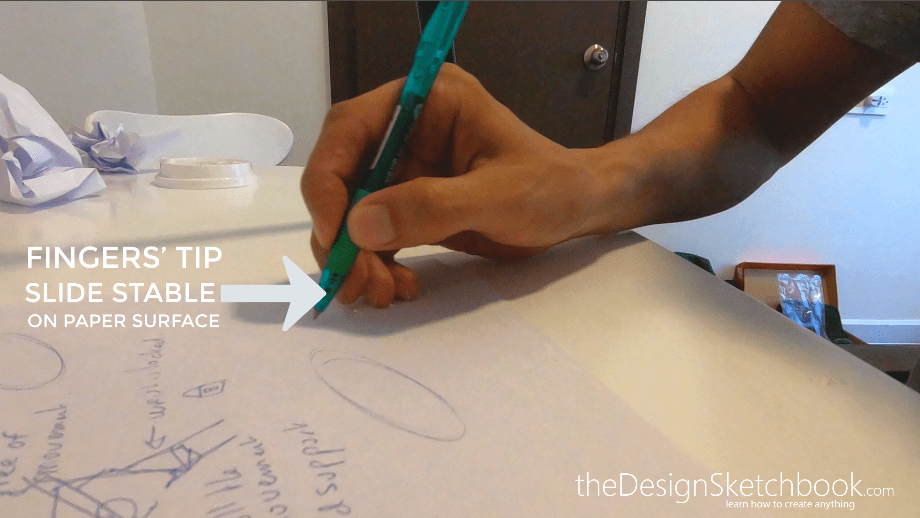
11:04 SOLUTION #6 GOOD SUPPORT
To draw with precision, you need stability.
You use the below fingertip to “hold your pen like a tripod”.
So when you draw, your fingertips slide on the paper surface with sketching control and stability.
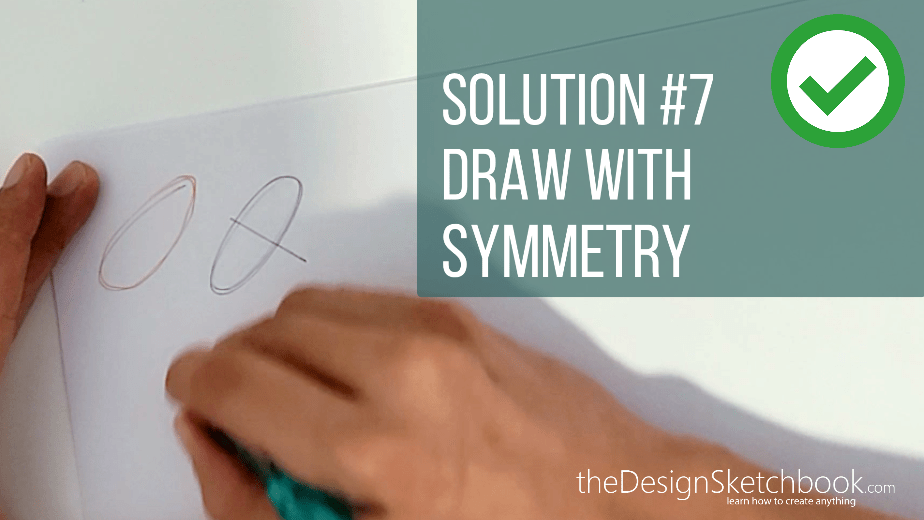
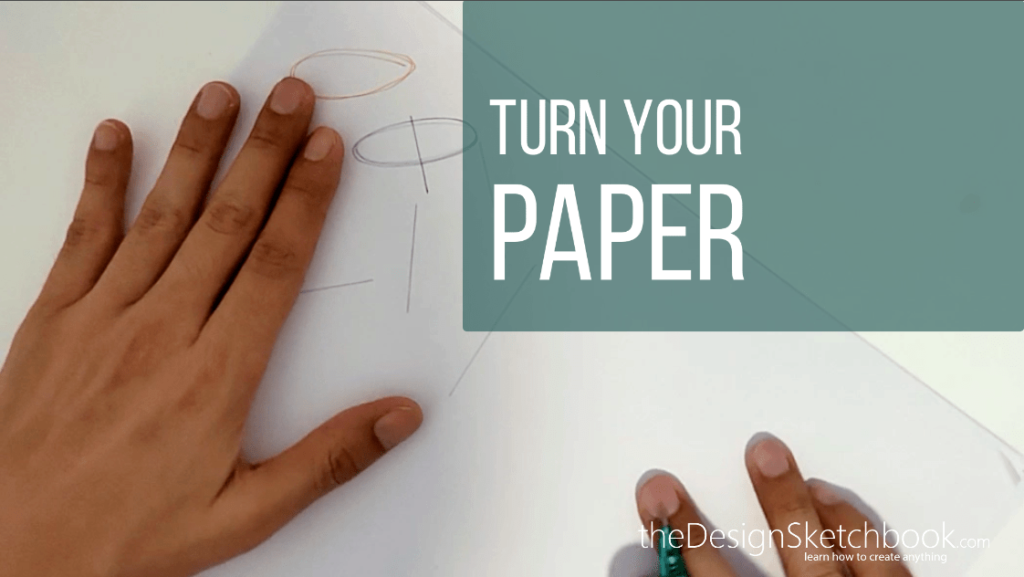
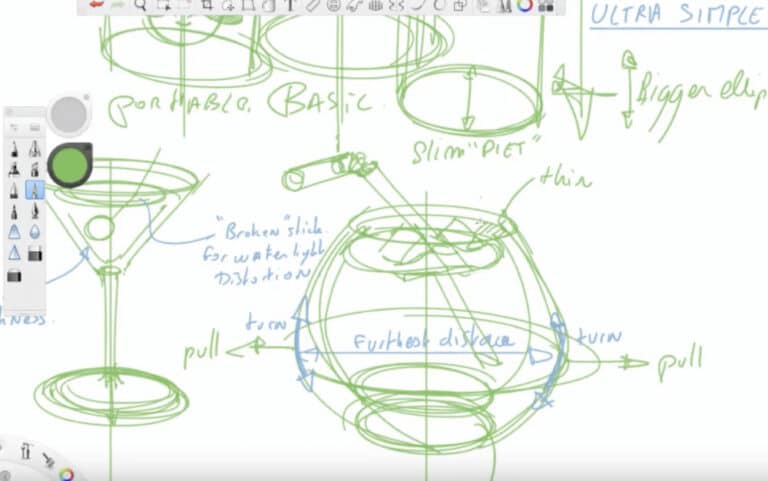
12:18 SOLUTION #7 SYMMETRY
A beautiful ellipse is symmetrical.
To start this exercise, let’s see how to draw plenty of them!
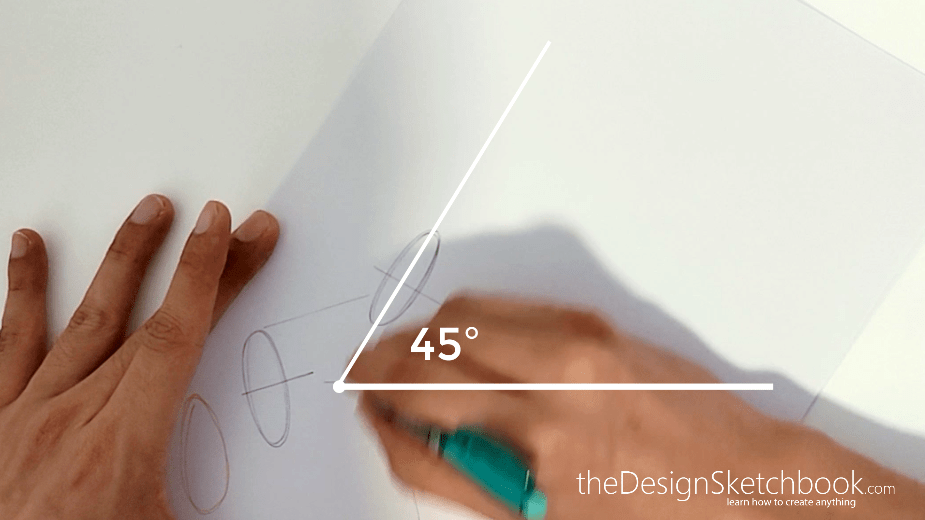
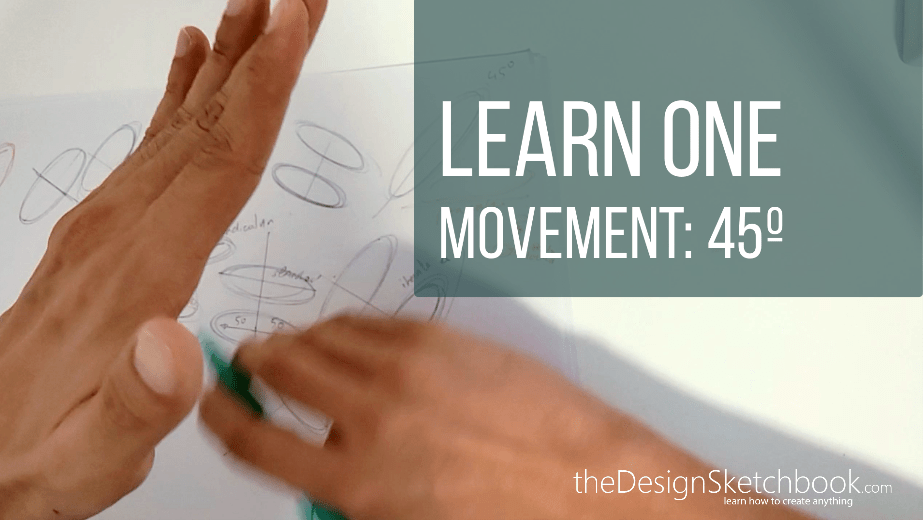
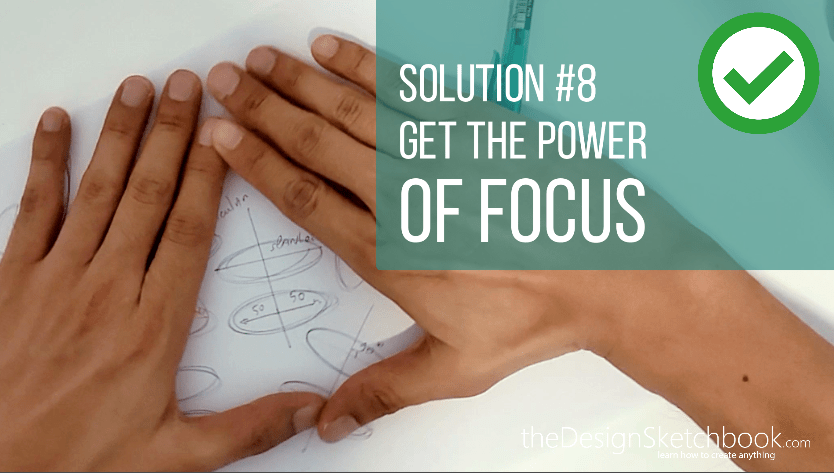
16:23 SOLUTION #8 FOCUS
It is easy to get overwhelmed with so many ellipses on your paper. Your vision gets blurred, and your ellipses get slanted.
Visualize the angle of your minor axis before tracing your ellipses.
Remember to start to apply today to make progress fast and use these techniques anytime to sketch at home, office, train, cafe…
Conclusion
In conclusion, mastering the art of drawing ellipses freehand is not just about crafting perfect shapes, but also about building confidence and precision in your sketching.
Here are the key takeaways from this tutorial:
- Avoid Common Mistakes: By recognizing and overcoming the 5 common mistakes like the pancake, pointy, furry, shaky, and overconfident ellipses, you can elevate your sketches significantly.
- Embrace the Solutions: The 8 solutions provided offer a comprehensive guide to improving your technique. From ghost drawing and gentle pen handling to maintaining regular speed and iterating on your sketches, each solution builds a foundation for professional ellipses.
- Practice Makes Perfect: Remember Bruce Lee’s wisdom, “I fear not the man who has practiced 10,000 kicks once, but I fear the man who has practiced one kick 10,000 times.” Drawing 10,000 ellipses with these techniques will not only make you proficient but also unlock a world of design possibilities.
- Stay Consistent: Whether you’re sketching at home, the office, or on the go, consistency in practicing these techniques will lead to rapid progress.
- Visualize and Iterate: Visualizing the angle of your minor axis and iterating on your ellipses with focus and symmetry will ensure that your drawings are not only accurate but also engaging.
So, grab your ballpoint pen and let’s embark on this journey together to draw 10,000 ellipses!
Whether you’re looking to improve your industrial design sketches or simply enjoy the art of drawing, these techniques will guide you towards mastery.
Keep practicing, keep iterating, and most importantly, enjoy the process of perfecting your ellipses.
For more inspiration and step-by-step lessons, don’t forget to check out the additional resources on thedesignsketchbook.com and share your progress.
Happy sketching!
See you tomorrow!
Cheers,
Chou-Tac
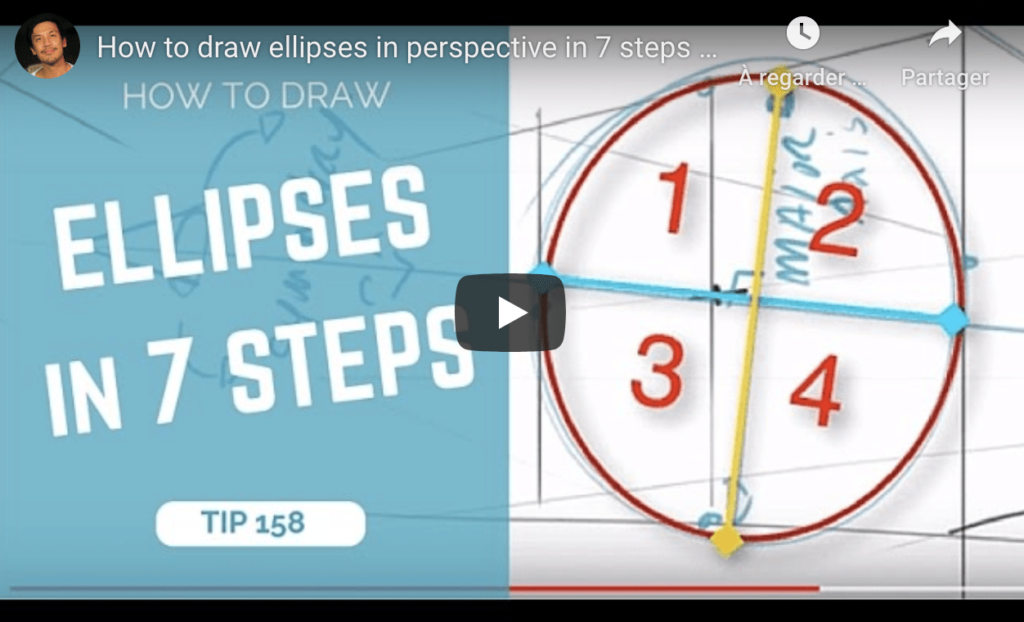
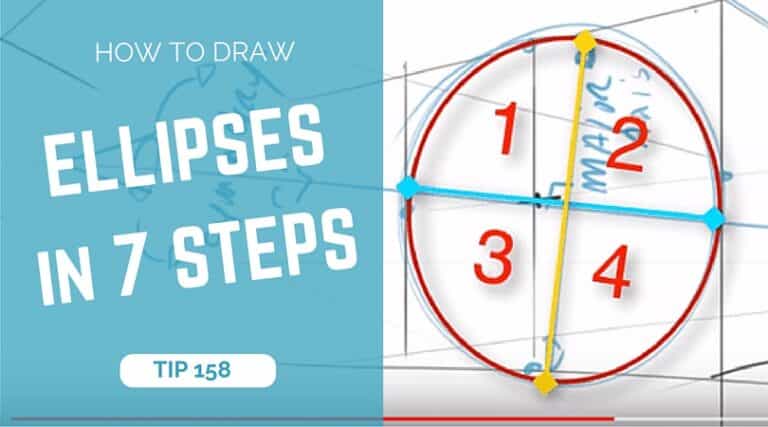
If you want to learn more about how to draw an ellipse in perspective,
I made a 7 Steps ellipse drawing video tutorial
Testimonial of the day:
Hi! I know how important feedback is when you do something for other people.
I really like your step-by-step lessons, they can be studied gradually, and they can be printed. It is very convenient.
I watch videos when I have a little more time. I like to look directly at the drawing process. This is inspiring. Both formats are needed!

Practice drawing ellipses


[…] with two basic ellipses: top and bottom faces of your […]
[…] ellipses, […]
[…] Ellipse […]